
Industrial Epoxy System Guide for Materials and Construction
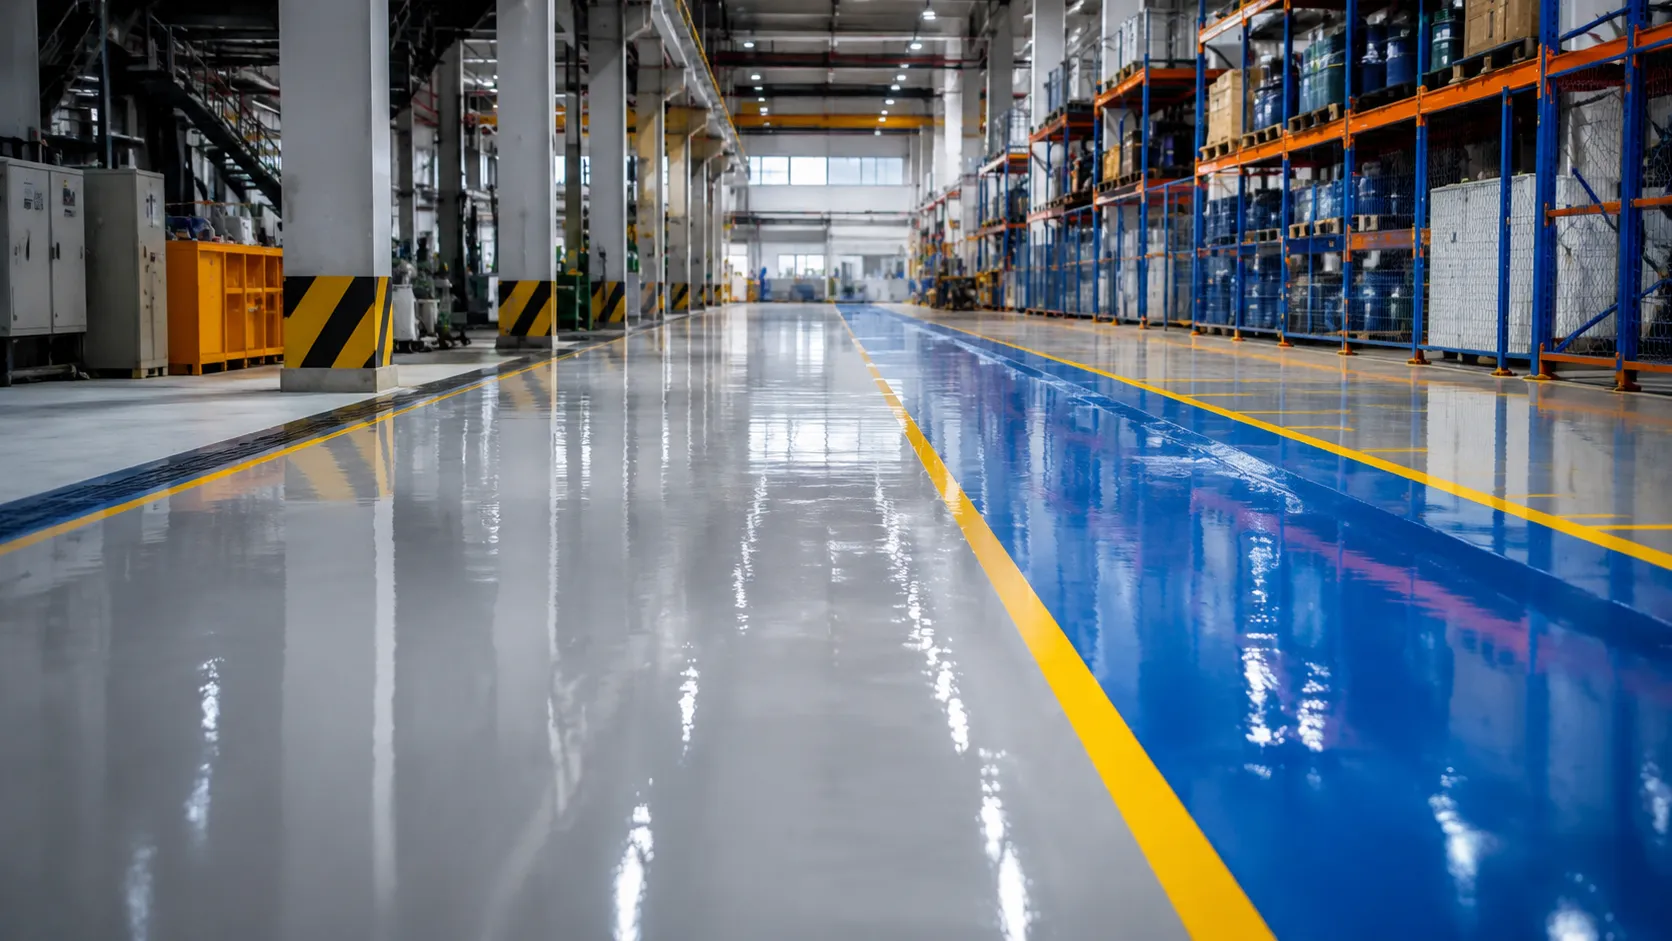
Are you tired of dealing with cracked, peeling factory floors that just can’t handle the daily abuse of heavy machinery? Selecting the right industrial epoxy system isn’t just about a shiny finish—it’s about protecting your bottom line and ensuring long-term operational safety.
As an industrial flooring specialist who has overseen hundreds of installations, I know that a generic coat of paint won’t cut it. To get a floor that lasts, you need a precise strategy.
In this quick guide, we’re going to break down exactly how to run a bulletproof needs analysis, select the ultimate material combination for your specific environment, and execute the application process flawlessly.
Let’s dive right in.
1. Needs Analysis
Industrial facilities operate under harsh conditions that demand highly resilient infrastructure. Choosing the right industrial epoxy system requires a precise evaluation of the environment’s specific physical and chemical stressors. Standard concrete coatings fail under intense industrial operations, making a tailored heavy duty flooring strategy essential for long-term structural integrity and operational safety.
Key Industrial Demands
- Mechanical Load: Facilities using heavy forklifts, automated guided vehicles (AGVs), or heavy machinery require a system with high compressive strength to prevent cracking under localized pressure.
- Chemical Exposure: Floors in manufacturing and chemical processing plants must resist aggressive solvents, acids, oils, and alkalis without degrading or staining.
- Thermal Shock: Areas subject to frequent steam cleaning or extreme temperature drops, such as commercial kitchens and cold storage warehouses, need specialized formulations to handle thermal expansion.
- Safety & Compliance: Slip resistance, static dissipation (ESD protection), and hygienic, seamless surfaces are critical to meeting global safety and regulatory standards.
Prevention of Common Failure Points
A thorough upfront needs analysis addresses critical risks such as chemical blistering, substrate delamination, and curing failure caused by improper environmental moisture or temperature monitoring during installation. By aligning the formulation with the specific operational realities of the site, platform owners ensure maximum durability, minimal downtime, and a lower total cost of ownership.
Choosing the Right Industrial Epoxy System Formulation
We don’t believe in a one-size-fits-all approach. To deliver a true heavy duty flooring solution, we carefully engineer each industrial epoxy system by combining the right resins, hardeners, and aggregates to match your exact environment.
Core Components of the Build
- Base Resins: High-solids epoxy that provides the foundational strength and thickness.
- Polyamide/Cycloaliphatic Hardeners: Advanced curing agents selected to prevent chemical degradation and avoid curing failure in high-humidity or low-temperature environments.
- Performance Aggregates: Quartz, aluminum oxide, or silica sand graded for slip resistance and impact absorption.
| Layer Type | Main Purpose | Key Benefit |
|---|---|---|
| Primer Layer | Substrate binding | Seals concrete, prevents outgassing bubbles |
| Body Coat | Thickness & impact resistance | Absorbs heavy structural loads |
| Topcoat Layer | Chemical & UV protection | Resists harsh solvents and heavy traffic |
Getting the mix ratio perfect is where our expertise comes in. A slight imbalance between the resin and the activator ruins the chemical bond, leading to soft spots or sticky surfaces. We pre-engineer our kits under strict quality control so the chemical cross-linking achieves maximum density every single time.
How to Install an Industrial Epoxy System Properly
Installing a heavy duty flooring system takes precision. If you skip a step, you risk a complete curing failure, which ruins the bond and forces you to scrape it all off and start over.
We follow a strict, professional process to make sure our industrial epoxy system handles heavy traffic for years.
1. Surface Preparation
Prep is 90% of the job. The concrete must be clean, dry, and rough enough for the resin to bite into.
- Shot Blasting or Grinding: We mechanically open up the concrete pores to achieve a sandpaper-like profile.
- Debris Removal: Thoroughly vacuum all dust. Any leftover powder creates a barrier that causes delamination.
- Moisture Check: We always test for vapor transmission. High moisture trapped under the surface destroys the coating.
2. Mixing and Ratio Control
Epoxy is a chemical reaction, not paint. You cannot wing the measurements.
- Exact Ratios: Mix Part A (resin) and Part B (hardener) exactly as specified.
- Drill Mixing: Use a low-speed drill mixer for 3 minutes. Scrape the sides and bottom of the bucket to avoid unmixed pockets that lead to sticky spots and curing failure.
- Pot Life Tracking: Once mixed, the clock starts. We apply the batch immediately before it hardens in the bucket.
3. Application Layers
A true heavy duty flooring setup requires multiple layers built for impact and chemical resistance.
| Layer | Purpose | Application Method |
|---|---|---|
| Primer Coat | Penetrates the concrete and seals pores to prevent air bubbles. | Squeegee and back-roll |
| Body/Broadcast Coat | Adds thickness and durability. Often loaded with quartz or flakes for slip resistance. | Notched squeegee |
| Topcoat | Provides UV protection, chemical resistance, and the final gloss or matte finish. | Lint-free rollers |
4. Curing and Inspection
Keep the application area well-ventilated and strictly temperature-controlled. Avoid foot traffic for at least 24 hours, and keep heavy forklifts or machinery off the floor for a full 3 to 7 days until the chemical matrix fully cures.
