Jewelry Epoxy Coating Guide Application Materials Steps
1. Jewelry Epoxy Coating Applications
In the global jewelry market, presentation and durability dictate product value. A premium jewelry epoxy coating serves a dual purpose: it acts as a protective shield and an aesthetic enhancer for artisan rings, pendants, charms, and earrings.
Whether sealing delicate paper art, preserving botanical elements in resin, or topping custom metalwork, this coating prevents tarnishing and lock in intricate details. Consumers expect luxury pieces to maintain their brilliance over time, making a professional-grade dome or seal essential for commercial viability.
2. Material Selection Criteria
Choosing the right formula impacts the final market value of your inventory. Industrial-grade jewelry resins must fulfill strict performance benchmarks to meet global quality standards.
- Optic Clarity: Look for premium, water-clear formulas that offer a high gloss finish without yellowing over time under UV exposure.
- Surface Hardness: Superior scratch resistance prevents daily wear and tear from dulling the surface of the jewelry.
- Viscosity Control: High-viscosity formulas are ideal for creating a raised, domed effect on metal blanks, while low-viscosity resins excel at penetrating complex, filigree spaces.
- Safety Compliance: Prioritize low-odor, zero-VOC (Volatile Organic Compounds) formulas that ensure a safer workshop environment.
3. Step-by-Step Application Guide
Achieving a flawless, bubble-free finish requires a disciplined, controlled application process.
Step 1: Surface Preparation
Clean all jewelry blanks thoroughly using isopropyl alcohol to remove oils, dust, and fingerprints. Ensure the pieces are completely dry and laid out on a perfectly level silicone mat.
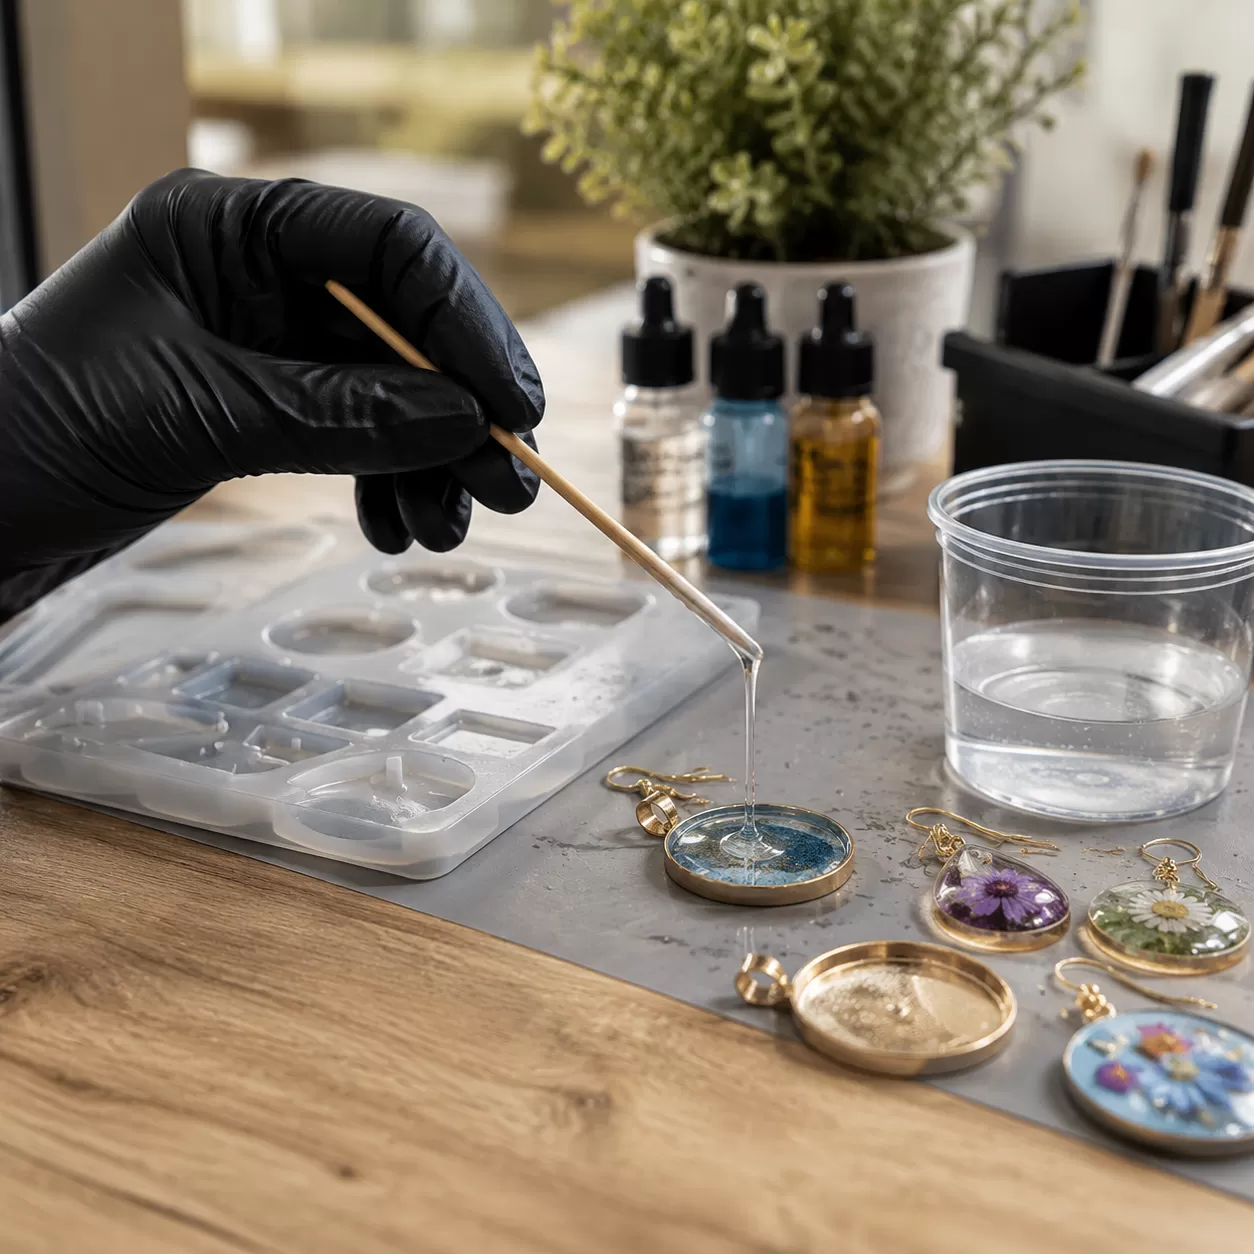
Step 2: Precise Mixing
Follow the manufacturer’s volume or weight ratios exactly (commonly 1:1 or 2:1). Mix slowly for a full three minutes, scraping the sides and bottom of the mixing cup to prevent uncured sticky spots.
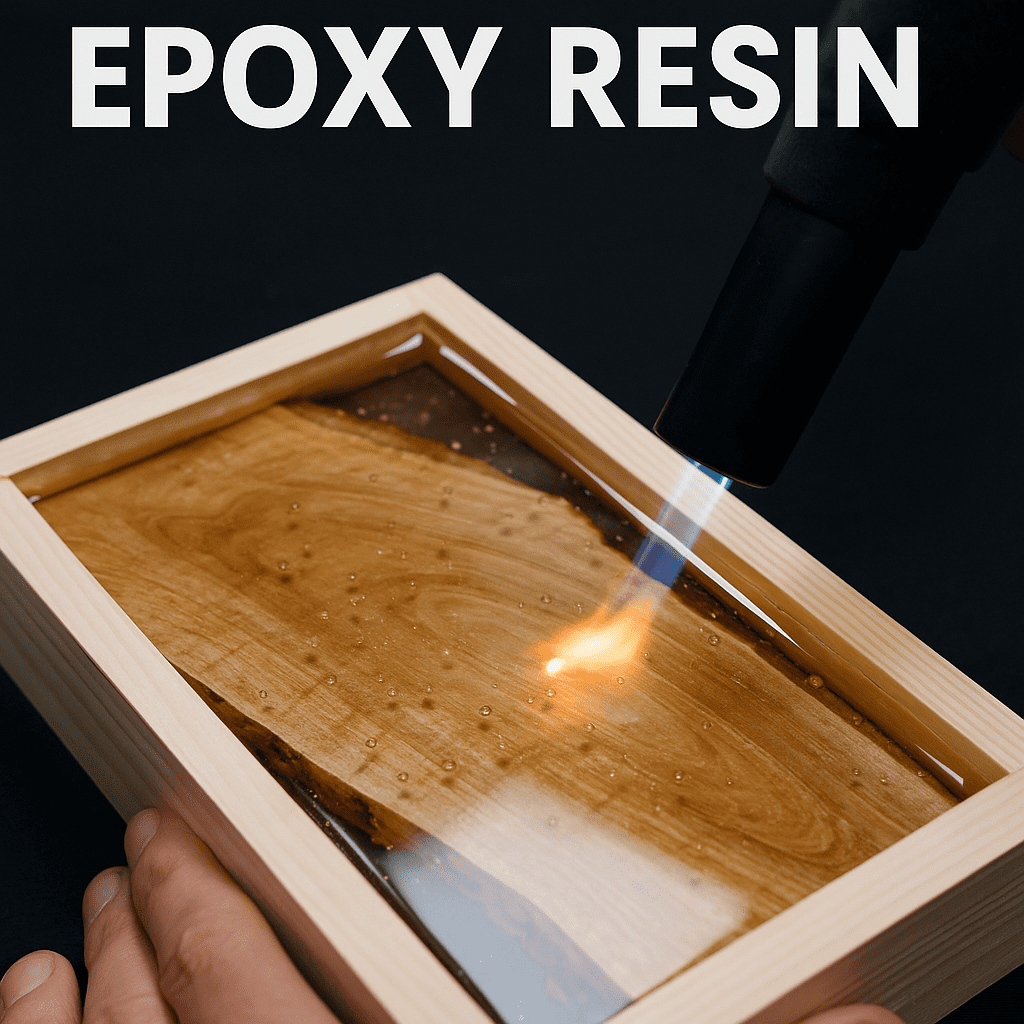
Step 3: Bubble Elimination
Let the mixed resin sit for two minutes to allow macro-bubbles to rise to the surface. Use a fine tip pipette or a dispensing syringe for targeted, precise placement on small jewelry components. Pass a handheld butane torch or heat gun swiftly over the surface to pop any remaining micro-bubbles.
Step 4: Controlled Curing
Cover the coated jewelry with a dust protective dome or box immediately. Allow the pieces to cure in a temperature-controlled environment (ideally 21-25°C) for 24 to 48 hours until full surface hardness is unlocked.