Epoxy Floor Color Variation Causes and Control Methods
Understanding Epoxy Floor Color Variation
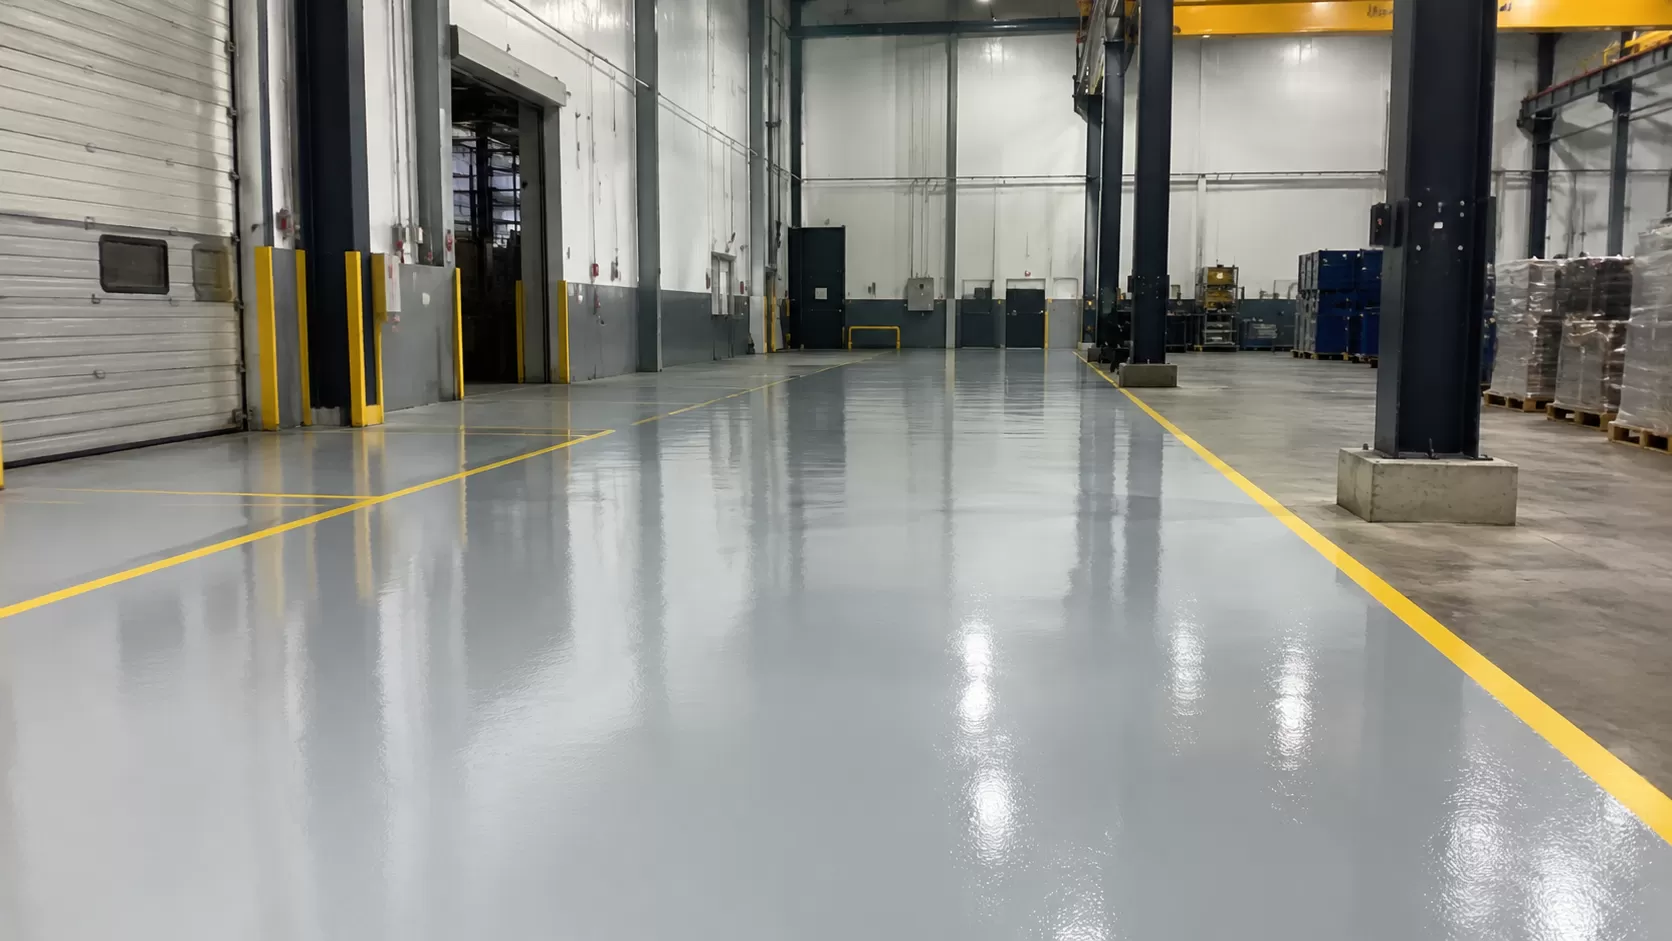
Achieving a flawless, uniform finish is the standard for high-quality industrial and commercial resinous flooring. However, epoxy floor color variation remains a critical challenge that can compromise the visual integrity of a project. Color inconsistency—often manifested as shadowing, blotchiness, or distinct line differences—stems from a variety of chemical, environmental, and application factors.
Understanding these root causes is essential for maintaining strict quality control and ensuring global market satisfaction.
Key Factors Causing Color Discrepancies
-
- Batch Consistency Issues: Mixing different manufacturing batches on a single project is a primary trigger for color shifts. Minor variations in pigment loading during production can become highly visible once applied side-by-side on a large surface.
- Improper Mixing Ratios: Epoxy systems rely on precise chemical reactions. Deviating from the manufacturer’s specified Part A (resin) and Part B (hardener) ratios alters the chemical matrix, which directly impacts the final pigment development and gloss level.
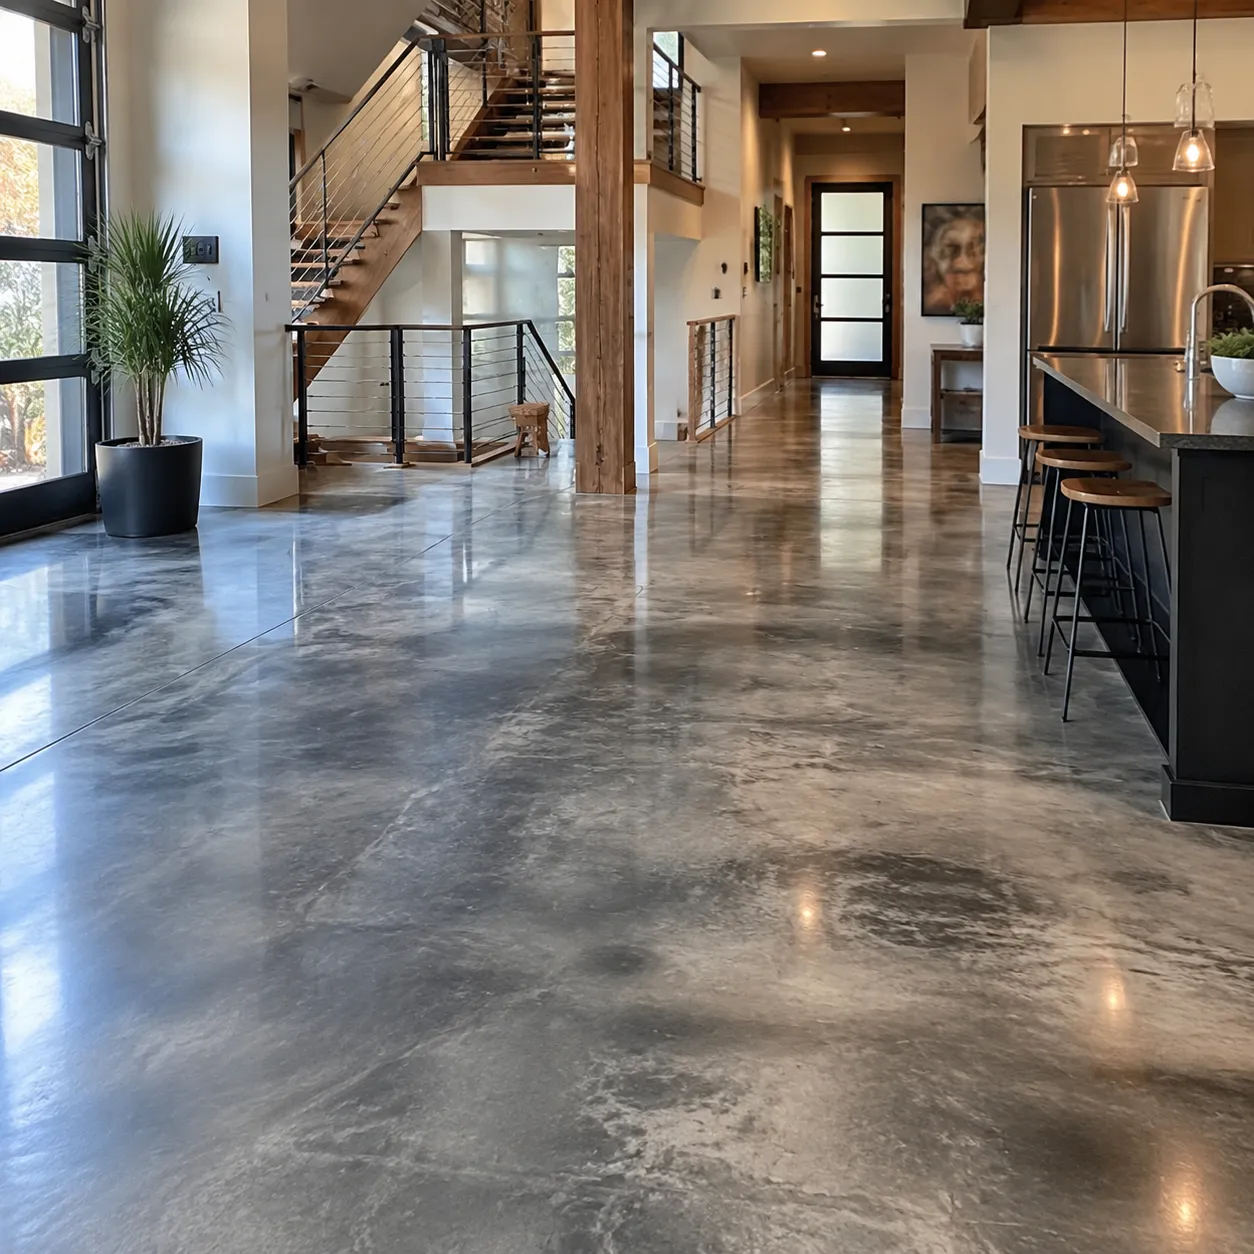
- Varying Substrate Porosity: Concrete substrates are rarely uniform. Highly porous areas absorb resin more rapidly, pulling the binder away from the surface and leaving a different pigment density compared to denser, less porous zones.
- Fluctuating Environmental Conditions: Temperature and humidity levels heavily influence cure times. High humidity can cause amine blushing—a milky surface film that drastically changes the perceived color and gloss of the floor.
- Application Thickness Discrepancies: Variations in film thickness change how light reflects off the floor. Areas applied too thickly will naturally appear darker or more opaque than sections rolled out too thinly.
| Factor | Primary Impact on Coating | Visual Result |
|---|---|---|
| Batch Mixing | Inconsistent pigment distribution | Distinct color blocking or framing |
| Amine Blushing | Moisture reaction during cure | Milky, hazy, or washed-out appearance |
| Substrate Absorption | Uneven resin starvation | Patchy, matte, or blotchy spots |
Epoxy Floor Color Variation: Jobsite Application Controls
Achieving a flawless finish means managing the application process with precision. When dealing with epoxy floor color variation, consistency during installation is just as critical as your product selection.
Key Application Controls
-
- Substrate Preparation: Uneven porous surfaces absorb resin differently. We ensure the concrete profile is completely uniform and properly primed to prevent dry spots that alter the final color.
- Environmental Monitoring: Temperature and humidity fluctuations change how epoxy cures. We strictly monitor jobsite conditions because rapid curing can distort the pigment distribution.
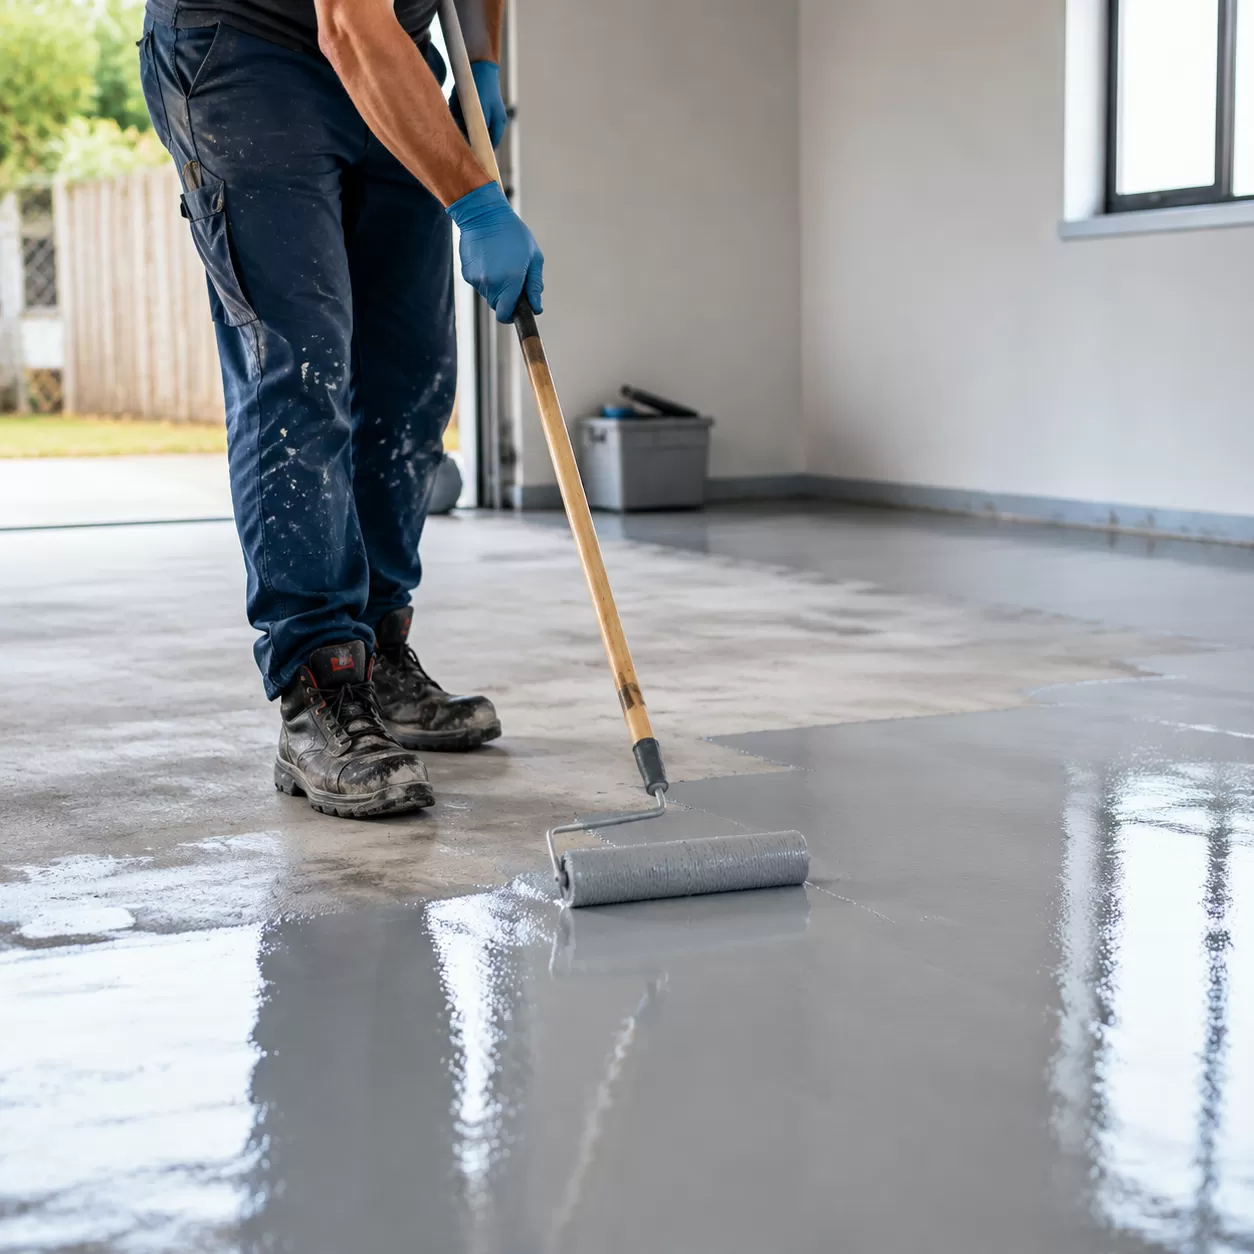
- Consistent Film Thickness: Variations in application thickness lead to subtle shading differences. Maintaining a uniform wet film thickness across the entire floor is non-negotiable for a seamless look.
Standardized Mixing Protocols
| Step | Action | Impact on Color |
|---|---|---|
| Pre-mixing | Mechanically agitate individual parts before combining. | Settles pigment evenly. |
| Blending | Use a low-speed drill to mix Part A and Part B thoroughly. | Prevents unactivated resin streaks. |
| Timing | Maintain identical mixing times for every single batch. | Ensures batch consistency across the floor. |
Pro Tip: Never scrape the sides of the mixing bucket when pouring the resin onto the floor. Unmixed material stuck to the walls will cause localized sticky spots and visible color discrepancies.
How to Fix and Prevent Epoxy Floor Color Variation
When you are dealing with an uneven finish, you need fast, actionable solutions. We use a mix of strict batch management and precise application techniques to handle epoxy floor color variation on any job site.
Quick Fixes for Existing Color Shifts
If you notice shading issues after the pour, use these methods to correct the surface:
-
- Apply a Solid Topcoat: The most reliable fix for severe color shifting is applying a pigmented polyurethane or polyaspartic topcoat. This seals the floor and locks in a single, uniform color.
- Sand and Re-pour: For localized spots, lightly sand the affected area and apply a fresh breakout coat from a single batch to blend the patch seamlessly.
- Use Pigment Adjusters: For minor tint issues during mixing, carefully add compatible liquid colorants, ensuring you measure by the drop to maintain batch consistency.
Long-Term Prevention Checklist
To stop color issues before they start, establish a strict workflow on the floor:
| Action Item | Why It Matters | Best Practice |
|---|---|---|
| Check Batch Numbers | Avoids factory tint shifts | Only use kits with matching manufacturing dates on the same room. |
| Pre-Mix Pigments | Prevents settling | Mechanically drill-mix individual parts before combining them. |
| Control the Clock | Prevents thermal yellowing | Apply the mixed product immediately; never let it sit too long in the bucket. |
| Manage Environment | Stops uneven curing | Keep HVAC systems constant to prevent hot spots or humidity spikes. |
By mastering batch consistency and standardizing your mixing times, you eliminate the variables that cause unexpected shading changes across your floor.