
Jewelry Epoxy Coating Guide Application Materials and Steps
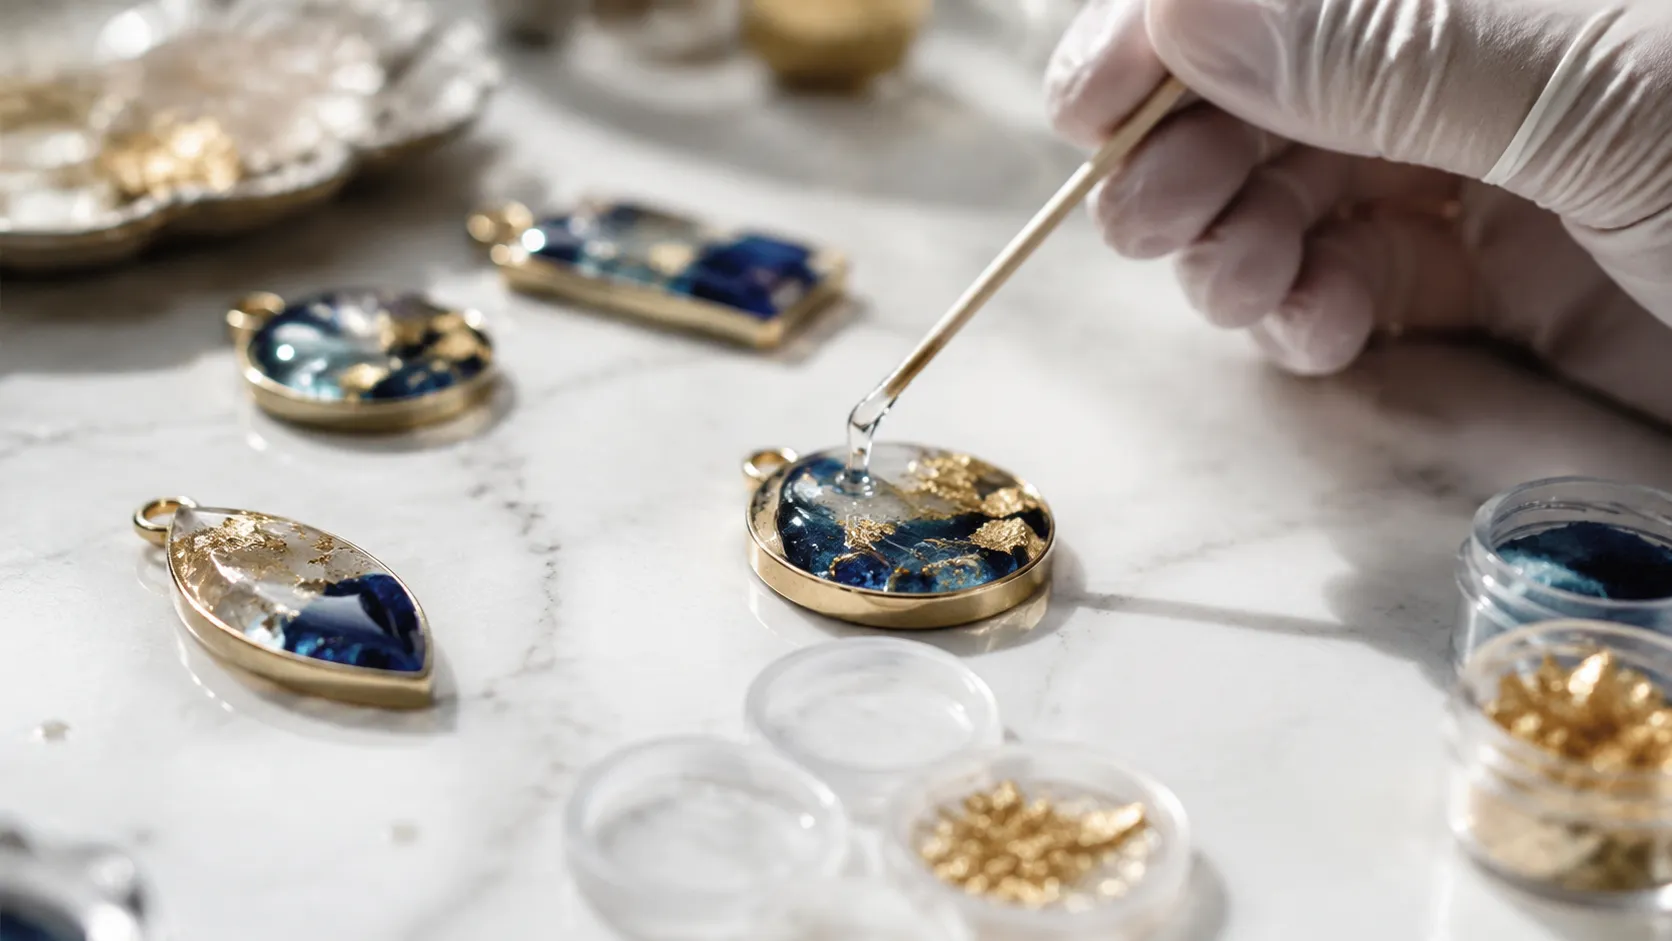
Jewelry Epoxy Coating Application Requirements
The global jewelry market demands flawless aesthetics and long-term durability. Utilizing a premium jewelry epoxy coating ensures that artisanal and mass-produced pieces achieve a professional, high-end finish that meets strict international standards.
Core Market Demands
- High Gloss and Optical Clarity: Consumers expect a crystal-clear, glass-like finish that enhances underlying colors, textures, and embedded elements without yellowing over time.
- Scratch Resistance: Everyday wear exposes jewelry to friction and impacts. A robust coating provides excellent surface hardness to protect delicate pieces from micro-scratches and abrasions.
- Adhesion and Versatility: The protective layer must bond permanently to diverse substrates, including metals, wood, polymer clay, and gemstones, without peeling or lifting.
- Precision and Defect Prevention: High-quality formulations must minimize the risk of curing failure, fish eyes, or surface tackiness, ensuring a reliable yield during mass production.
Choosing the Right Jewelry Epoxy Coating
We know that choosing the right formulation is the make-or-break step for your designs. When we developed our professional-grade jewelry epoxy coating, we focused on solving the exact pain points creators face every day: yellowing, bubbles, and surface wear.
Key Features to Look For
To get that flawless, glass-like finish, your coating must meet these specific standards:
- High Gloss & Clarity: The formula must cure crystal clear to enhance the colors and details of your jewelry without any cloudiness.
- Scratch Resistance: Daily wear takes a toll. Excellent hardness prevents micro-scratches from ruining the shine over time.
- UV Stabilization: Crucial for preventing your pieces from turning yellow when exposed to sunlight.
- Low Viscosity: A thinner consistency allows bubbles to escape easily before the cure begins.
Quick Comparison: Standard Resin vs. Premium Jewelry Coating
| Feature | Standard Craft Resin | Our Jewelry Epoxy Coating |
|---|---|---|
| Optical Clarity | Moderate (may yellow) | Excellent (UV resistant) |
| Surface Hardness | Soft (prone to scratches) | High scratch resistance |
| Viscosity | Thick (traps bubbles) | Thin (self-degassing) |
| Risk of Curing Failure | High (sensitive to ratios) | Low (forgiving 1:1 mix ratio) |
Using a specialized jewelry epoxy coating instead of a generic craft resin ensures your finished pieces remain durable and pristine. Selecting a formula with a stable, easy-to-measure mixing ratio also dramatically reduces the risk of curing failure, saving you time and wasted materials.
3. Step-by-Step Guide to Applying Jewelry Epoxy Coating
Getting a flawless, crystal-clear finish requires precision. Follow this proven application process to achieve a professional-grade jewelry epoxy coating without running into common mistakes.
Step 1: Prep and Clean Your Workspace
- Clear the dust: Work in a clean, dust-free room. Airborne particles are the number one enemy of a smooth surface.
- Level your surface: Use a small bubble level to ensure your curing tray is completely flat, preventing uneven pooling.
- Prep the jewelry: Wipe down your pieces with isopropyl alcohol to remove fingerprints, oils, or moisture.
Step 2: Exact Measuring and Mixing
- Follow the ratio: Mix your resin and hardener exactly as specified by the manufacturer (usually a 1:1 or 2:1 ratio by volume or weight).
- The double-mix method: Stir slowly for a full three minutes, scraping the sides and bottom of the cup. Pour the mixture into a second clean cup and stir for another minute. This eliminates unmixed pockets that lead to curing failure.
Step 3: Precise Application
- Controlled pouring: Use a wooden stir stick or a silicone applicator to drip small amounts of the jewelry epoxy coating onto your piece.
- Domed effect: For a beautiful high gloss finish, guide the resin right to the edges of the jewelry, allowing surface tension to create a raised dome.
Step 4: Bubble Removal
- Apply gentle heat: Pass a handheld torch or heat gun quickly over the surface (about 6 inches away) right after pouring. This pops trapped air bubbles instantly, ensuring maximum clarity and scratch resistance.
Step 5: Clean Curing Environment
- Cover it up: Immediately cover the jewelry with a clean plastic container or box to protect it from dust.
- Be patient: Let it cure undisturbed for at least 24 to 48 hours depending on your local room temperature before handling.
