
Epoxy Resin for Wood Crack Repair Strong Non Shrink Filler
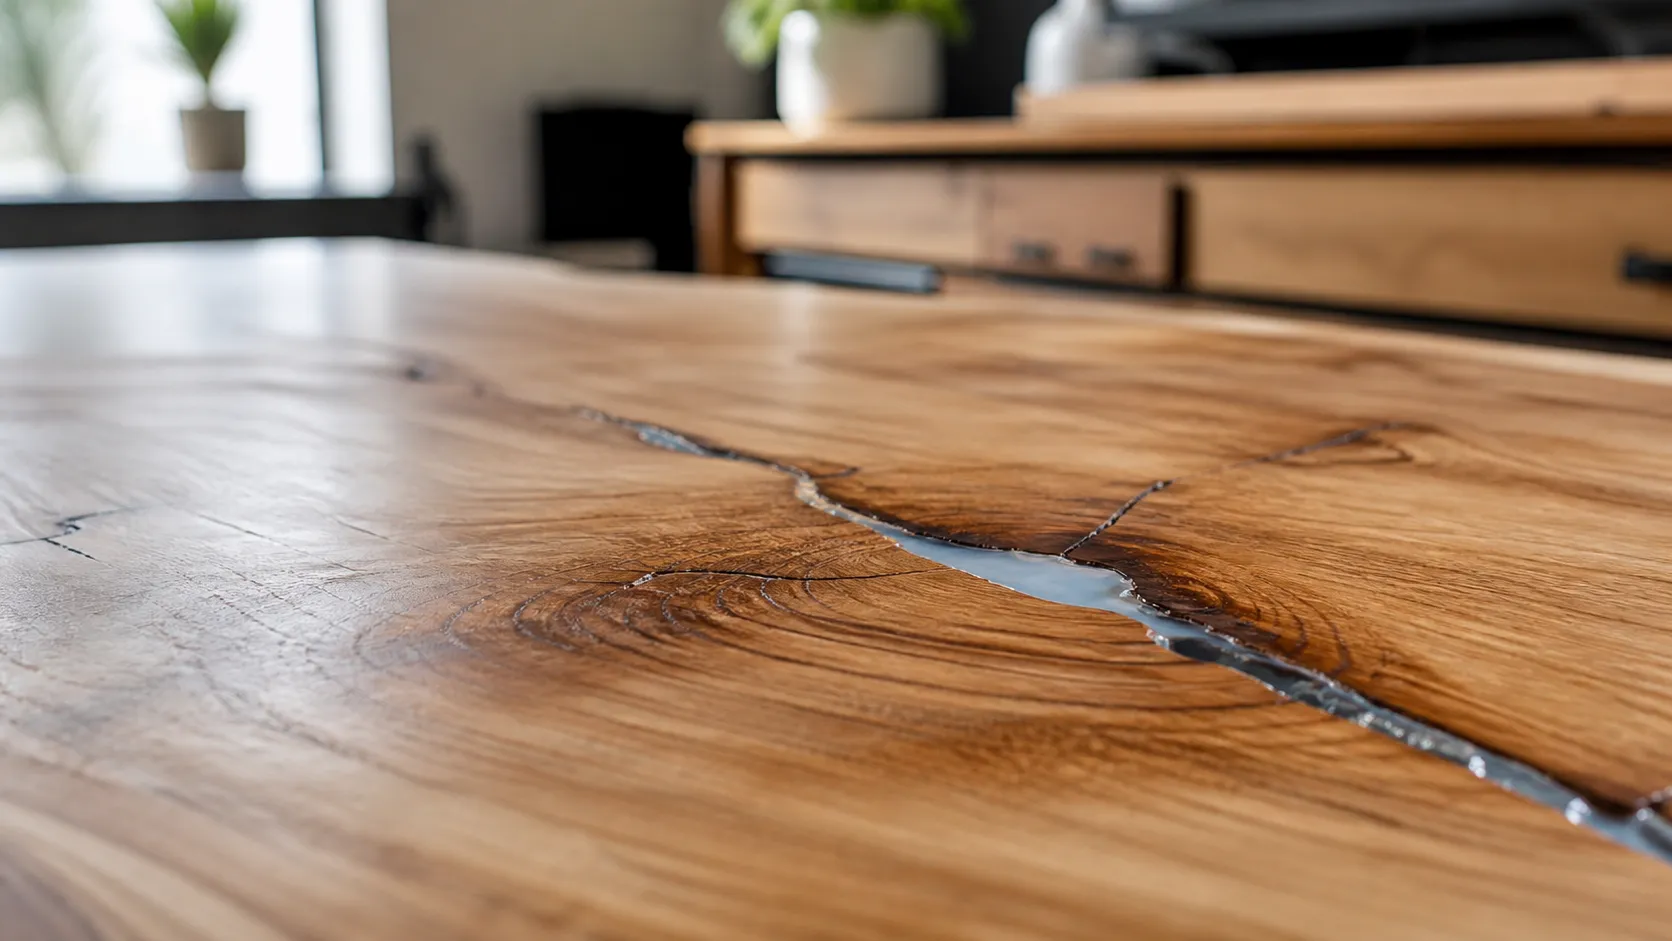
Whether you’re dealing with hairline splits in a heirloom table or deep voids in a raw timber beam, choosing the right epoxy resin for wood crack repair makes all the difference between a ruined piece and a rock-solid finish.
I’ve spent years testing liquid pours, quick-set gels, and heavy putties—and I know firsthand how frustrating sticky mixtures, bottom leaks, and stubborn air bubbles can be.
In this guide, you’ll learn the exact resin formulas, leak-proofing tricks, and sanding techniques to get seamless, professional repairs every single time.
Let’s dive right in!
Understanding Wood Crack Repair: Why Epoxy Resin Outperforms Traditional Fillers
Have you ever repaired a split slab or tabletop, only to watch the filler shrink, crack, or pop loose a few months later? Traditional solvent-based wood putties only offer a temporary cosmetic cover. When you need a permanent repair that restores true structural integrity to damaged timber, using high-performance epoxy resin for wood crack repair is essential.
Structural Bonding vs Cosmetic Cover
Standard wood putties dry out through solvent evaporation. As liquid leaves the material, the filler shrinks, pulls away from the fissure walls, and crumbles under mechanical stress.
Two-part epoxy AB glue systems cure through a chemical reaction rather than evaporation. At RWATELIER, we formulate our resins to penetrate deep into raw wood fibers, forming a tight chemical cross-link. Instead of merely resting inside the gap, the cured epoxy binds the timber back together into a single continuous unit.
- Solvent-Based Putties: High shrinkage, zero load-bearing strength, subject to vibration failure.
- Two-Part Epoxy Systems: Non-shrinking, high-tensile bonding, permanent integration with wood grain.
Essential Mechanical Properties for Daily Wear
A reliable wood crack filler epoxy must handle daily mechanical stress without denting, scratching, or flexing out of place.
| Performance Metric | Traditional Wood Putty | RWATELIER Clear Repair Resin |
|---|---|---|
| Volumetric Shrinkage | High (5%–15%) | Zero (Non-shrinking formula) |
| Surface Hardness | Soft (Shore D < 50) | High Surface Hardness (Shore D > 90) |
| Bonding Type | Surface adhesion | Fiber-level capillary lock |
| Impact & Wear Resistance | Poor (Dents easily) | Exceptional flexural yield and tensile strength |
Achieving a high hardness rating of Shore D > 90 ensures your repaired dining tables, countertop fissures, and flooring beams stay flush and impact-resistant over decades of daily wear.
Moisture Resistance and Dimensional Stability
Wood expands and contracts as ambient humidity changes, which causes original cracks to spread further across the grain. Liquid epoxy penetrates deeply into open cellular structures and seals raw end-grain. Once cured, the resin creates an impermeable barrier against moisture intake, stabilizing the surrounding wood and preventing future split propagation.
Choosing the Right Epoxy Resin Formula for Your Wood Repair Project
Picking the right formulation is the most critical step when using epoxy resin for wood crack repair. Different timber fractures require distinct viscosities, flow rates, and heat management profiles. We engineer specific resin chemistries to handle every type of wood void cleanly and permanently.
Low Viscosity Epoxy for Hairline Fractures
- Target Repairs: Micro-cracks, spiderweb checking, and surface stress fractures.
- Flow & Penetration: Highly fluid, water-like consistency with deep capillary action. It draws deep into raw timber grain to bind weak fibers together from the inside out.
- Key Result: Complete penetration of sub-millimeter fissures where thicker glues fail to flow.
Two-Part Epoxy Gel for Vertical Fissures
- Target Repairs: Vertical beam splits, side-grain gaps, and structural rot restoration.
- Flow & Penetration: A thixotropic two-part epoxy gel engineered to stay exactly where you apply it.
- Key Result: Zero sagging, slumping, or runoff on vertical surfaces, eliminating messy bottom-draining issues.
Deep Pour Epoxy Resin for Large Timber Voids
- Target Repairs: Deep splits, live-edge knot holes, and wide fissures (2–30 cm depth).
- Flow & Penetration: Slow-curing, low-exotherm chemistry that keeps heat buildup down during cross-linking.
- Key Result: Allows thick single-pass fills without thermal cracking, bubbling, shrinkage, or yellowing.
Water-Clear vs. Tinted Resin Options
| Repair Style | Application Goal | Recommended Additives |
|---|---|---|
| Crystal-Clear Repair Resin | Glass-like clarity highlighting raw wood grain and live edges | Pure two-part resin (no additives) |
| Wood-Grain Match | Invisible patch matching the surrounding timber color | Fine wood flour filler or sander dust |
| High-Contrast Accent | Modern feature fills on rustic slabs or tabletop cracks | Epoxy tinting dye, dark pigments, or mica powder |
Matching your resin formula directly to the void size, angle, and aesthetic goal guarantees a fast, leak-free, and permanent repair every time.
Pre-Repair Setup: Essential Tools, Materials, and Workspace Preparation
Before pouring any epoxy resin for wood crack repair, proper preparation makes the difference between a seamless, structural bond and a messy fail. Resin will find and flow through every microscopic leak path. Setting up your workspace and timber correctly guarantees clean results and zero wasted material.
Essential Gear Checklist
Having the right tools on hand keeps your workflow smooth and prevents premature curing issues:
- Two-Part Epoxy System: High-grade RWATELIER epoxy AB glue (low-viscosity for hairline cracks or deep pour resin for wide voids).
- Precision Measuring Tools: A digital scale accurate to 0.1g for weight-ratio formulas, or clear graduated mixing cups for volume-based mixes.
- Thermal Bubble Release: A heat gun or butane torch to eliminate surface tension bubbles.
- Damming & Sealing Materials: Heavy-duty polyolefin sealing tape for resin and fast-setting hot glue or silicone caulk.
- Surface Preparation Gear: A random orbital sander, compressed air, wire brushes, and acetone.
Timber Preparation Standards
Pouring wood crack filler epoxy over dirty or damp timber compromises bond strength and causes optical defects. Follow these three prep standards:
- Verify Moisture Content: Test your timber with a wood moisture meter. Ensure the moisture level is strictly under 12% (ideally 6–8% for indoor furniture). Trapped moisture causes uncured resin, milky clouding, or delamination.
- Clean Out the Void: Scrape away soft rot, loose fibers, and saw dust using a stiff wire brush or dental pick. Blow the fissure completely clean with compressed air.
- Degrease Oily Hardwoods: Woods like teak, rosewood, and cocobolo contain natural surface oils that repel liquid resin. Wipe down the inner surfaces of the fissure with acetone right before sealing to ensure maximum chemical adhesion.
Sealing Bottom Fissures and Preventing Leaks
A low viscosity epoxy behaves like water before it cross-links. If your bottom dam isn’t liquid-tight, resin will drain onto your workbench within minutes.
- Apply High-Tack Sealing Tape: Cover the bottom and sides of the crack with polyolefin or tuck tape. Press down firmly using a plastic squeegee or roller to burnish the edges into the wood grain.
- Reinforce High-Risk Gaps: For rough-sawn slabs or deep timber voids, apply a bead of hot glue or silicone around the tape perimeter on the underside. This creates a secondary leak barrier.
- Check for Light Leaks: Shine a bright flashlights underneath the slab. If light passes through the taped joint, resin will too—add another layer of tape or sealant before mixing your resin.
Step-by-Step Guide: Filling Wood Cracks with Epoxy Resin
Flawless timber void filling comes down to disciplined execution and precise timing. Here is how we complete clean, structural repairs every time using our epoxy resin for wood crack repair.
Step 1: Deep Cleaning and Priming the Fissure
- Clean thoroughly: Blast away loose wood fibers, dirt, and debris using compressed air or a fine wire brush.
- Prime the pores: Brush a thin seal coat of mixed resin directly onto the interior raw end-grain. This locks down wood fibers and stops trapped air in the grain from outgassing into your main pour later.
Step 2: Precise Ratio Measurement and Mixing
- Measure accurately: Follow exact weight or volume mix ratios specified for your epoxy AB glue system (commonly 1:1 or 2:1 formulations).
- Mix completely: Stir slowly for 3 to 5 minutes, making sure to scrape the sides and bottom of the container continuously. Unmixed resin on the cup wall is the leading cause of soft spots and total curing failure.
Step 3: Pouring and Layer Management
- Control the stream: Pour mixed liquid in a slow, thin ribbon into the lowest point of the crack. This allows the resin to displace air naturally as it rises.
- Respect depth limits: For standard repair resins, keep single-pass pours under 2 cm to manage exotherm heat buildup. For deeper voids, allow the first layer to reach a tacky gel state before pouring the next layer.
Step 4: Air Bubble Entrapment & Removal
- Identify bubble sources: Surface tension bubbles rise and pop easily, while continuous bubbling usually means raw wood grain is outgassing into uncured resin.
- Apply quick heat sweeps: Execute a proper bubble removal technique by passing a heat gun or propane torch 15 cm above the resin surface in swift, sweeping motions. Never hold heat in one spot, or you risk scorching the timber surface and yellowing the epoxy.
Step 5: Full Cure Cycle Management
- Control workspace climate: Maintain ambient temperatures between 20°C and 25°C (68°F–77°F) with humidity below 60% for complete cross-linking.
- Respect full cure times: Allow 24 to 72 hours (depending on formula depth and room temperature) for the matrix to achieve max hardness before planing, jointing, or sanding.
| Repair Stage | Core Focus | Critical Parameter / Tool |
|---|---|---|
| Cleaning & Priming | Block wood outgassing | Wire brush & thin brush seal coat |
| Dosing & Mixing | Guarantee cross-linking | 3–5 min thorough stir (scrape cup walls) |
| Pouring | Eliminate air pockets | Slow ribbon stream into lowest point |
| Bubble Removal | Clear surface air | Fast heat sweeps (15 cm distance) |
| Cure Cycle | Reach full Shore D hardness | 20°C–25°C ambient temp for 24–72 hours |
Troubleshooting Common Wood Crack Repair Failures
Even experienced woodworkers occasionally run into issues when filling timber voids. Recognizing the root causes of a curing failure allows us to fix problems quickly and keep projects moving forward on schedule.
Fixing Sticky or Tacky Uncured Resin
When epoxy resin for wood crack repair remains gummy or tacky past its cure window, two primary culprits are usually at play:
- Off-Ratio Mixing: Deviating from the exact weight or volume ratio prevents complete cross-linking.
- Low Ambient Temperatures: Working below 20°C (68°F) drastically slows or stalls the cure cycle of two-part epoxy AB glue.
| Primary Cause | Visual Symptom | Immediate Solution |
|---|---|---|
| Improper Ratio / Incomplete Mixing | Soft surface, rubbery core | Scrape out uncured material, clean void thoroughly, and re-pour with exact measurements. |
| Cold Workspace | Tacky finish after 24–48 hours | Raise workspace temperature to 22–25°C (72–77°F) or supply gentle, indirect ambient heat. |
How to fix sticky voids: Never pour fresh liquid directly over uncured resin. Scrape away all soft material using a chisel or scraper, scrub the fissure clean with acetone, and re-pour using a precisely measured batch of wood crack filler epoxy.
Preventing Thermal Exotherm Burning
Deep voids filled with standard or fast-curing resins can suffer from thermal runaway. When resin mass generates heat faster than it can dissipate, the core overheats, turns yellow, cracks, or scorches the surrounding wood fibers.
- Select Low-Exotherm Systems: For fills deeper than 12 mm (1/2 inch), always switch to a low-exotherm, deep-pour system engineered to manage internal heat.
- Pour in Controlled Stacks: If you must use rapid-curing formulas, limit single passes to shallow depths (under 10 mm) and let heat dissipate between layers.
We engineer our RWATELIER low-exotherm formulations to dissipate thermal buildup gradually, protecting deep structural pours from internal stress fractures and discoloration.
Managing Resin Sinking and Depressions
A slight surface dip along the crack line a few hours after pouring is normal. This happens as low viscosity epoxy flows deeper into internal wood capillaries, micro-fissures, and hidden pockets.
- Monitor during Gel Stage: Inspect the pour 2 to 4 hours in. If the level drops, add a quick top-off pour while the base layer is still tacky to ensure a seamless chemical bond.
- Overfill the Fissure: Crown the liquid 1 to 2 mm higher than the wood surface so settling leaves enough material to sand flush later.
- Rely on Non-Shrinking Systems: Using a true non-shrinking resin formula ensures that once internal wood pores are saturated, the cured surface remains dimensionally stable without pulling away from the timber edges.
Post-Cure Finishing: Sanding and Topcoating Epoxy Resin for Wood Crack Repair
Once your repair cures completely, proper surface finishing determines whether the repair blends seamlessly or shows unsightly scratches. I always design our RWATELIER factory-grade systems to sand cleanly without gumming up abrasives, provided you follow a disciplined sanding progression and select compatible topcoats.
Orbital Sanding Wood Resin Without Heat Buildup
Sanding cured epoxy requires balancing material removal with heat management. High friction melts cured resin surfaces, leaving white swirls and clogged sanding pads.
- Initial Flattening (80–120 Grit): Use an orbital sander with medium pressure to level raised resin flush with the timber. Keep the sander moving continuously to prevent localized thermal friction.
- Refining Scratch Marks (150–220 Grit): Transition through intermediate grits to smooth out heavy scratch patterns across both the wood fibers and the epoxy interface.
- High-Clarity Polishing (400–2000+ Grit): If you are working with a clear repair resin and want a glass-like finish on exposed deep fills, switch to wet-sanding with a light mist of water above 400 grit.
| Sanding Stage | Grit Progression | Primary Objective | Pro Tip |
|---|---|---|---|
| Flush Leveling | 80 – 120 Grit | Knock down excess epoxy resin for wood crack repair flush to timber | Keep orbital sander moving; avoid tilting edges |
| Grain & Resin Smoothing | 150 – 220 Grit | Remove coarse scratches and prepare surface for topcoats | Clean dust thoroughly between grit transitions |
| High-Gloss Polishing | 400 – 2000+ Grit | Restore optical clarity to exposed clear epoxy voids | Use wet-sanding pads with light water lubrication |
Topcoat Compatibility with Cured Epoxy
Cured epoxy forms an inert, non-porous plastic surface. Selecting the right finish ensures proper adhesion across both raw wood grain and cured resin voids.
- Hardwax Oils: Ideal for a natural matte look. Sand the wood and resin interface up to 180–220 grit so the oil grips the wood while buffing cleanly over the epoxy surface.
- Polyurethane & Varnish: Delivers maximum UV and scratch protection for tabletop crack repairs. Apply film-forming poly directly over resin scuffed to 220 grit for optimal mechanical bonding.
- Lacquers: Excellent for high-speed production. Sprayed lacquers adhere well to scuffed epoxy surfaces without clouding or lifting.
- Penetrating Wood Stains: Apply stains before filling cracks with epoxy, or stain the surrounding timber after flush-sanding. Cured resin does not absorb wood stain, so wipe excess stain off epoxy areas immediately.
Why RWATELIER Factory-Grade Resins Are Engineered for Superior Wood Restoration
At RWATELIER, we manufacture industrial-grade epoxy resin for wood crack repair designed specifically to handle the physical demands of natural timber. Retail wood putties and off-the-shelf craft glues simply cannot match the structural performance of our specialized formulations. We build our products from the resin chemistry up to solve real-world woodworking problems like deep shrinkage, thermal yellowing, and surface denting.
High-Hardness Formulations (Shore D > 90)
We engineer our clear repair resin systems to achieve a fully cured Shore D hardness exceeding 90. This high surface density ensures maximum scratch and impact resistance across heavy-use tabletop cracks, countertops, and structural floor beams.
- Zero Indentation: Resists heavy loads, daily wear, and dropped tools without surface denting.
- Flush Polish: Sands cleanly alongside hard and soft woods without creating low spots at the glue-timber interface.
Deep Pour Versatility (2 to 30 cm Single Pass)
Filling deep voids, live-edge fissures, or knot holes used to require tedious, time-consuming multi-layer pours. Our deep pour epoxy resin controls exothermic heat release during the cure cycle, preventing thermal cracking, bubble entrapment, or clouding.
- Single-Pass Fills: Pour deep gaps from 2 to 30 cm thick in a single application.
- Dimensional Stability: Non-shrinking formula guarantees a completely flat finish that stays permanently bonded to inner timber fibers.
Low-VOC and Eco-Conscious Chemistry
Safety and usability drive our factory formulations. We produce low-odor, low-VOC wood crack filler epoxy systems suitable for indoor architectural woodworking, shop environments, and residential installations.
- Architectural Standard: Certified for indoor architectural applications and commercial furniture manufacturing.
- Clean Working Environment: Minimal odor creates a safer, more comfortable application process for woodworkers.
Custom OEM/ODM Solutions for Industrial Woodworking
As a direct factory manufacturer, we partner with commercial furniture makers and industrial wood fabricators to deliver tailor-made epoxy AB glue and resin systems.
| Custom Parameter | OEM/ODM Capabilities | Woodworking Benefit |
|---|---|---|
| Viscosity | Ultra-low liquid to thick thixotropic gel | Optimized for deep capillary penetration or vertical beam fills |
| Cure Speed | Fast-setting structural tack to slow deep-pour reaction | Matched to your specific shop cycle times |
| UV Protection | Advanced Hindered Amine Light Stabilizers (HALS) | Long-term yellowing resistance in sunlit indoor spaces |
We provide direct technical consultation, private labeling, and custom batch formulations to meet exact commercial production requirements.
Frequently Asked Questions: Epoxy Resin for Wood Crack Repair
We field technical questions daily from custom furniture makers, architectural woodworkers, and DIY enthusiasts using our factory-grade formulas. Here are direct solutions to the most common challenges in timber void filling.
Can I stain cured epoxy resin to match wood grain?
No. Cured epoxy forms a dense, non-porous polymer matrix that cannot absorb liquid wood stains. Attempting to stain over cured resin results in a streaky, uneven mess that easily wipes off.
To achieve a seamless visual match or intentional contrast, use these proven methods:
Stain timber prior to resin application: Apply your wood stain to raw timber first, let it fully cure, and then apply your epoxy resin for wood crack repair.
Tint the liquid resin mixture: Add specialized liquid dyes, mica powders, or fine wood flour filler into Part A before blending with Part B. This colors the entire mass throughout the crack depth.
Epoxy Gel vs. Deep Pour Resin: What is the difference?
Selecting the correct viscosity prevents structural failures, leaks, and excessive heat buildup during cure.
| Technical Feature | Two-Part Epoxy Gel | Deep Pour Liquid Resin |
|---|---|---|
| Viscosity Level | High (Thixotropic, non-sagging paste) | Very Low (Water-like fluidity) |
| Primary Target | Vertical cracks, side grain, quick gap filling | Deep slab fissures, live-edge knots, large voids |
| Maximum Fill Depth | Up to 10 mm per pass | 2 cm to 30 cm in a single pour |
| Cure Time Frame | Fast (30 minutes to 2 hours) | Slow, low-exotherm (24 to 72 hours) |
| Leak / Drainage Risk | Zero (Stays precisely where applied) | High (Requires complete perimeter sealing) |
How do I stop resin from leaking through bottom cracks?
Because low viscosity epoxy behaves like water, unsealed bottom gaps in rustic slabs will drain your resin completely onto the workshop floor.
- Apply high-tack tape: Seal the bottom and side boundaries of the fissure using specialized polyolefin sealing tape for resin or heavy-duty tuck tape. Press the edges down firmly with a roller.
- Build a barrier seal: For wider or uneven gaps, brush a quick coat of fast-setting two-part epoxy gel or silicone over the bottom seam first. Let it fully cure to create a leak-proof dam before pouring your main clear repair resin.
What causes resin in wood cracks to turn cloudy or form white spots?
Cloudiness, haze, or white spotting usually traces back to environmental factors or incorrect preparation:
- High Timber Moisture: Wood with moisture content above 12% releases water vapor into the resin during the exothermic cure, causing moisture blush and clouding.
- Entrapped Micro-Bubbles: Mixing too fast or failing to perform a quick surface pass with a heat gun leaves millions of tiny air bubbles trapped inside the curing matrix.
- Improper Mix Ratios: Deviating from exact weight or volume instructions prevents complete cross-linking, leading to curing failure and sticky, milky patches.
Related Sources
- https://www.nxtgensys.com/news/2025/3/26/why-epoxy-resin-outperforms-polyester-wood-fillers
- https://industrialclear.com/blogs/learn/epoxy-resin-wood-with-cracks-holes-and-knots
- https://www.carved.com/blogs/life-at-carved/filling-cracks-in-wood-with-epoxy-resin
- https://www.epoxyworks.com/wp-content/uploads/2015/11/650-8-Instruction-v2.pdf
- https://touchup.com/blogs/news/wood-filler-vs-epoxy-filler-which-one-do-you-actually-need
