
UV Resin Shrinkage and Warping Causes and Solutions
Quick Answer
UV resin shrinkage and warping happen primarily because ultraviolet light triggers rapid curing that creates uneven internal stress across thin or unsupported castings. When one surface cures faster than the base—or when local temperature, humidity, and exposure intensity are mismatched to the formula—the part pulls inward and distorts.
To prevent deformation in production:
- Match the formula to your environment: Local temperature and humidity directly impact curing performance, requiring tailored flexibility and thermal resistance.
- Control layer thickness and UV exposure: Thin, uniform applications cure more evenly under UV light than thick builds, which are better suited for two-part deep-pour epoxy systems.
- Verify before scaling: Use free sample testing to confirm dimensional stability and surface hardness before moving to bulk production.
At RW ATELIER, our R&D team customizes UV glue and epoxy formulations to balance rapid curing with reliable dimensional stability—backed by ISO 9001:2015 manufacturing and scalable orders from 1 kilogram to 1 ton.
Why Thin Resin Parts Curl
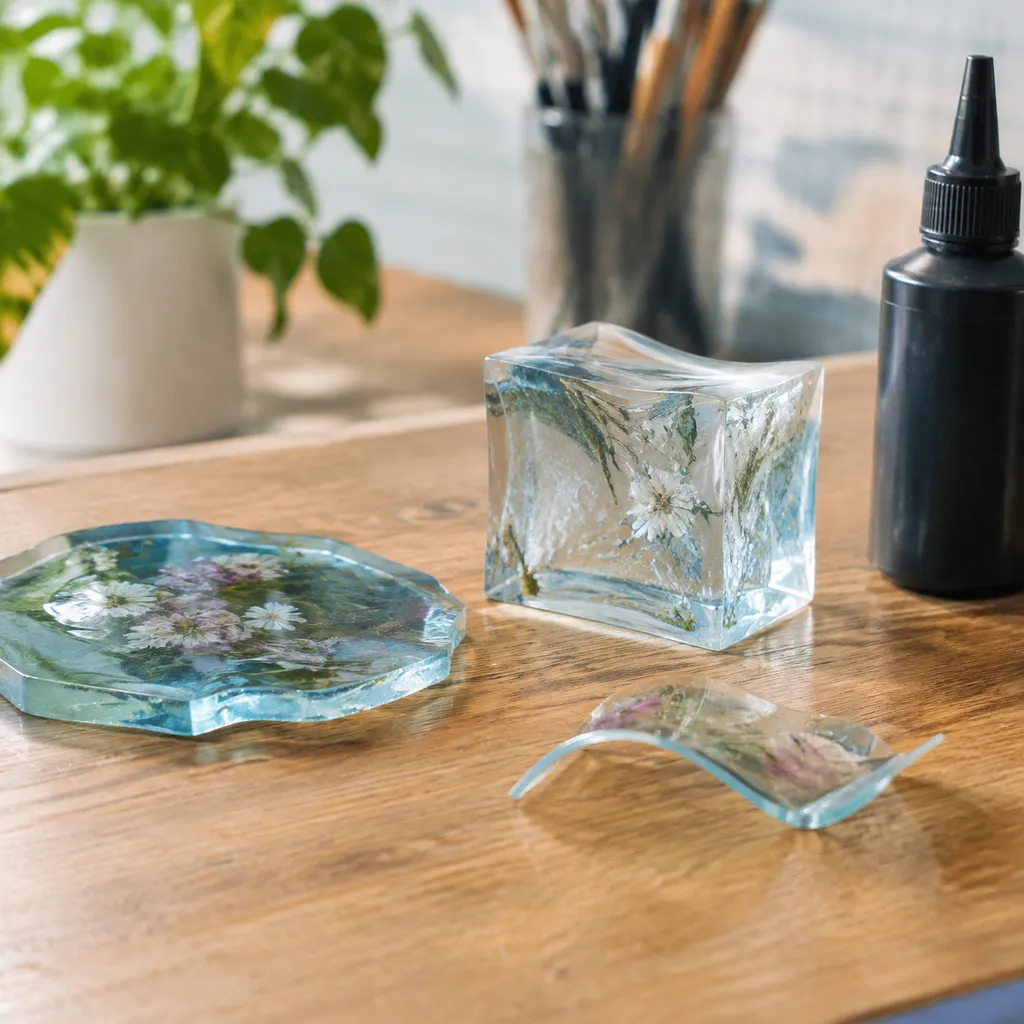
When producing thin items like resin jewelry, nameplates, or flexible strip LED coatings, UV resin shrinkage and warping happen because rapid ultraviolet light curing creates immediate internal tension. Unlike two-part epoxy systems that crosslink slowly through a chemical reaction, UV glue hardens within seconds under UV exposure.
In thin resin casting, the top surface sits closest to the light source and hardens first, while the bottom layer lags behind. This curing gap pulls the edges upward, ruining resin part flatness and causing visible thin resin casting warping.
Uneven Cure Stress Across the Part
Several production variables amplify UV cure stress and compromise UV resin dimensional stability:
- Top-to-bottom cure speed: Rapid surface solidification traps uncured liquid underneath; as the lower layer finally cures and contracts, it pulls the already rigid top skin into a curve.
- Local temperature and humidity: Ambient climate conditions in different regions directly affect how fast resin reacts and flows before setting.
- Formulation mismatch: Standard off-the-shelf formulas often lack the tailored flexibility or thermal resistance needed for thin substrates, leading to post cure deformation or UV resin mold distortion.
- Application depth limits: UV resin is built for fast-curing, transparent, thin layers rather than deep pours (where a 2–30 cm deep-pour epoxy AB system is required).
At RW Atelier, our R&D team solves these issues by adjusting resin flexibility, strength, and thermal resistance to match your exact local climate and production setup—ensuring reliable custom UV resin formulation performance from 1 kg test batches up to 1-ton bulk runs.
Choose a Mold and Support Strategy
Preventing UV resin shrinkage and warping starts before you even turn on your curing light. Because UV glue cures rapidly under ultraviolet light, flexible or unsupported molds can pull inward as the liquid resin hardens.
At RW Atelier, we help clients match the right mold setup to their specific application—whether they are producing resin jewelry, nameplates, or encapsulating flexible strip LEDs. A solid support strategy keeps your parts flat and prevents UV resin mold distortion during fast production runs.
- Back flexible molds with rigid trays: Soft silicone molds allow easy release, but they bend easily under curing stress. Place flexible molds on flat glass, metal, or rigid acrylic plates before pouring.
- Ensure uniform UV light penetration: Clear or translucent molds let ultraviolet light reach the bottom and sides evenly, reducing uneven pull across the piece.
- Match the resin to your pour depth: UV glue is built for rapid curing and transparent effects in thin layers. If your mold requires a deep casting—such as 2 to 30 cm river tables or thick art blocks—switch to a dedicated two-part deep-pour epoxy resin instead.
Part Geometry and Reinforcement Trade-Offs
The shape and thickness of your part directly affect UV resin dimensional stability. Wide, flat surfaces without structural support are far more likely to bow than compact or ribbed designs.
When we develop custom formulations for OEM/ODM partners, we balance flexibility, strength, and surface hardness (reaching over Shore D 90 for tough surface coatings) against the physical design of the part.
| Design Approach | Best Application | Dimensional Stability Benefit | Key Trade-Off |
|---|---|---|---|
| Thin, Even Wall Thickness | Resin jewelry, nameplates, surface coatings | Cures fast and evenly under UV light with minimal internal pull | Lower impact resistance without a rigid backing substrate |
| Perimeter Ribs or Beveled Edges | Electronic potting, protective housings | Adds mechanical stiffness to resist thin resin casting warping | Requires more detailed mold tooling and careful bubble release |
| Substrate Bonding (Direct Pour) | Flexible strip LEDs, surfboards, fishing rods | The underlying surface holds the cured resin flat | Requires custom adhesion tuning to prevent edge peeling |
| Multi-Layer Step Pouring | Thick transparent crafts, layered badges | Lets each thin UV layer stabilize before adding the next | Increases total cycle time compared to a single-pass pour |
If a design needs high impact strength alongside thick cross-sections, adjusting part geometry alone may not be enough. In those cases, we adjust the custom resin formula itself—or recommend a tailored epoxy or polyurethane system—to match your local temperature, humidity, and durability targets.
Adjust Exposure and Post-Cure Sequence
Controlling how ultraviolet light hits your resin is one of the fastest ways to minimize UV resin shrinkage and warping. Because UV glue cures rapidly under ultraviolet light, exposing a part all at once can pull the top surface tight before the lower layers finish reacting.
To maintain UV resin dimensional stability across your production line, we recommend adjusting your operational sequence:
- Use controlled exposure intervals: Instead of blasting thin parts with maximum intensity immediately, use staged or lower-intensity passes so the resin cross-links gradually without generating sharp UV cure stress.
- Keep light distribution even: Position your UV source so every edge and corner receives equal exposure, preventing one side from tightening faster than the other.
- Match curing methods to part thickness: UV resin works best for rapid curing and transparent effects in thin layers, while thicker sections benefit from switching to a two-part casting system where chemical curing develops heat and stress more slowly.
- Account for local shop conditions: Temperature and humidity vary significantly across different regions and directly affect how fast a formula reacts under UV light.
Over-Curing vs Uniform Cure
Pushing extra UV exposure onto a part that has already hardened often triggers post cure deformation rather than extra strength. When a custom UV resin formulation reaches a uniform cure, the polymer network locks in cleanly without pulling edges upward.
| Curing Approach | Effect on Resin Structure | Impact on Part Flatness |
|---|---|---|
| Uniform Cure | Balanced cross-linking from top to bottom | Preserves clean transparency and steady resin part flatness |
| Over-Curing | Excess surface tension and localized heat buildup | Increases photopolymer shrinkage, edge lifting, and surface brittleness |
When we run preliminary physical and chemical property tests in our R&D lab, we dial in the exact flexibility, thermal resistance, and curing profile your equipment needs so you can achieve consistent results without guesswork.
Measure Flatness and Dimensional Change
Before moving from sample testing to scaled production, we always verify UV resin dimensional stability using consistent, repeatable checks on your actual parts. Guessing by eye often misses slight resin part flatness deviations that later cause assembly issues in nameplates, jewelry bezels, or electronic enclosures.
- Baseline vs. Cured Dimensions: Measure your mold cavity or master part first, then record length, width, and thickness right after UV curing and again after 24 hours at room temperature to spot delayed UV resin shrinkage and warping.
- Flatness & Edge Lift Check: Place the cured piece on a verified flat reference surface and use feeler gauges to measure any corner lift or center bowing.
- Local Climate Simulation: Because temperature and humidity vary across global regions and directly affect resin performance, we test samples under your target operating environment before locking in a custom UV resin formulation.
- Batch Consistency Verification: In our ISO 9001:2015 facility, we log physical and chemical test data from your free sample run so every order—from 1 kilogram to 1 ton—holds the same dimensional tolerance.
RFQ Details to Provide: UV resin shrinkage and warping
When you reach out to our R&D team about UV resin shrinkage and warping, sharing clear project details upfront helps us recommend or adjust the right formula fast. Temperature and humidity vary across regions and directly affect resin performance, so our custom UV resin formulation process relies on your exact operating conditions.
To get an accurate quote and free sample testing from our ISO 9001:2015 facility, include these details in your request:
- Application & Part Type: Tell us what you are making, such as resin jewelry, nameplates, surface coatings, flexible strip LEDs, or electronic encapsulation.
- Target Performance: Note your required flexibility, thermal resistance, chemical resistance, or surface hardness (for example, if you need durability comparable to our surface resins rated above Shore D 90).
- Local Climate & Workshop Conditions: Share the typical temperature and humidity levels in your production facility so we can tune the formula for stable curing.
- Curing Setup & Layer Thickness: Mention your UV light setup and pouring thickness, which helps us confirm whether a UV LED curable resin or a two-part epoxy system fits your part geometry better.
- Compliance & Order Volume: Specify any SDS or SGS documentation needs and your estimated volume, from 1 kilogram trial runs up to 1 ton bulk orders.
Once we review your specs, our one-to-one technical support team responds within a few hours to start formulation matching and sample preparation.
Discuss Samples and Specifications With RW ATELIER
Solving UV resin shrinkage and warping starts with matching the formula to your exact production setup. At RW Atelier (Dongguan RW Atelier Composite Co., Ltd.), we manufacture custom UV curing resin, epoxy AB glue, and polyurethane systems tailored to your local temperature, humidity, and curing conditions.
We provide free sample testing so you can verify dimensional stability, clarity, and surface hardness on your own production line before committing to bulk orders. Our one-to-one technical team responds within a few hours to review your curing equipment, part thickness, and flexibility targets.
| Order & Production Support | Details |
|---|---|
| Order Scalability | Flexible runs from 1 kg prototypes up to 1 ton bulk supply |
| Custom R&D | Over 100 base formulas adjusted for local climate, thermal resistance, and flexibility |
| Quality & Compliance | ISO 9001:2015 certified factory with full SDS and SGS documentation |
| Cost Advantage | Factory-direct pricing 30% lower than European and American suppliers |
| Sample Testing | Free sample evaluation prior to scaled automated production |
Request a custom UV resin sample or instant quote directly through our team in Dongguan, Guangdong, China:
- Email: Sale5@wingwaiepoxy.com
- Phone: +86 137-1741-8424
- Location: Room 103, Building 3, No. 58 Yuetang Road, Hengli Town, Dongguan, Guangdong, China
Related Sources
- https://dymax.com/resources/news-and-media/blog/adhesives/understanding-shrinkage-in-uv-ad
- https://ifun3d.com/blog/3d-printing/resin/3d-printing-resin-shrinkage-measurement-
- https://magnificoresins.com/blogs/resin-guide/what-is-resin-warping-causes-and-prevention-guide-2026
- https://infinitalab.com/blog/injection-mold-shrinkage-testing/
- https://magnificoresins.com/blogs/resin-guide/what-is-resin-warping-causes-and-prevention-guide-20
