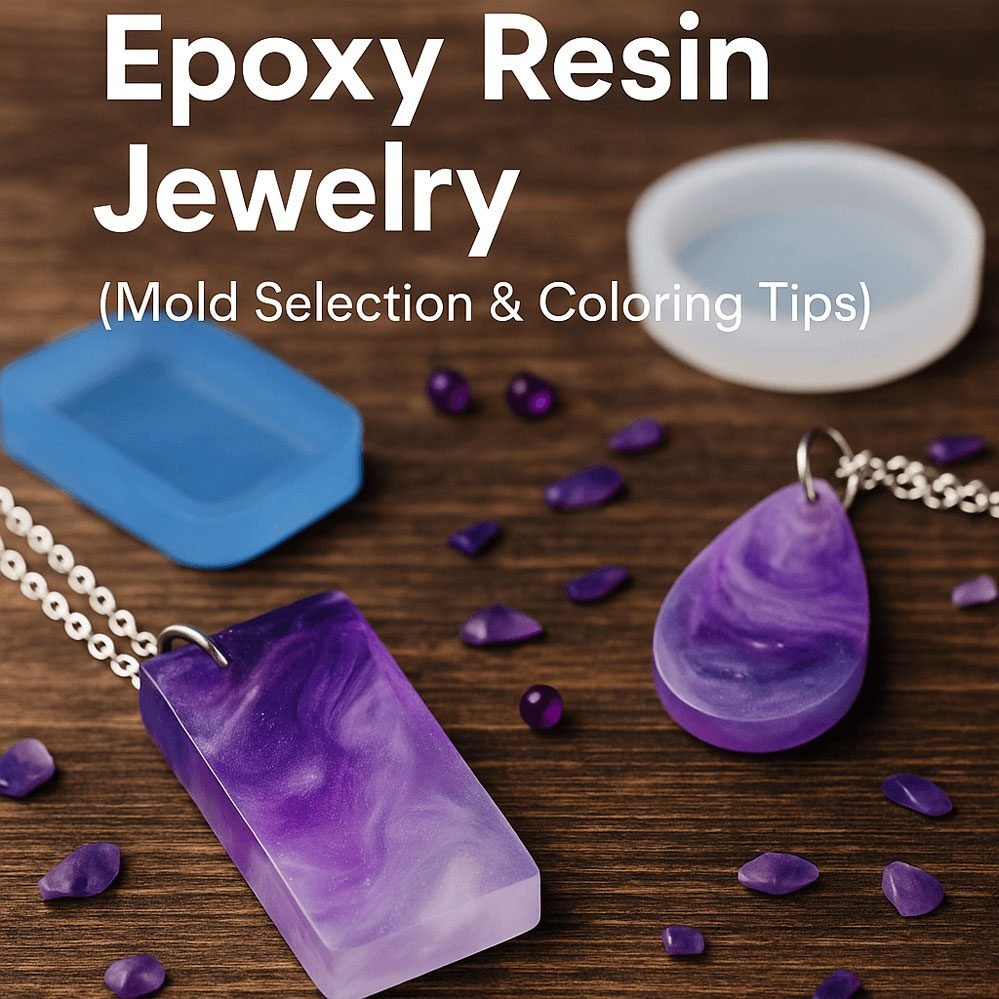
How to Make Epoxy Resin Jewelry (Mold Selection & Coloring Tips)
How to Make Epoxy Resin Jewelry (Mold Selection & Coloring Tips)
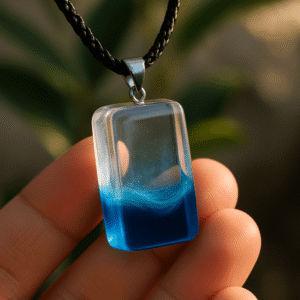
I still remember the first time I saw a resin pendant — it looked like a piece of crystallized candy, catching the light in a way that felt almost magical. I paused and thought, “Wait, people actually make these by hand?” That moment sparked something in me — and just like that, I dove headfirst into the world of resin art.
Why Epoxy Resin Works So Well for Jewelry
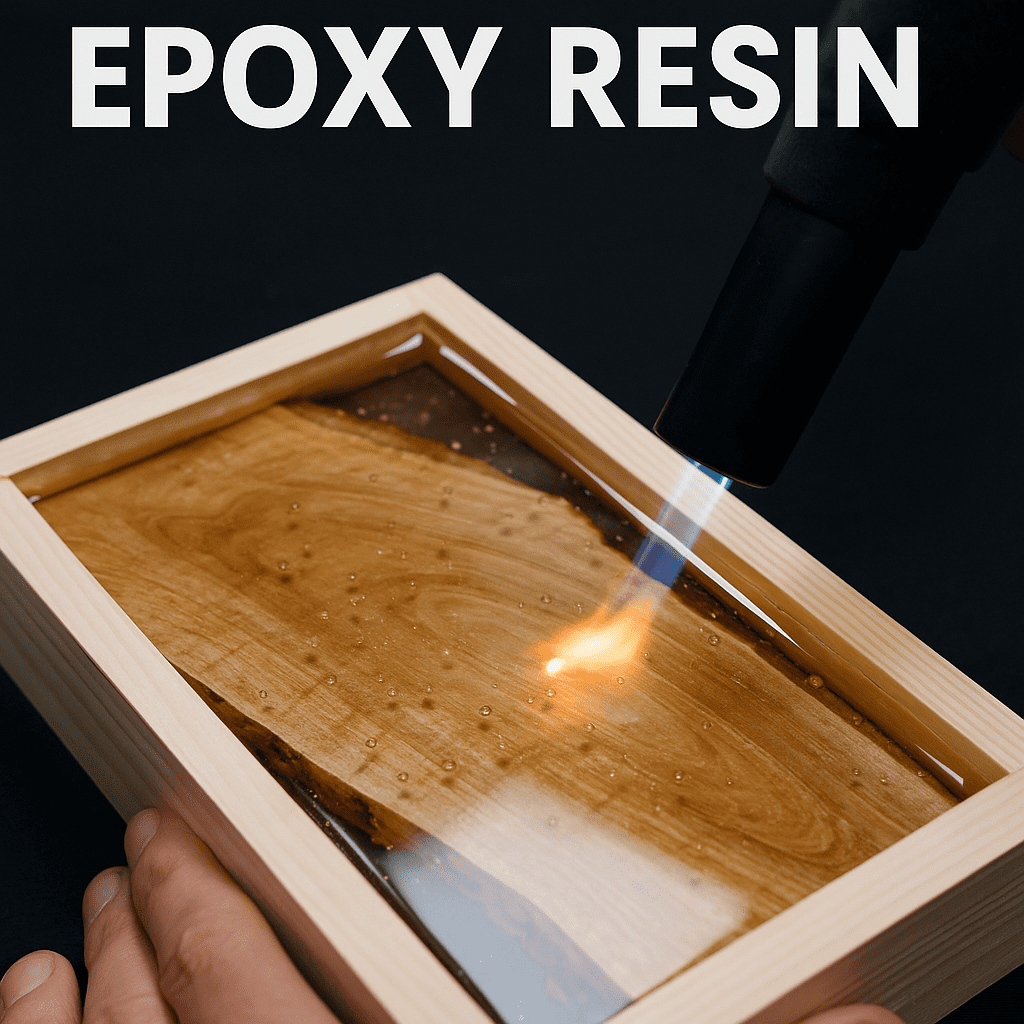
Sure, epoxy resin might sound like something you’d find in a garage workshop. But when it cures, it transforms into a crystal-clear, glass-like surface that’s tough, long-lasting, and surprisingly elegant. No wonder it has such a devoted following among makers.
Sometimes, when sunlight hits a piece I’ve made just right, it’s like I’ve trapped a little piece of morning light inside. Unlike factory-made jewelry, the imperfections and personal touches in handmade pieces give them a soul.
Choosing the Right Mold — Trust Me, It Matters
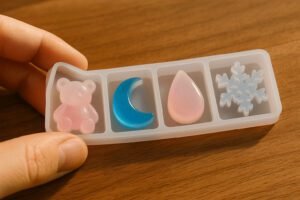
The mold you use will shape your final piece — literally. Early on, I made the mistake of buying cheap metal molds. Every demolding session turned into a tug-of-war. If you’re new to this, high-transparency silicone molds are your best friend. They’re flexible, easy to release, and come in shapes as playful or elegant as you want — think droplets, moons, snowflakes, or tiny bears.
Simple molds are ideal for beginners. I know, the complex designs look tempting — but wrestling with a ruined mold at midnight isn’t as romantic as it sounds.

Adding Color — It’s More Than Just Decoration
Clear resin is like a blank canvas. The coloring process? That’s where the emotion comes in. I tend to lean toward soft, dreamy hues — pinks, purples, and gentle blues. Add just a few drops, and it feels like you’re swirling bits of sky into your piece.
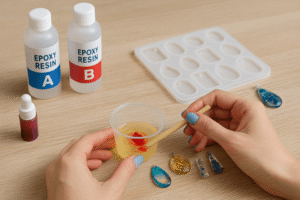
Color options are endless: resin dyes, mica powders, gold flakes, dried flowers. They each bring a different mood to the piece. I love mixing colors while music plays in the background — there’s a rhythm to it, and sometimes the color seems to dance along with the beat.
Just don’t rush it. Dark colors can block the light, and too much dye can overwhelm the resin. Build up slowly — like layering brushstrokes in a painting.
Pouring and Curing — The Most Satisfying Step
There’s something almost meditative about pouring resin into a mold. Watching it flow, settle, and smooth itself out… it’s oddly soothing. Sometimes it really does feel like you’re crafting a tiny universe in your hands.
A few practical tips: don’t overfill the mold — spills aren’t fun to clean. Pour slowly to avoid air bubbles. Let the piece cure completely, whether by UV light or simply air-drying for 12 to 24 hours. I often pour at night and check in the morning — it’s a little like unwrapping a gift.
Pro Tips That’ll Save You Trouble
- Use a toothpick to gently pop bubbles — it’s safer and more precise than heat tools indoors.
- Stir slowly; aggressive mixing traps air, which shows up later as frustrating bubbles.
- For a glossy finish, apply a final thin layer after curing — think of it like a top coat of polish.
- Gloves are a must. Resin sticks like stubborn glue and can be harsh on skin.
One Last Thought
Crafting with resin isn’t just about making jewelry — it’s about pausing time. It’s about turning emotion into something you can hold. Sometimes it’s a gift. Sometimes it’s just a reminder that you made something beautiful, with your own two hands.
When you see someone wear your creation — and their eyes light up? That’s a feeling no store-bought piece can match.
Yes, things will go wrong. There will be bubbles. There will be sticky mishaps. But every mistake is just another page in your story with resin.
Here’s to capturing life’s little moments — one drop at a time.