Why Is My UV Resin Sticky After Curing? Causes & Fixes
Why Is My UV Resin Sticky After Curing? Causes & Fixes
Have you poured your resin, cured it under a UV lamp, and waited patiently—only to find your piece still sticky? You’re not alone. Sticky UV resin is one of the most common frustrations for beginners, but the good news is: it’s fixable. Most of the time, it comes down to a few easy-to-miss details. Once you know what to look for, your resin will be smooth, strong, and fully cured.
🔍 Quick Project Snapshot
- Estimated Time: 15–30 minutes (including troubleshooting)
- Skill Level: Beginner
- Best For: Anyone struggling with tacky resin finishes
💥 Why UV Resin Stays Sticky
Sticky surfaces usually mean something went slightly off during curing. Here are the most likely reasons:
| Problem | Cause | Fix |
|---|---|---|
| Under-curing | Too little time or weak lamp | Use 36W+ UV lamp and extend curing time |
| Uneven curing | Light not reaching all areas | Rotate or flip the piece during curing |
| Wrong resin type | Soft-finish/topcoat resin used for casting | Switch to hard-type, jewelry-grade resin |
| Layer too thick | Light can’t penetrate fully | Apply 1–2mm layers and cure each |
| Humidity | High moisture in the air | Cure indoors in a dry environment |
| Sticky surface layer | Oxygen inhibition during curing | Wipe with alcohol or apply final top coat |
🔧 How to Fix Sticky UV Resin
1. Cure It Again Under a Strong Lamp
Sometimes your piece just needs more time under a stronger lamp. Use a 36W+ lamp and cure both sides for an extra 2–4 minutes. Rotate the piece to ensure even light coverage.
2. Wipe the Surface with Isopropyl Alcohol
If only the surface feels tacky, try gently wiping it with a lint-free cloth and 90–99% isopropyl alcohol. This removes the oxygen inhibition layer without affecting the resin underneath.
3. Apply a Thin Top Coat and Re-Cure
Still sticky? Add a fresh layer of UV resin on top, and cure again. This acts like a seal, locking in the tackiness and creating a smooth, glossy finish.
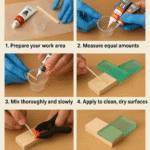
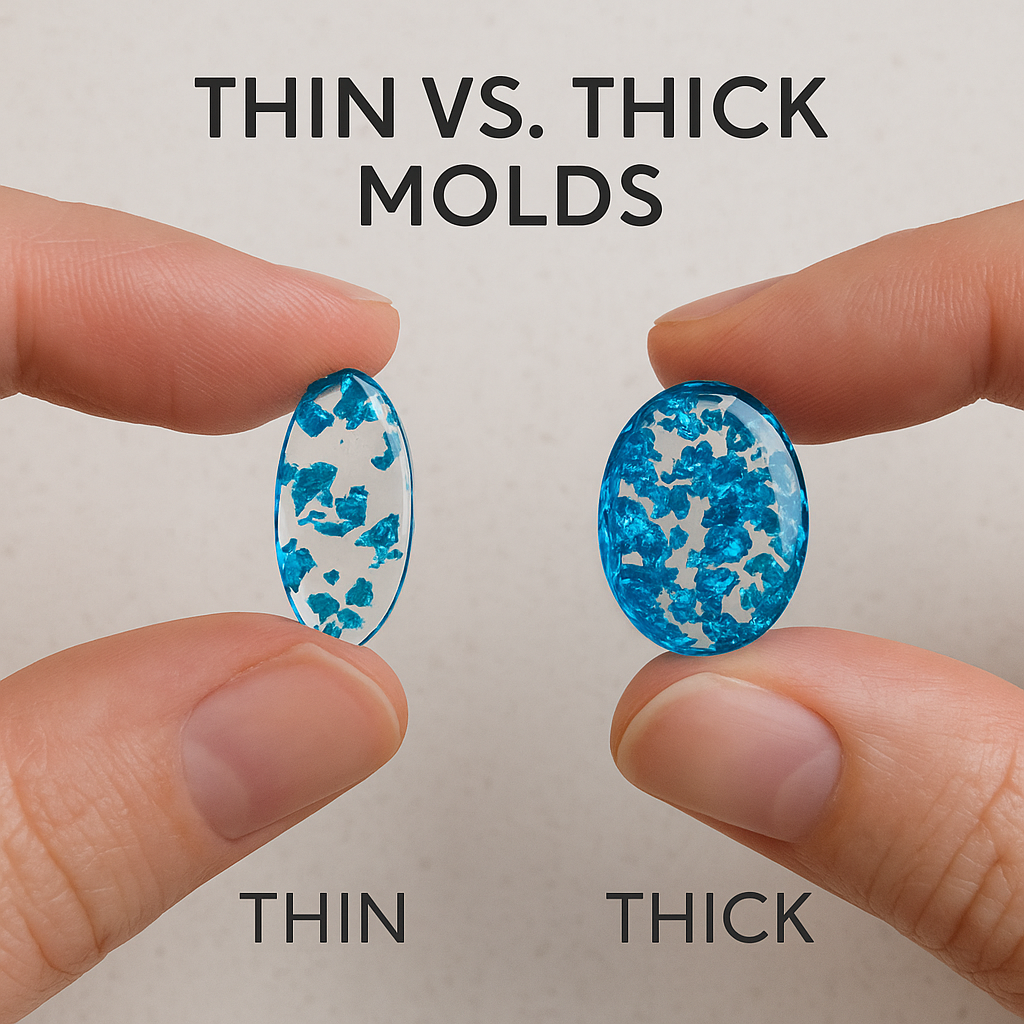
4. Always Work in Layers, Not Pours
Don’t pour thick resin all at once. Instead, work in thin layers—around 1–2mm each—and cure each fully. Thick pours often look fine outside but stay uncured inside.
5. Choose the Right Type of Resin
Check your label. Some UV resins are only for coating, not for casting. These will always stay slightly soft. For jewelry, use a hard-type UV resin that fully cures into a strong finish.
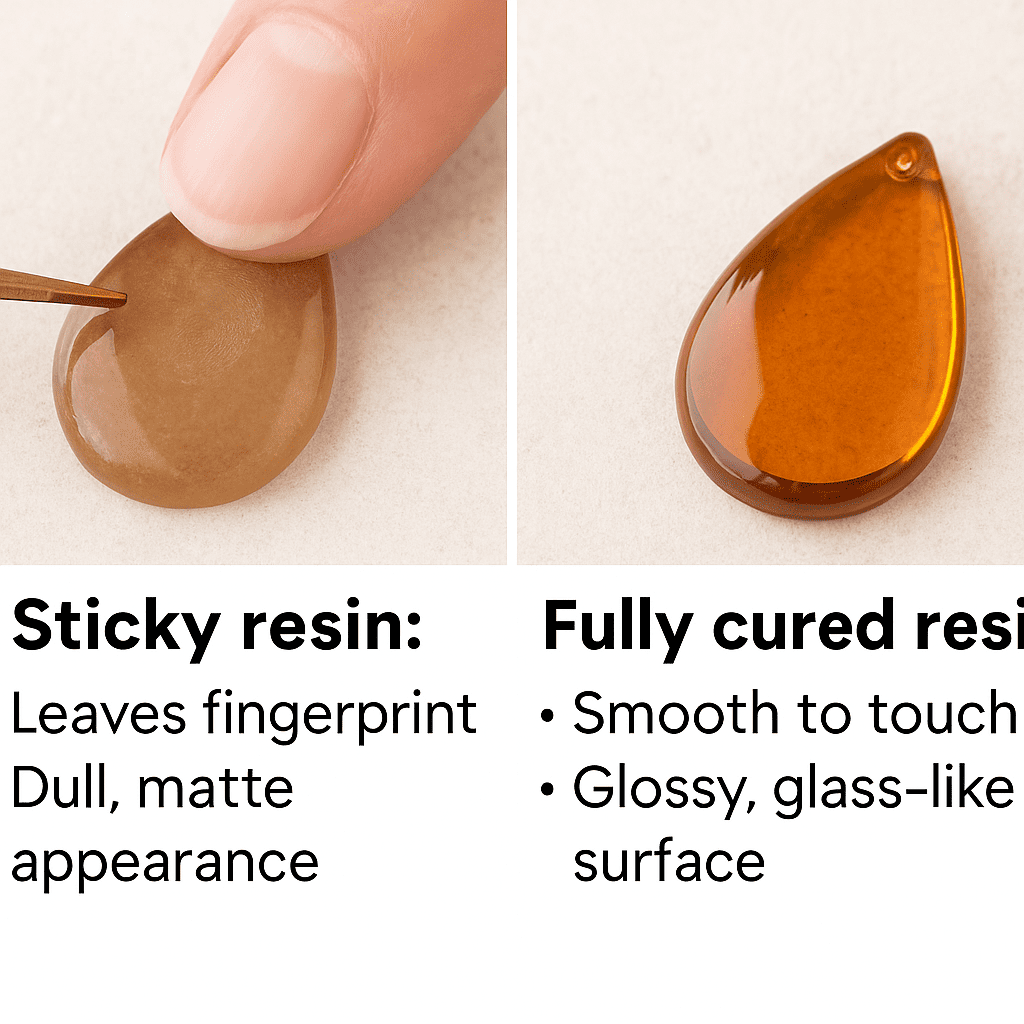
🔍 Sticky vs. Fully Cured: How to Tell
| Property | Sticky Resin | Fully Cured Resin |
|---|---|---|
| Touch | Tacky or soft | Dry, smooth, and hard |
| Smell | Chemical-like | Neutral or very faint |
| Flexibility | Bendy or rubbery | Stiff and durable |
| Surface | Dull, may attract dust | Glossy and glass-like |
📸 Suggested Visuals
- Sticky vs cured surface comparison
- Resin under 9W lamp vs 36W lamp
- Thick vs layered resin pour
- Top coat process: apply → cure → final result
💬 Final Thoughts
Sticky resin is annoying—but it’s not permanent. With the right lamp, the right resin, and a bit of patience, you can fix (and prevent!) tacky finishes with ease. Don’t give up—just wipe, cure, top-coat, and keep creating!