
UV Resin Oxygen Inhibition Surface Tack Troubleshooting
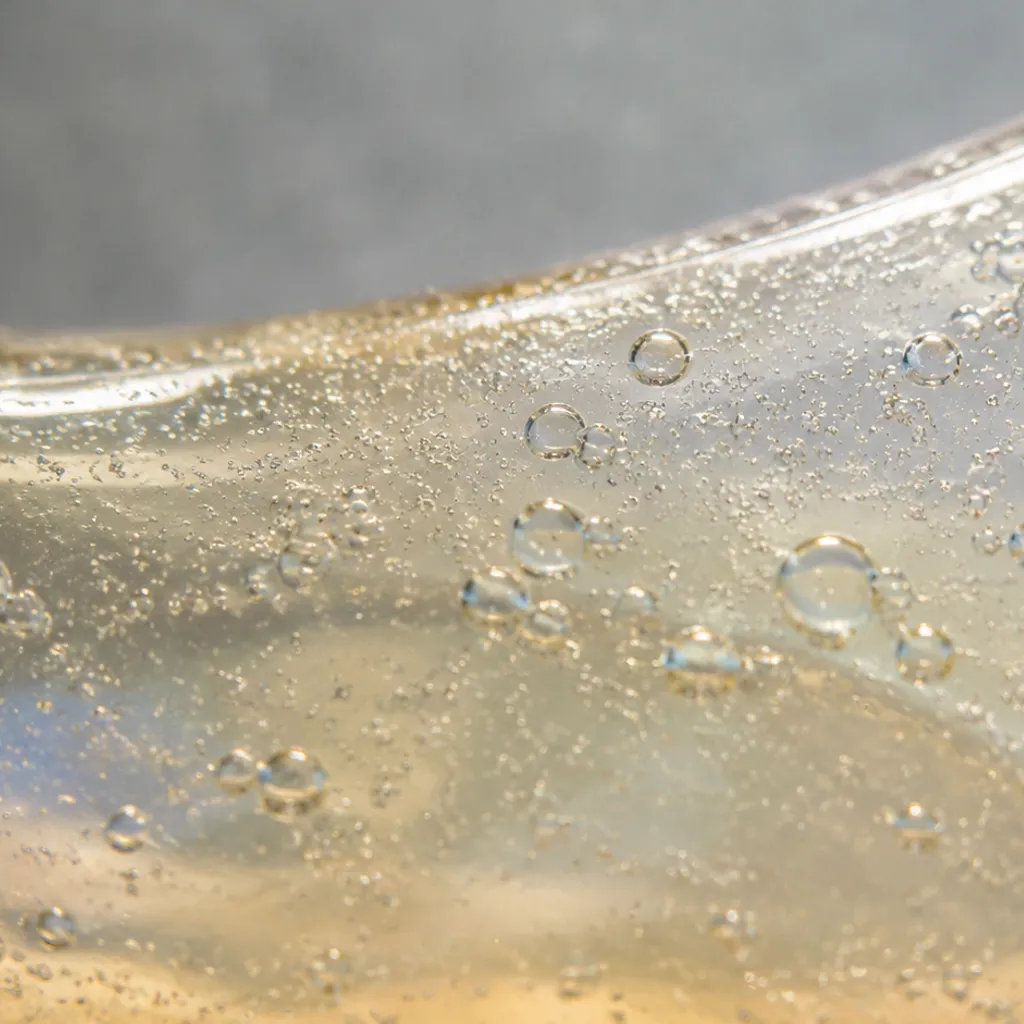
Are you tired of dealing with that frustrating UV resin oxygen inhibition surface tack that ruins your finished prints?
If you’ve ever struggled to achieve a perfectly dry finish, you know that a sticky surface doesn’t always mean your piece is under-cured. In fact, distinguishing between surface inhibition and bulk under-curing is the secret to professional results.
In this guide, I’m sharing my proven techniques to master your curing process—from simple masking tricks to optimizing your lamp exposure. Whether you’re working with sensitive substrates or just need a reliable troubleshooting checklist, you’re in the right place.
Let’s fix that tackiness once and for all.
Quick Answer
The primary cause of tacky UV resin surfaces is oxygen inhibition, where atmospheric oxygen reacts with free radicals at the surface, prematurely terminating the polymerization process. This phenomenon frequently results in a residual layer of uncured or semi-cured resin. To effectively eliminate this surface tack, professionals often utilize oxygen-free curing environments, adjust the UV intensity, or incorporate specific chemical additives into the formulation. Ensuring a proper cure requires balancing the right light spectrum with an environment that minimizes contact with air.
Distinguish Surface Inhibition from Bulk Undercure
When you encounter a tacky UV resin surface, it is tempting to assume the entire application is undercured. However, it is crucial to understand that oxygen inhibition specifically impacts the surface interface, while bulk undercure typically indicates a deeper, more systemic issue.
Surface Feel Alone Is Not a Cure Test
Relying solely on the touch test often leads to incorrect troubleshooting. A resin can be fully polymerized through its entire thickness while remaining sticky at the very top layer due to the scavenging effect of oxygen. Before adjusting your entire high hardness epoxy coating process, consider these common distinctions:
- Surface Inhibition: The bulk material is hard, durable, and chemically resistant, but the outermost microns remain soft or tacky. This is a classic symptom of oxygen interference during the radical polymerization process.
- Bulk Undercure: The material feels soft, gummy, or spongy when pressed firmly. This usually stems from insufficient light intensity, an incorrect UV LED wavelength match, or exceeding the recommended coating thickness, which prevents deep penetration.
If you suspect your surface isn’t performing as expected, focus on a proper surface hardness test rather than just tactile inspection. Ensuring your high hardness epoxy coating for durable glossy surfaces is cured under optimal conditions is the only way to confirm if your UV resin thin layer cure is meeting the necessary technical specifications.
Compare Film Cover and Air Exposure
Masking Oxygen During Cure
To determine if atmospheric oxygen is the primary cause of a tacky UV resin surface, performing a controlled comparison is essential. Free radical polymerization is highly sensitive to oxygen, which acts as a chain terminator at the surface layer. By applying a thin, oxygen-impermeable film—such as a piece of clear plastic wrap or a specialized release liner—over the resin before initiating the UV cure, you create an effective UV cure oxygen barrier.
If the area under the film cures to a tack-free, hard finish while the exposed surrounding area remains tacky, you have confirmed that oxygen inhibition is the culprit. This technique is a reliable way to differentiate between formula-specific surface conversion issues and environmental atmospheric interference. For those managing deep pour epoxy cure time and lead time guide constraints, understanding this boundary helps ensure that your UV-cured thin layers achieve the necessary surface hardness without requiring prolonged exposure to high-intensity light.
When working with industrial UV resin wholesale applications, masking the oxygen can be integrated into the process flow using continuous lamination techniques. This prevents surface defects and ensures consistent quality in the final product. Should you encounter persistent issues with tacky UV resin surfaces during large-scale production, verifying the effectiveness of your inerting or masking process is the first step toward optimization.
Optimize Lamp Distance and Exposure
Achieving the perfect cure depends heavily on managing the relationship between light intensity and distance. When dealing with UV resin oxygen inhibition surface tack, moving the light source too far away often results in insufficient energy density, failing to overcome the air-induced reaction threshold. Conversely, placing the lamp too close can lead to rapid exothermic spikes.
Overheating Sensitive Substrates
While intensity is necessary to prevent a tacky UV resin surface, excessive heat can warp or damage sensitive materials. If you are working on delicate projects, consider these management strategies:
- Distance Calibration: Increase the gap between the substrate and the lamp incrementally until the surface cures cleanly without thermal distortion.
- Thermal Management: If your application involves thin layers, use forced-air cooling to dissipate heat while maintaining high UV output.
- Exposure Staging: Use multiple shorter exposure cycles instead of one long blast to allow the substrate to cool between intervals.
Understanding these thermal dynamics is as critical as managing resin chemistry. For those mastering the process, learning to avoid common mistakes in resin application remains essential for professional results. Proper calibration ensures the surface hardness test meets standards without compromising the integrity of the base material.
Create a Defect Troubleshooting Checklist
When dealing with a tacky UV resin surface, having a structured approach saves time and reduces waste. I rely on this systematic troubleshooting checklist to isolate the root cause of surface finishing defects, ensuring every batch meets our professional standards.
Use the following criteria to audit your UV curing process:
- Atmospheric Control: Have you verified if the environment is oxygen-rich? Testing with a thin film cover can confirm if oxygen inhibition is the primary culprit.
- Intensity and Wavelength: Confirm your UV LED wavelength match is precise for the resin formulation. Inadequate light intensity often leads to incomplete surface polymerization.
- Exposure Parameters: Evaluate your conveyor speed or lamp distance. Sometimes, simply increasing the total UV dosage per square centimeter resolves surface tackiness.
- Substrate Compatibility: Check for surface contaminants or coatings that might be interfering with the curing reaction, as these are frequent causes of epoxy system defects.
- Equipment Maintenance: Inspect lamp degradation. As bulbs age, their output profile shifts, which may no longer align with the requirements of your industrial UV resin wholesale supply.
By documenting these variables for every run, you can pinpoint whether the issue is a process variable or a need for a custom UV resin formulation. Consistent monitoring is the best way to prevent persistent curing failures.
RFQ Details to Provide: UV resin oxygen inhibition surface tack
When requesting a quote to solve UV resin oxygen inhibition surface tack, generic inquiries lead to generic formulations that rarely fix the problem. As a dedicated UV resin supplier, I need exact process parameters to formulate or recommend a UV LED curable resin that eliminates air-interface tackiness on your specific production line.
Provide these critical technical inputs in your RFQ to ensure our custom UV resin formulation hits full cure out of the box:
Essential Process Specifications
- Light Source Parameters: Specify whether you run mercury vapor lamps or LED arrays, including peak wavelengths (365 nm, 385 nm, 395 nm, or 405 nm) and optical output intensity (mW/cm²). Correct UV LED wavelength match is essential to overcome surface oxygen quenching.
- Film Thickness & Geometry: State your wet film thickness (in microns or millimeters). Ultra-thin coatings below 50 microns face severe oxygen diffusion, while thick domes require balanced surface and depth cure.
- Cure Environment: Note whether your process cures in open ambient air, under an inert gas blanket (nitrogen/CO₂), or uses physical film masking.
- Production Speed / Cycle Time: Outline your target line speed (m/min) or total allowed exposure duration per station.
- Substrate Material: Identify the substrate (e.g., PET, PMMA, metal, wood, paper) and whether it requires specialized adhesion or flexibility, such as our solutions for trademark drip gel surface coating.
- Performance Metrics: Define your target surface hardness test benchmarks (e.g., Shore D rating, pencil hardness test, or standard solvent rub resistance).
| RFQ Field | Required Detail | Why It Matters for Oxygen Inhibition |
|---|---|---|
| Lamp Type & Wavelength | LED (395nm) vs. Arc (Medium Pressure) | Dictates photoinitiator blend to initiate rapid surface crosslinking |
| UV Radiance / Dose | Peak irradiance (W/cm²) & Energy (J/cm²) | Higher peak energy generates excess radicals to consume oxygen instantly |
| Coating Thickness | Microns (μm) or mm per pass | Thinner layers suffer the fastest radical depletion from atmospheric air |
| End-Use Requirements | Optical clarity, scratch resistance, tack-free feel | Guides polymer backbone selection for non-yellowing, high-conversion coats |
Supplying these variables up front allows us to calculate radical generation rates against ambient oxygen diffusion, delivering high-efficiency clear UV resin bulk inventory that cures dry to the touch on your line without post-processing steps.
Discuss Samples and Specifications With RW ATELIER
Navigating UV resin oxygen inhibition and surface tack issues often requires a custom approach to your specific application. At RW ATELIER, we specialize in providing tailored solutions for industrial UV resin wholesale needs, ensuring your formulations meet the exact demands of your production line.
Before finalizing your order, we recommend reviewing our bulk epoxy resin shelf life and lead time guide to ensure seamless integration into your current workflow.
Partnering for Success
Our team is ready to assist with custom UV resin formulation and performance testing. Please provide the following details when you reach out so we can prepare the right samples for your testing:
| Requirement | Details Needed |
|---|---|
| Project Scope | Application type and desired surface finish |
| Curing Setup | UV LED wavelength match and lamp intensity |
| Material Needs | Required viscosity and batch volume |
| Substrate | Type of material (plastic, metal, or glass) |
When you discuss your technical specifications with our experts, we can pinpoint whether you need a specialized oxygen barrier additive or a modification to your UV LED curable resin to eliminate residual surface tack. Connect with us directly to request product samples and start optimizing your UV curing process today.
