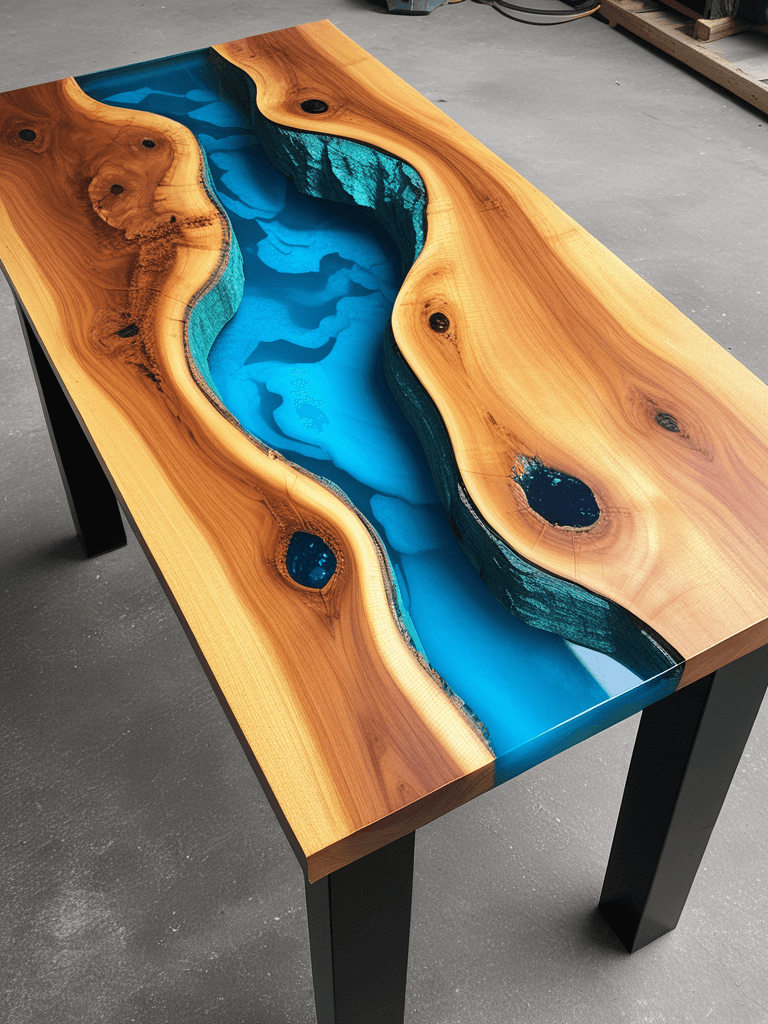
Beginners Guide for Making Live Edge Epoxy Bar Tops Are You Wondering How to Craft an Eye-Catching Live Edge Epoxy Bar Top?

Well, today we’re going to show you exactly how! Right from your own home
Before Beginning: Materials Needed for Success
Prior to diving in, make sure that all necessary items have been collected:
Step One: Prepare Your Workspace on Plastic Sheeting in Step 1 (Bar Top Epoxy and Measuring Cups are important), followed by Stirring Sticks, Sandpaper, Rubber Gloves and Level Painter’s Tape as necessary, Painter’s Tape for levelling purposes as necessary (Level Painter Tape is ideal), Plastic Sheeting as the base surface material to protect the work area, Proper Air Flow is key here as well. – Set out plastic sheeting. If necessary make sure it has ventilation provided to maintain proper air Flow throughout. (Learn More about Proper Air Flow in this step 2). Step 1 – Prepare Your Workspace Parchet Lay Down Plastic Sheeting to Protect Surface Area
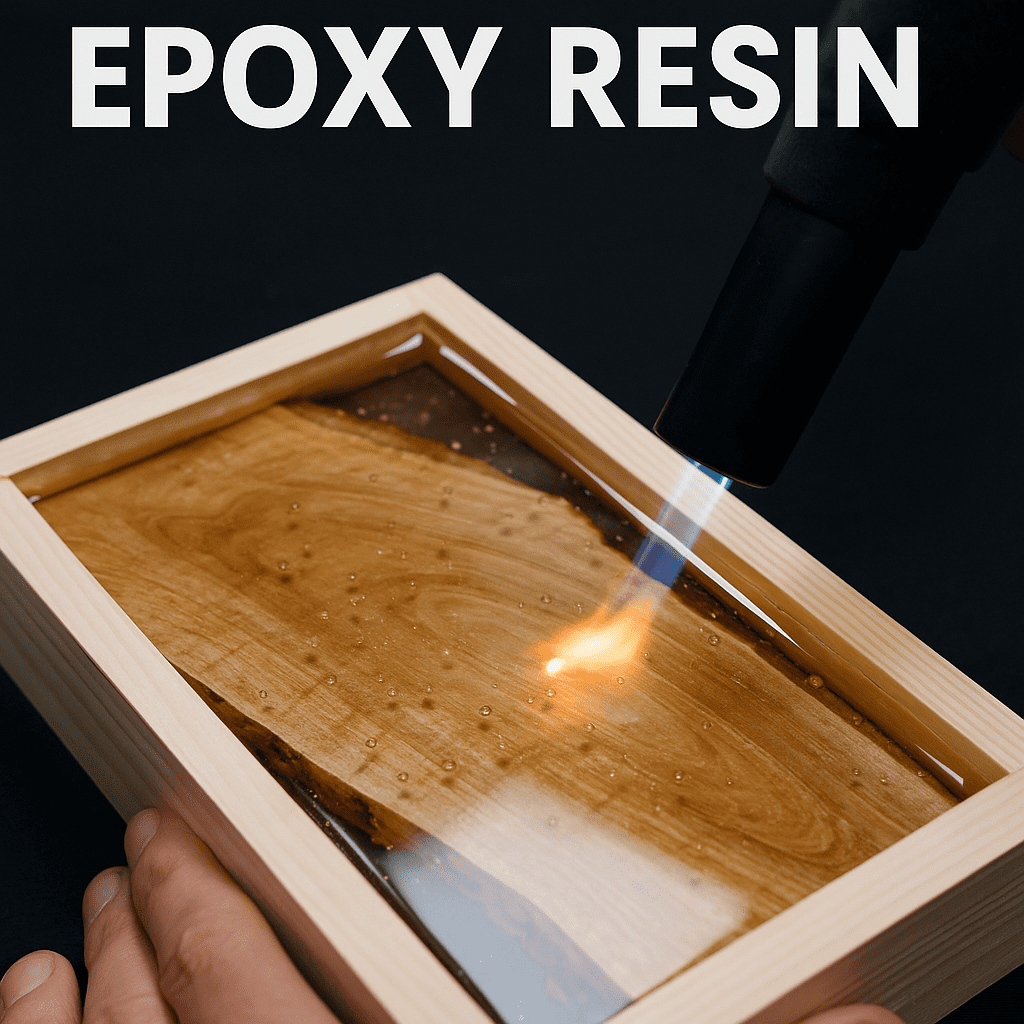
An important step to ensure proper epoxy curing without bubbling over is proper ventilation, to avoid disasters such as bubbles, cracks, yellowing or shrinkage.
Trust us; the last thing you want is for your masterpiece to turn out looking like a hot mess! Keep windows and fans open throughout, your epoxy will thank you.
Step 2: Prep the Wood
Before beginning to create your live edge slab, be sure to debark it first to prevent delamination issues in the future. Sand it using 80-220 grit sandpaper until all marks have been smoothed off before wiping with Isopropyl Alcohol at 90% concentration or higher to clean any dust off and place on an even surface for placement on Step 3.
Step 3: Create A Border
Use painter’s tape to form a barrier around any flat surfaces (like tables or workbenches ) where your slab has been placed, such as tables and workbenches. We receive calls daily asking how they can remove cured epoxy from their floors – this step makes this task much simpler!
Step 4: Mix Your Epoxy Resin
Follow the mixing ratio and guidelines specified by your instruction pamphlet, stirring for at least three to five minutes by hand–no short cuts!
No Drill Mixers Permitted
Due to RW Atelier’s thick consistency (it resembles syrup), using a drill mixer would only cause air bubbles to form more readily if mixed too vigorously, leading to air pockets forming which could potentially trap air-bubbles within its components.
Check out our comprehensive DIY Bar Top Epoxy Guide here to see how to mix, measure and apply resin.
Step 5: Protect Your Wood
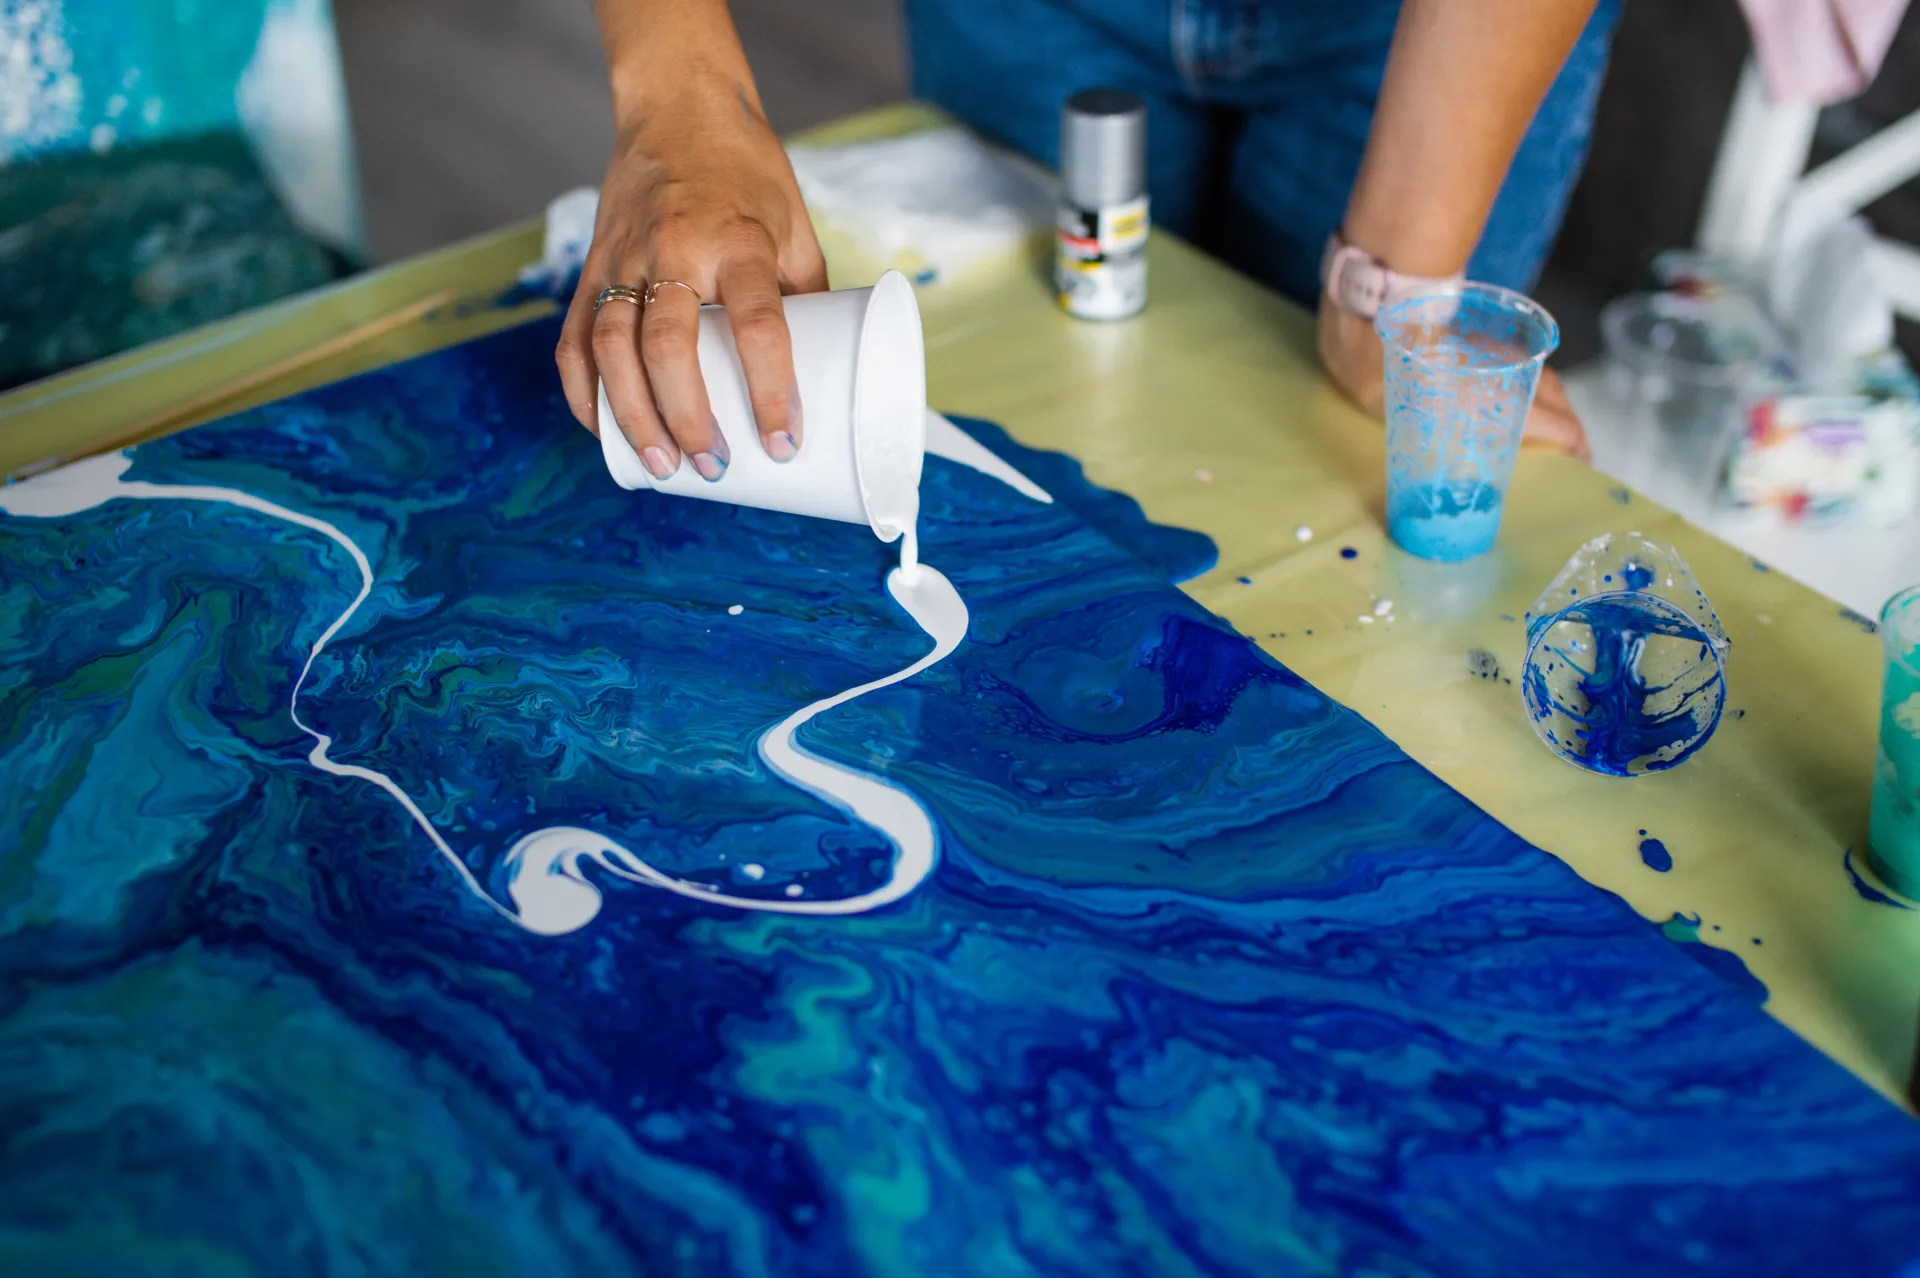
Apply a thin coat of mixed epoxy resin over the wood surface using either a spreader or gloved hand to evenly spread and distribute. Your goal here should be to achieve as thin of an overlay layer as possible to prevent air bubbles escaping during later steps that involve thicker flood pours.
Are You Beginning an Epoxy Project? Before diving in headfirst, why not let our Epoxy Project Planner PDF make life simpler for you. It serves as your essential guide on the path towards epoxy greatness!
Track products used, monitor working time, record when you last poured and log ambient temperatures with our Epoxy Project Planner! Now it’s simpler than ever for you to focus on making something amazing while we take care of all the details for you! With us in charge, the focus will remain squarely on creating something great while leaving all the details to us!
Step 6: Take a Break
Let your epoxy cure for about two to four hours until it feels hard and tacky when touched – like that sticky Waffle House countertop before pouring your flood coat.
Step 7: Pour Your Flood Coat
Now that your seal coat has become tacky, it is time to apply the thicker layer. Although you can pour up to 1/4″ thick resin evenly along all four edges of the project – expect about an 1/8″ depth once finished leveling and leveling off. Keep dust free; resist any urge to poke it.
Step 8 (Optional) Sand and Finish
Once cured, once-curable coating may require further refinement using sanding to smooth any imperfections on its surface. If necessary for you, simply reapply a thin seal coat of epoxy paint in order to regain that initial glossy sheen.
Want More Advice From Experts for Beginners Or why not subscribe to our YouTube channel for in depth guides.
Explore all of the information available through our blogs. Always work in a well-ventilated space; measure twice and pour once! Don’t rush the curing process!
Step 9: (Mandatory) Show It Off
Now’s your time to show off! Don’t hold back; show us all what your hard work has created by sending photos and stories via email here: sale5@wingwaiepoxy.com
We love sharing the work of our community on social media – make sure to include your username so we can give proper credit where due!
Why choose RW Atelier Table Top Epoxy? Our epoxy resins truly are of superior quality; why settle for less when we offer such outstanding solutions as:
Hassle-Free: Simpler than opening a wine bottle! No complex mixing or tedious applications here!
Our RW Atelier Table Top Epoxy is your premier solution for bar top epoxy coating needs, while being SDS certified (SDS certified is even safer). And finally, Food Grade Safeness Certification ensures grandma could use her kitchen!
Mix and Match: Create stunning combinations using RW Atelier with either RW Atelier Pigments, mica powder or alcohol dyes of your choosing, for an eye-catching design! Flawless Finish: Enjoy an unrivaled super gloss that’s not only clear, but scratch, water, chemical- and thermal resistant too. Need some ideas? Check out some inspiration!
Keep an eye out for these innovative epoxy bar top ideas! They could make an unforgettable statement.
As LED epoxy bar top anyone? Final Thoughts Epoxy projects don’t have to be intimidating when you have RW Atelier Epoxy Systems on your side! With our products and technical assistance available 24/7, not only are you purchasing quality epoxy; you are purchasing peace of mind – plus access to endless creativity.
So don’t wait a second longer: grab some RW Atelier Table Top Epoxy and let’s transform that dream bar top into reality!
Happy DIY-ing!


