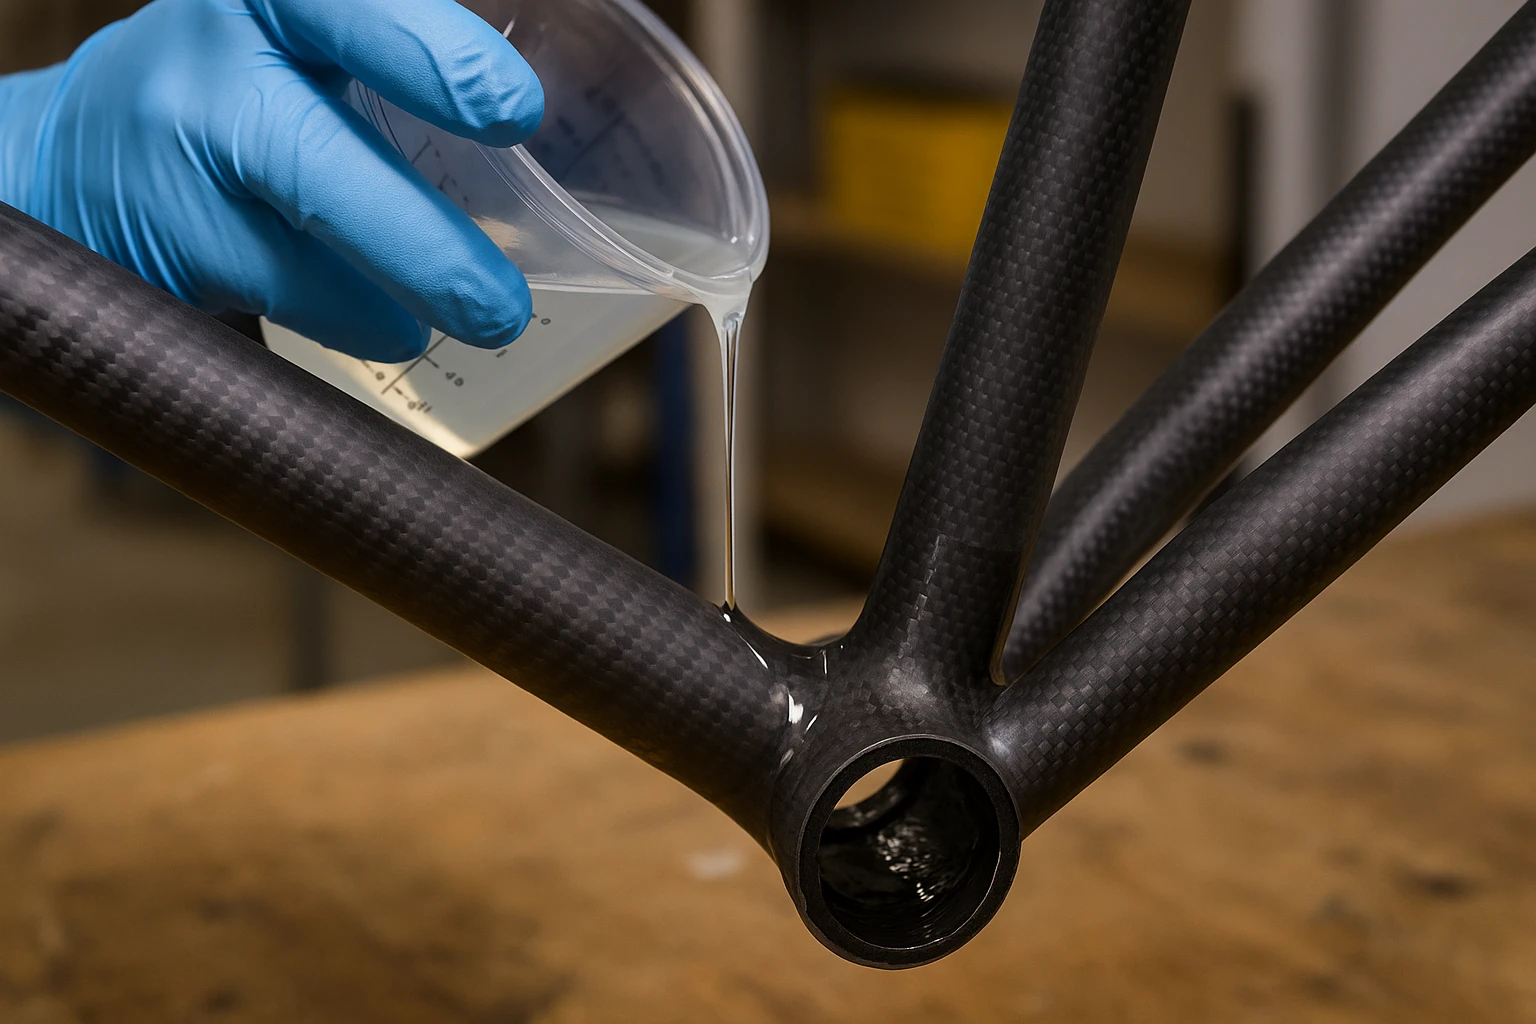
In carbon fiber bicycle frames, resin isn’t just what holds the fibers together—it defines the ride. From sprint stiffness to long-distance comfort, the epoxy matrix governs how the frame responds to real-world load cases.
If you’re manufacturing carbon frames—whether road, gravel, or MTB—your choice of epoxy directly affects:
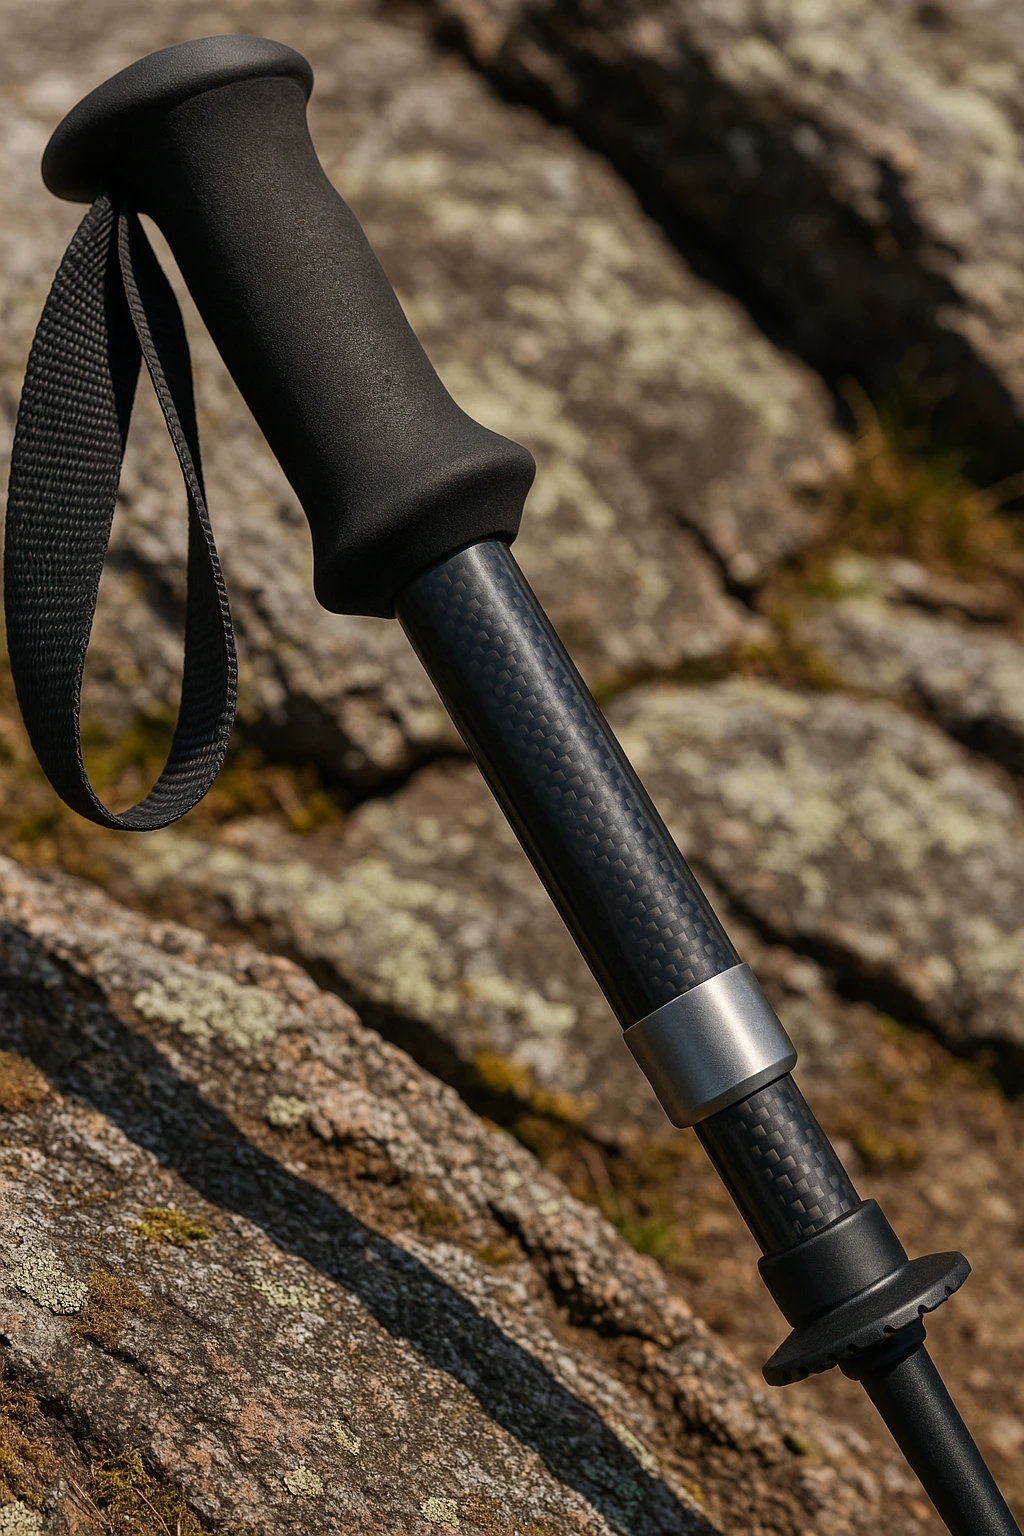
In the world of trekking poles, every gram matters—but not at the cost of strength. Whether you’re manufacturing poles for alpine climbers, thru-hikers, or weekend trail runners, your composite layup and adhesive system have to strike the right balance: lightweight, durable, and weatherproof.

In the world of modern electronics, reliability and protection are paramount. Devices are expected to operate in increasingly harsh environments—high humidity, mechanical shock, temperature extremes, and chemical exposure. Whether you’re manufacturing LED drivers, sensors, PCBs, or industrial control systems, epoxy resin plays a critical role in safeguarding components through potting, conformal coating, and encapsulation.
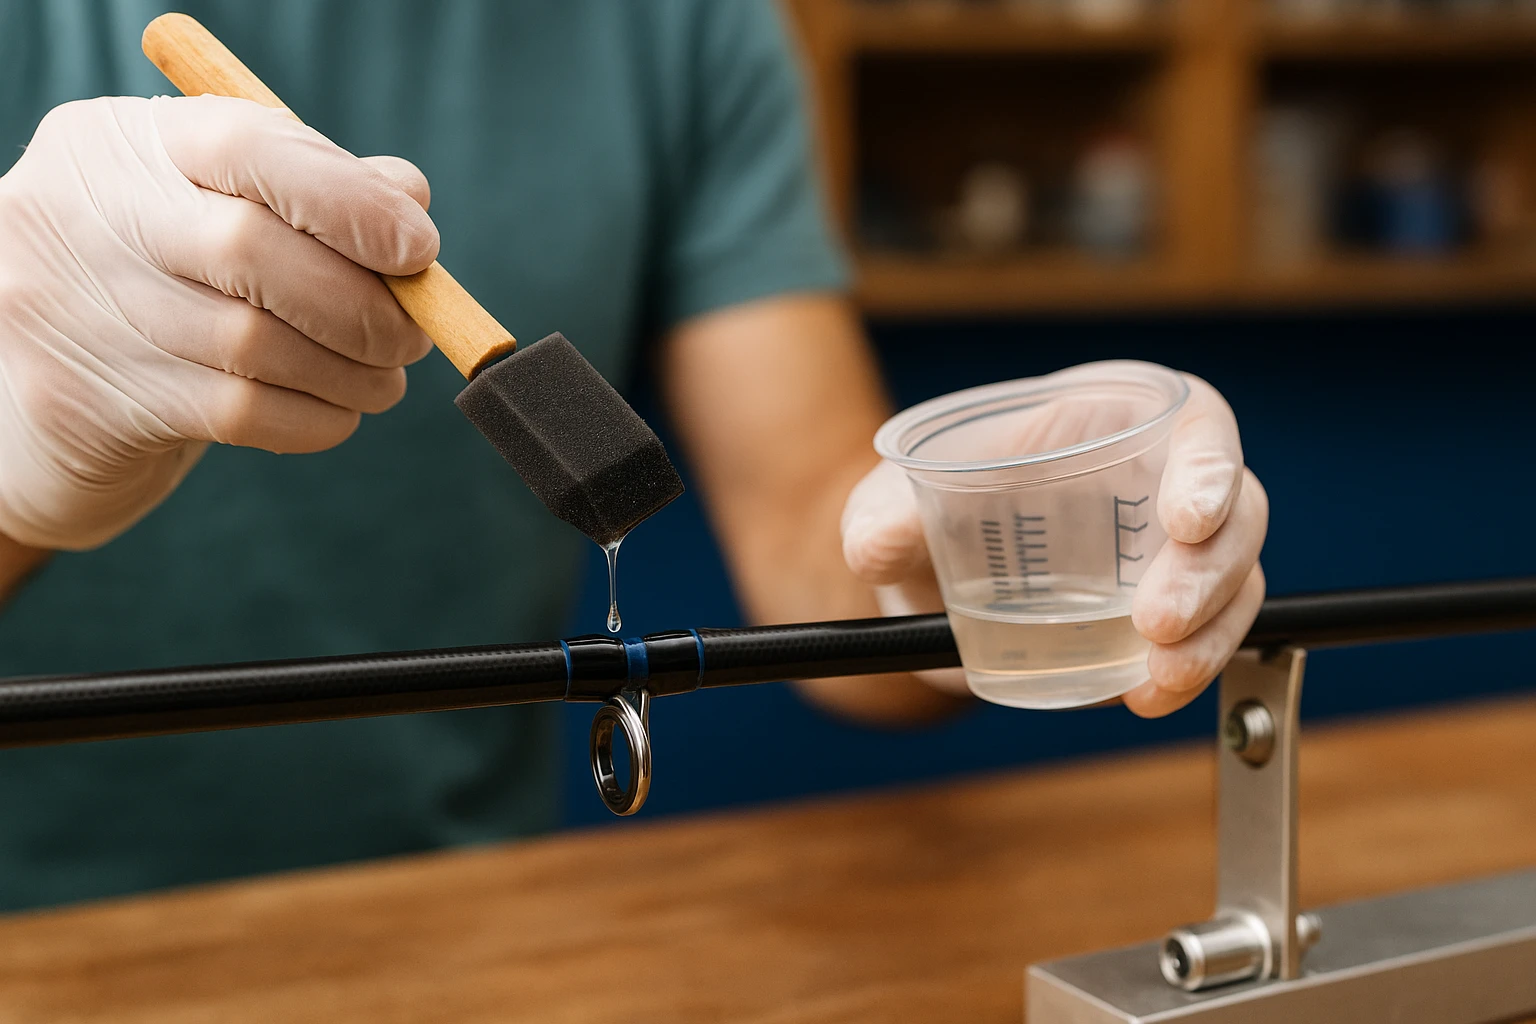
Fishing rods today are engineered to be lighter, stronger, and more responsive than ever. Whether used in sport fishing, fly casting, or offshore trolling, modern rods rely on advanced composite materials for superior strength-to-weight ratios. At the heart of these innovations lies epoxy resin—a critical component in both the structural layup and finishing of fishing rods.
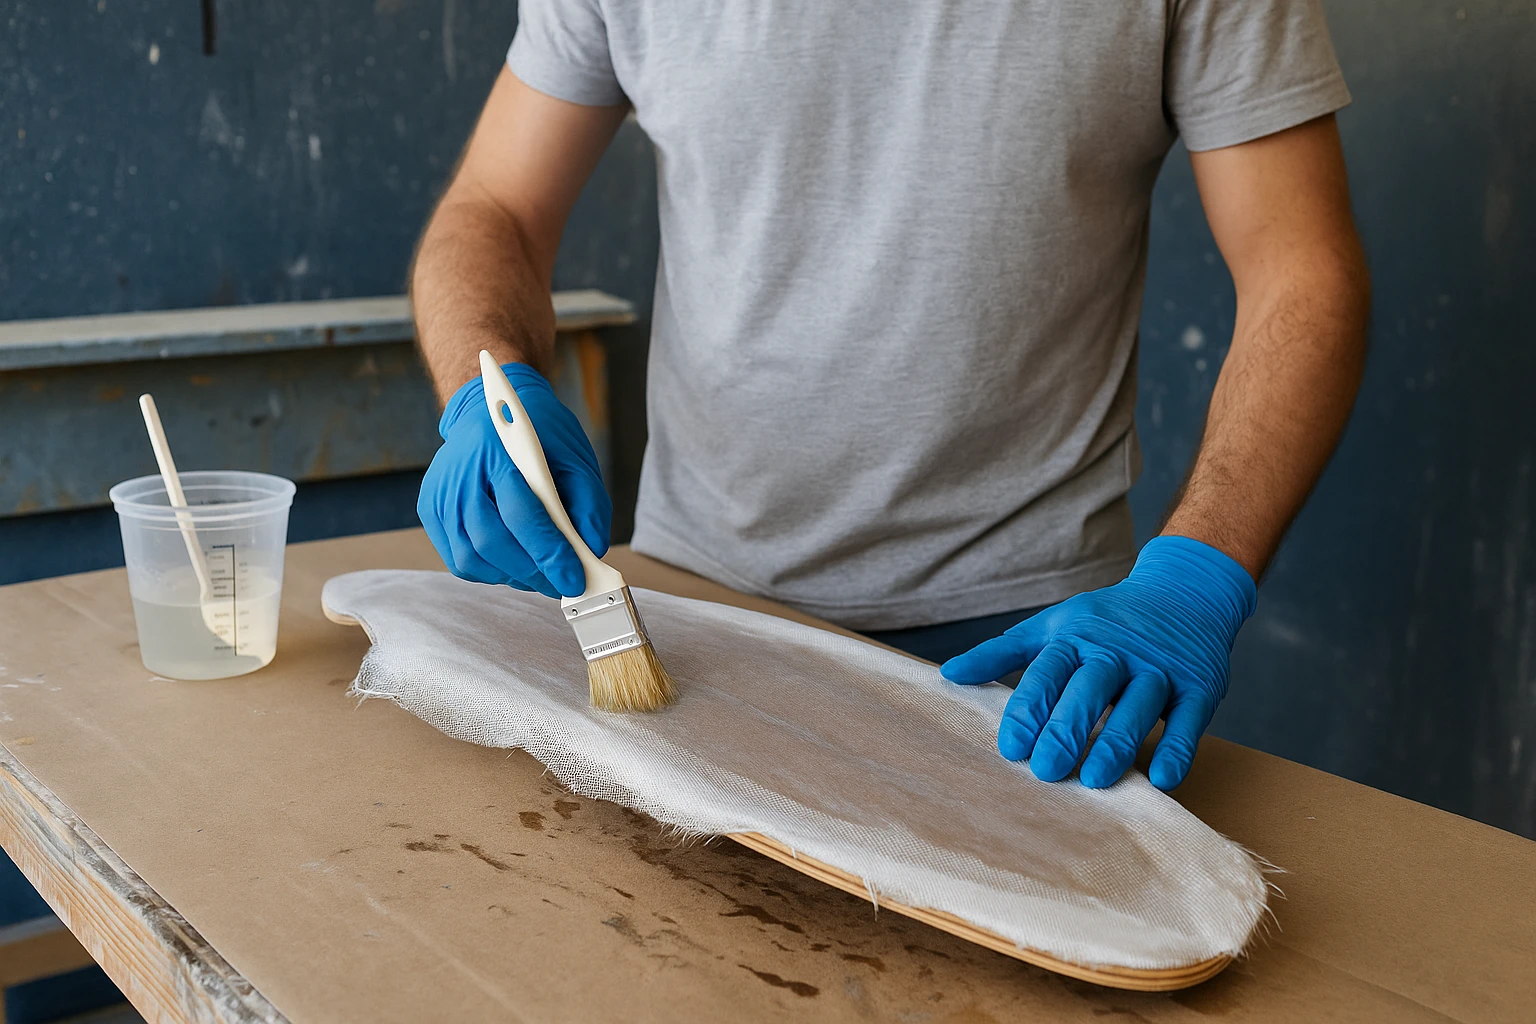
Skateboards are no longer just seven layers of maple wood glued together. Today’s performance-driven skate decks integrate composite materials, advanced adhesives, and structural optimization. At the center of this evolution is epoxy resin—an essential ingredient for enhancing board strength, durability, and responsiveness.

Epoxy resin is the go-to choice for many modern surfboard manufacturers and DIY shapers. Its superior strength, lightweight properties, and resistance to water absorption make it ideal for high-performance boards. However, working with epoxy isn’t foolproof—many builders unknowingly compromise their boards’ strength, finish, or durability by making avoidable mistakes.
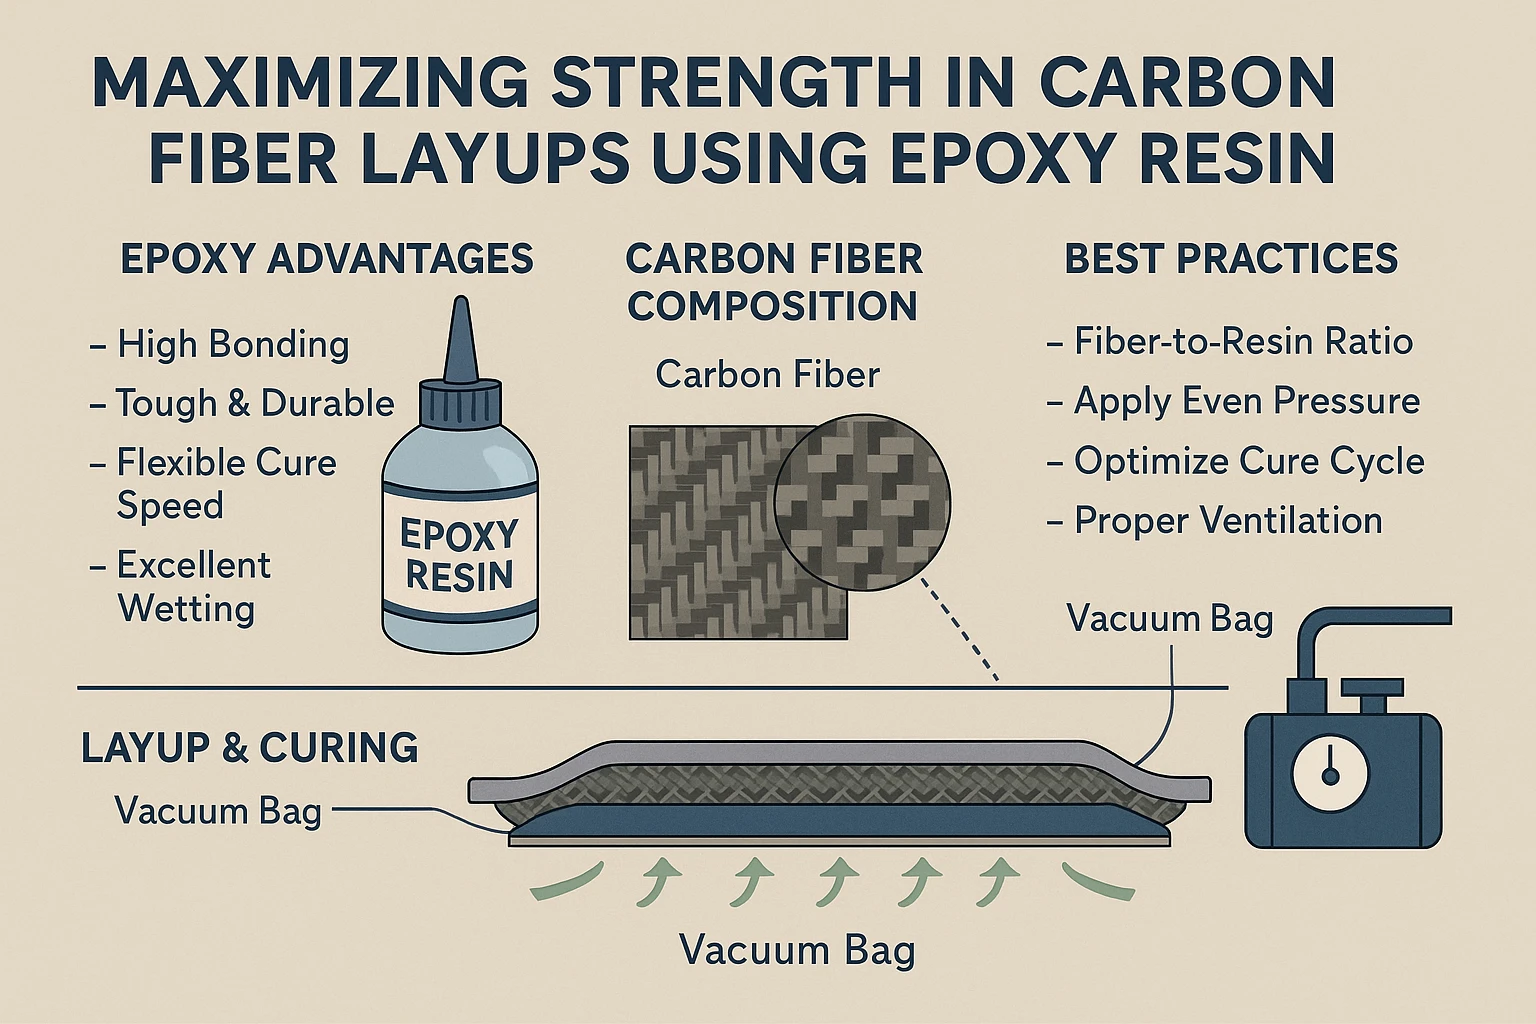
Carbon fiber composites are renowned for their exceptional strength-to-weight ratio, making them indispensable in performance-critical products like surfboards, skateboards, and high-end fishing rods. However, the full potential of carbon fiber can only be realized with the right matrix—most notably, epoxy resin.
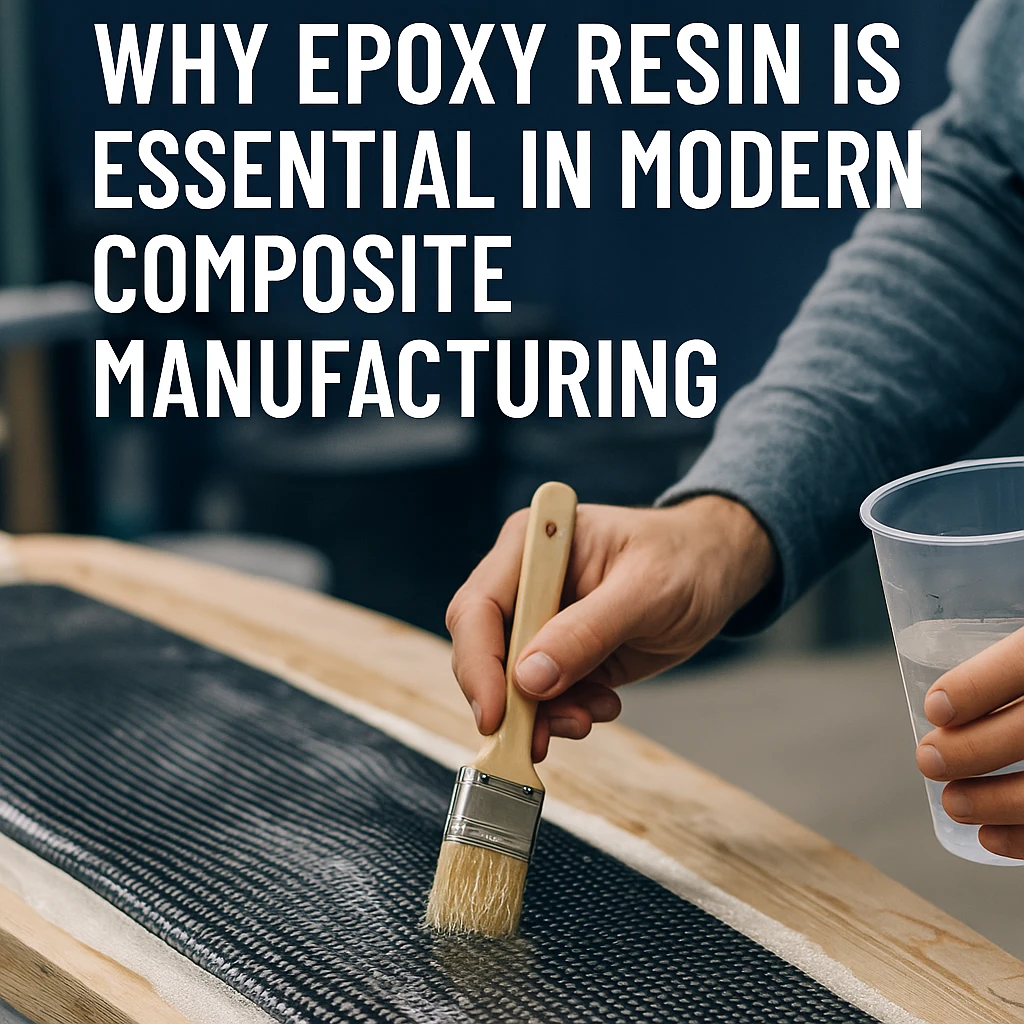
Epoxy resin plays a pivotal role in the advancement of modern composite manufacturing. From high-performance surfboards and skateboards to carbon fiber reinforcements and precision-engineered fishing rods, epoxy resin offers exceptional strength, superior adhesion, and resistance to environmental stressors. This article explores why epoxy continues to be the resin of choice for reinforcing lightweight, impact-resistant, and high-end composite products.
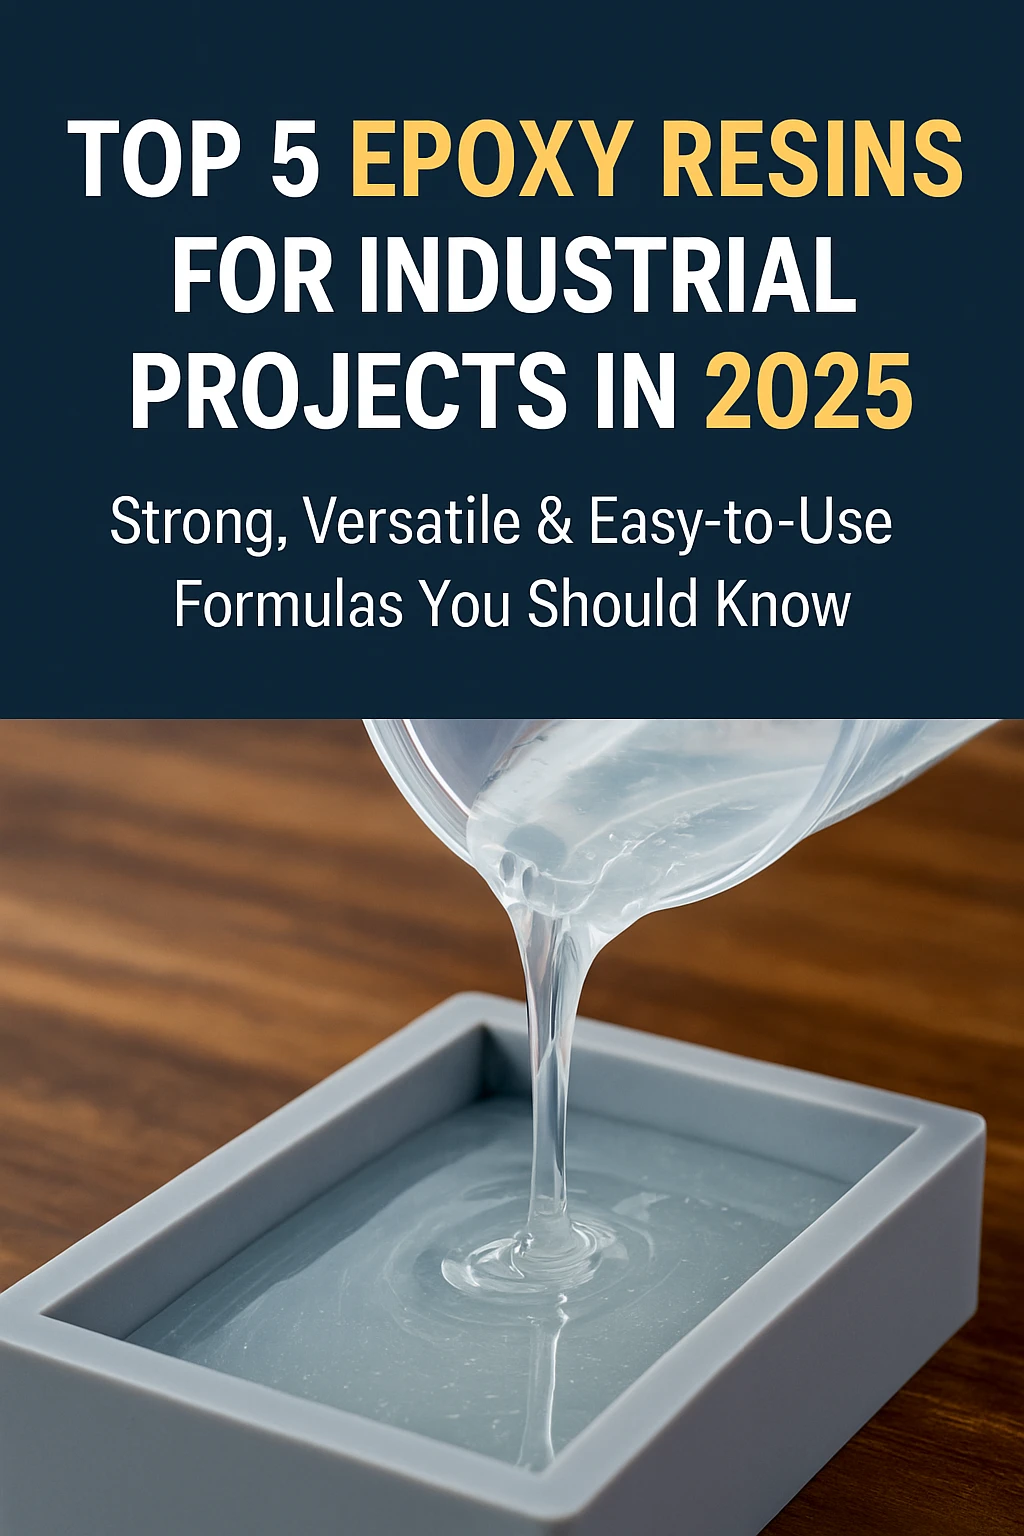
Discover the top 5 epoxy resin systems for industrial use in 2025. Compare performance, applications & curing types. Includes clear, heat-proof & eco-friendly options.
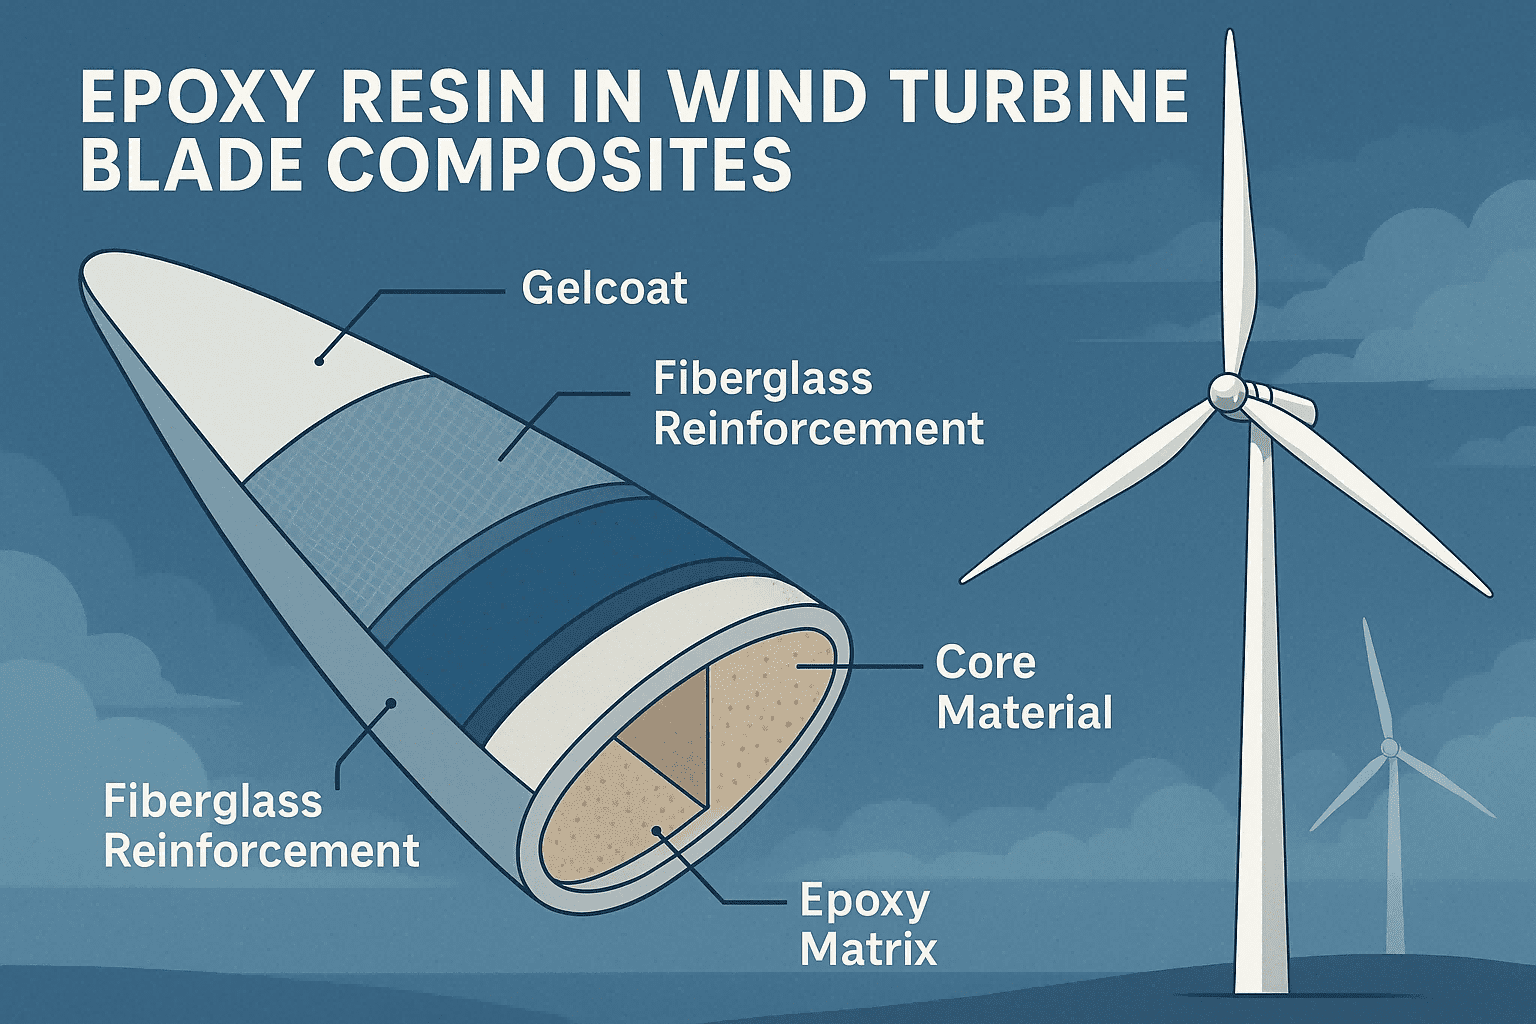
As wind energy becomes increasingly vital in the global clean energy mix, the need for durable, high-performance materials in wind turbine blade manufacturing has never been more pressing. Epoxy resin for wind turbine blades plays a central role in enabling long-lasting, efficient, and lightweight composite structures.
