Complete Guide to Epoxy Resin Tablets

Epoxy resin tables have grown increasingly popular due to their aesthetic appeal and functionality, driving an increased demand for beautiful furniture. If you would like to craft one for yourself in your home, outdoor area, or restaurant then continue reading our guide on how to create epoxy resin tables.
What is an Epoxy Resin table?
Resin tables are unique pieces of furniture created from combining wood and resin in an artistic manner, originally developed in the United States before quickly spreading globally. Popular for their gorgeous design and stunning aesthetic, resin tables radiate warmth while maintaining modern elegance – perfect for offices, commercial locations and home environments alike. Epoxy resin tables boast unique qualities; no two resin tables will look exactly alike thanks to different colored resins being combined with wood; add other items such as sand or leaves into their resin to personalize it further!
What materials and tools should I use to construct an epoxy resin table?
Materials and tools needed depend on both your budget and size of table, as well as resin pour thickness and its UV resistance; typically 5-10 cm of epoxy resin should be applied for best results. Although using all these items will make work easier, feel free to substitute or eliminate as necessary – click here for the majority of tools required for epoxy resin tables.
Fast-Drying Epoxy for Dye Starters | Pigment Pack — RW Atelier Epoxy Resin | Natural Wood Slabs
Silicone Spray
Circular Saw Paddle Mixer | Nitrile Gloves
Mask or Respirator
Polishing Paste
Drill with Paint Mixer Attachment.
Sandpaper, Caulk Gun, Orbital Sander and Eye Protection for Eye Protection; Epoxy Mold with Propane Torch and Tape Screws as Well as Mixing Bucket: How to Select Wood for Building:
Your epoxy resin table’s quality and appearance depend heavily on the wood that you select for its frame. High-grade hardwoods tend to be more resilient, though be mindful of which style best fits.
To add depth and dimension to your project, opt for natural wood with raw edges – boards made of logs with thickness of 1.5 inches are the perfect example of this choice.
If you can’t find a slab, two boards and a jigsaw may suffice; both must be completely dry with moisture levels no higher than 12% prior to beginning this project.
How can wood slabs be prepared?
- Cut wood using a handheld circular saw into the desired size and shape.
- Check to make sure the edges of all wooden pieces are even.
- Make sure the wood is even and flat by planering it until its thickness has evened out.
If you don’t possess the necessary experience, hire a carpenter or purchase pre-cut slabs in the desired length and thickness. If opting to DIY it yourself, keep in mind the costs associated with purchasing machines capable of handling wood.
What are the ideal conditions for working with Epoxy Resins?
Since epoxy resin is extremely delicate, the environment in which you work must be properly prepared in order to facilitate drying processes. Humidity and temperature fluctuations will have an effect on its drying, while dust can affect drying speeds as well.
Working at or storing epoxy resin should ideally take place at at least 20degC; and ideally this temperature should also apply for storage purposes.
Store epoxy resin on the floor where temperatures range between 15-17 degC at 20degC for best results, though such low temperatures may result in bubbles which may be difficult to eliminate.
Maintain a dust-free and dry workspace when working with epoxy resin.
Epoxy Resin Table: An Easy Guide
Follow these steps to create your own epoxy resin tablet. Sometimes watching can help clarify a step better, and YouTube offers many tutorials that will guide you through this process.
Remove bark and sand the wood:
Removing bark will not create an adequate surface to bond with resin; to achieve that result, use sandpaper around edges and an electric sander on larger areas.
After vacuuming and wiping with a microfiber towel to remove dust particles, make sure that you vacuum again for extra thorough cleaning.
Filling Voids and Cracks in Wood
iling any imperfections or cracks on wood with clear epoxy resin. Seal the edges with tape to stop any leakage of resin into nearby areas.
Once the areas have dried, apply a generous layer of transparent resin over them to seal them and prevent air bubbles from escaping through gaps between 18degC to 24degC. Allow this step to dry for at least five hours for best results.
Sandpaper can be used to roughen the edges of moulds that will come into contact with resin, providing an ideal foundation for it to adhere securely around edges.
Build the Epoxy Resin Table Mold:
Create a mold to fit the size and length of your table using medium density fiberboard (MDF). For accurate measurements, MDF may be useful as it has precise measurements.
Seal the edges with transparent silicone sanitary sealant to ensure the mold is 100% airtight, otherwise liquid resin may seep through from its corners and ruin your creation.
Spray silicone or liquid release wax onto the mold, repeating this step if you want the resin to set onto an MDF board.
Place the wood into the mold:
To reduce leakage or tilting, place the mold on a level surface and secure its wood using several parallel clamps.
Create a silicone barrier 1-2 cm from the inner edge to prevent resin from spilling over onto the tabletop.
Combining Epoxy Resin Thoroughly:
1. To begin, measure and calculate the exact amount of epoxy resin provided by your manufacturer.
2. Pour the resin into a container that is large enough.
3. Combine resin using a paddle mix attached to a drill.
4. Wait 6-10 minutes and watch as the bubbles begin to form and grow.
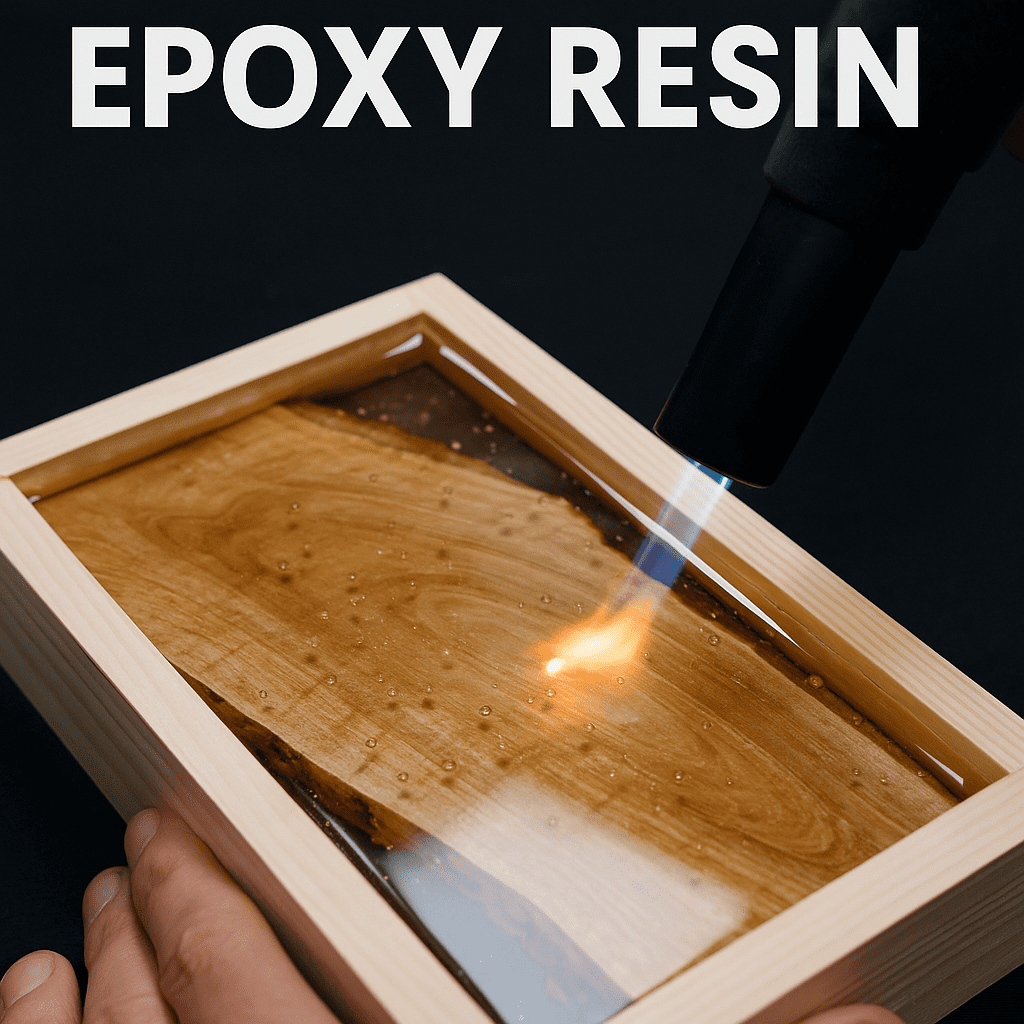
5. Use a propane torch or hot air gun to clear away any air bubbles.
6. Resin can be colored using various pigments, or left transparent and crystal clear.
7. Pour the resin between wooden slabs to fill any open spaces between them.
Remove and Sand Mold:
1. To disassemble and release the tabletop, loosen all parallel clamps and screws by taking steps such as disassembling all parallel clamps or unscrewing any parallel screws.
2. Create an epoxy resin table using an orbital sander.
For perfectly smooth edges, use an edge trimmer and sand the edges. Or if necessary, recut, plane, or recut with a circularsaw for clean results.
Polishing and Oil Treatment:
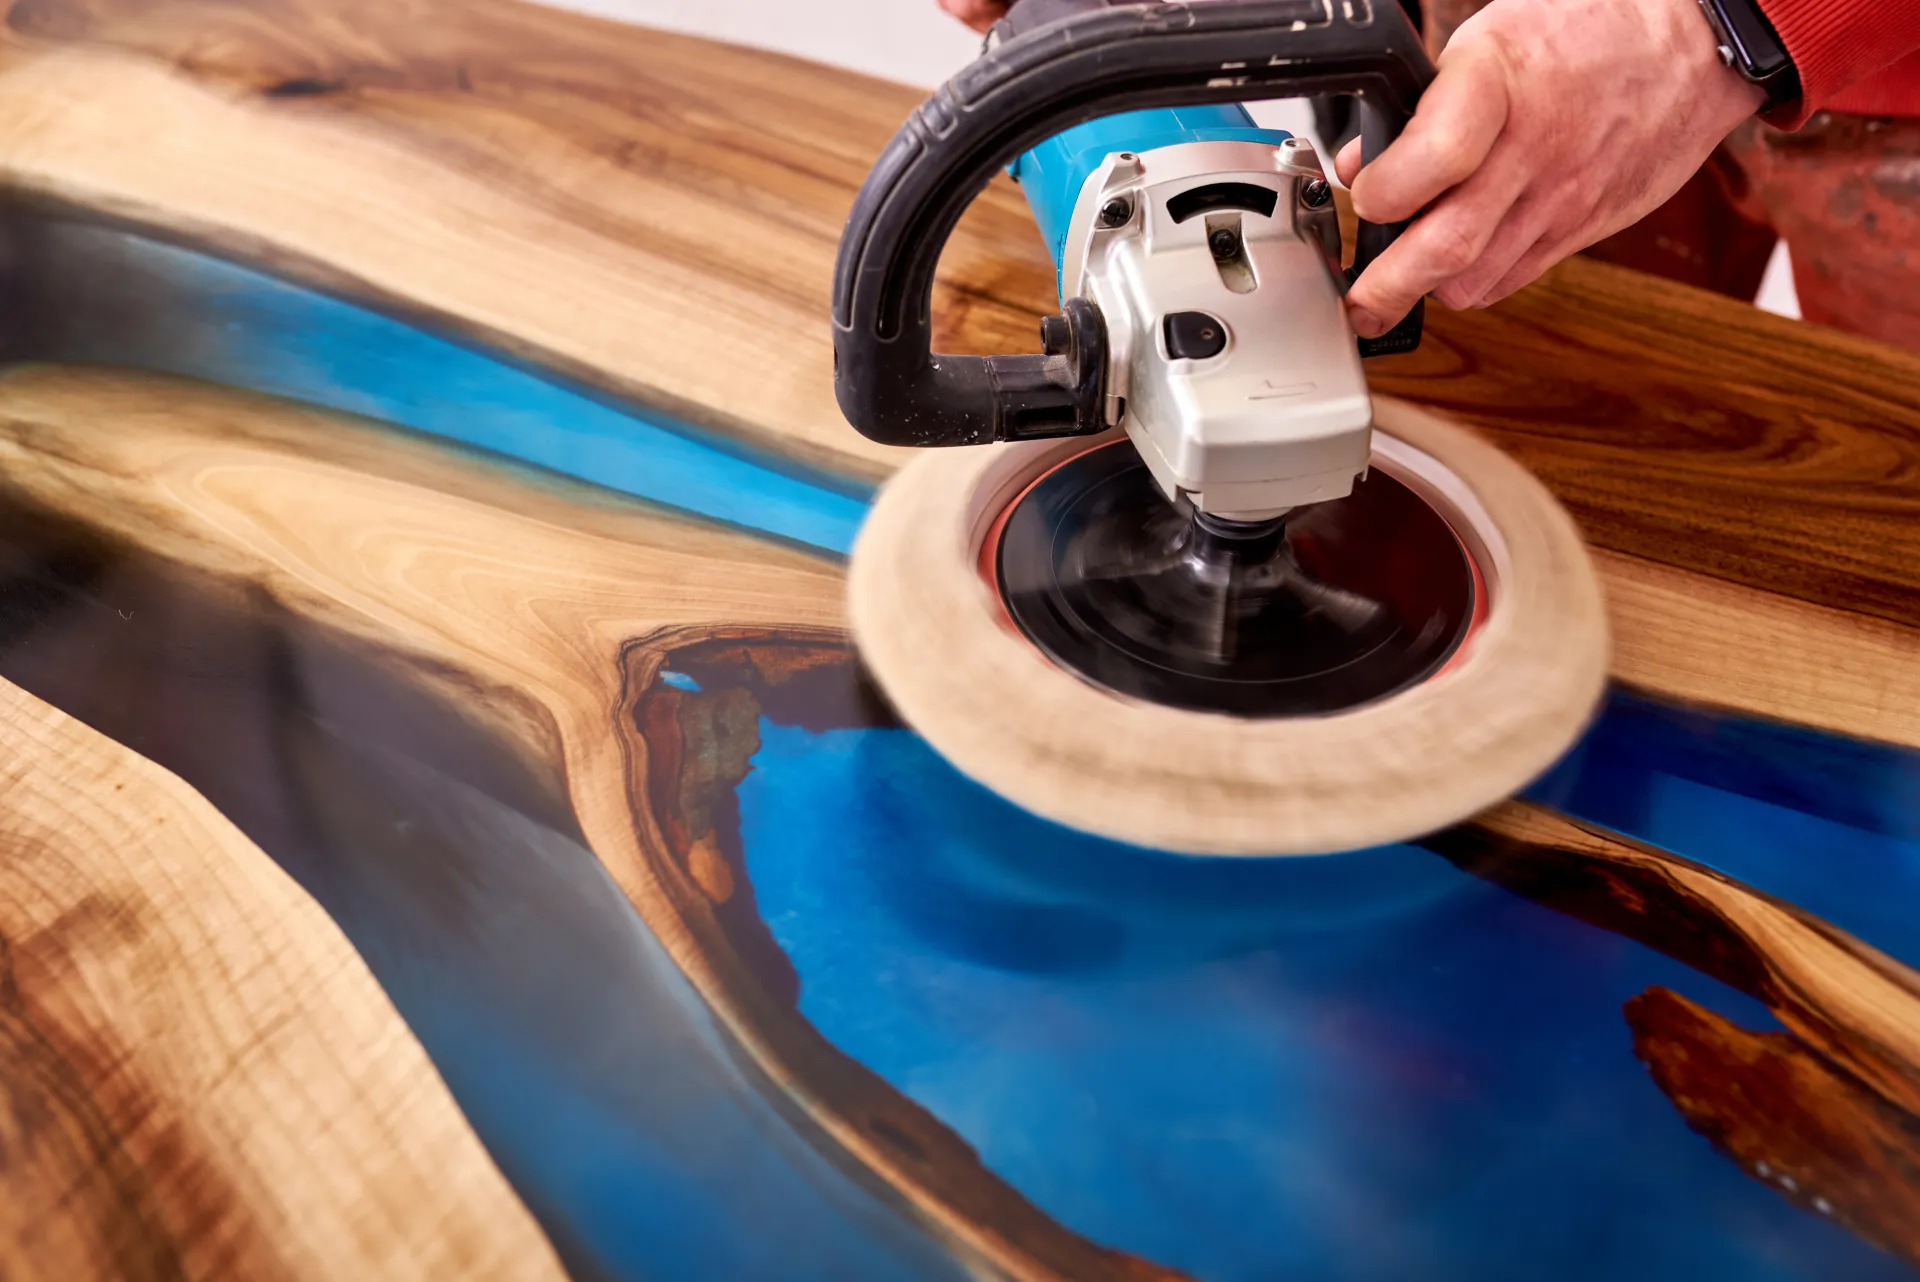
This helps ensure the wood is protected to its fullest extent and to achieve a matte, natural look.
1. Polish the epoxy resin table using a polishing tool.
2. Spread oil evenly across the tabletop using a soft and clean cloth.
What type of finish would you like to achieve?
Apply a transparent coating of resin to your tabletop to achieve a glossy appearance, or hire an expert to apply polyurethane and achieve a flawless mirror-like surface.
Attaching Table Legs: Table legs complete an epoxy resin surface. Metal legs tend to provide more of a contemporary aesthetic while wooden table legs add rustic charm.
More Tips on Epoxy Resin Tables
When creating an epoxy resin tablet, make sure it is treated correctly. UV lights may cause yellowing of both wood and resin components and should be avoided as this could have long-term repercussions for your table.


