Crafting Beautiful Epoxy Resin Art

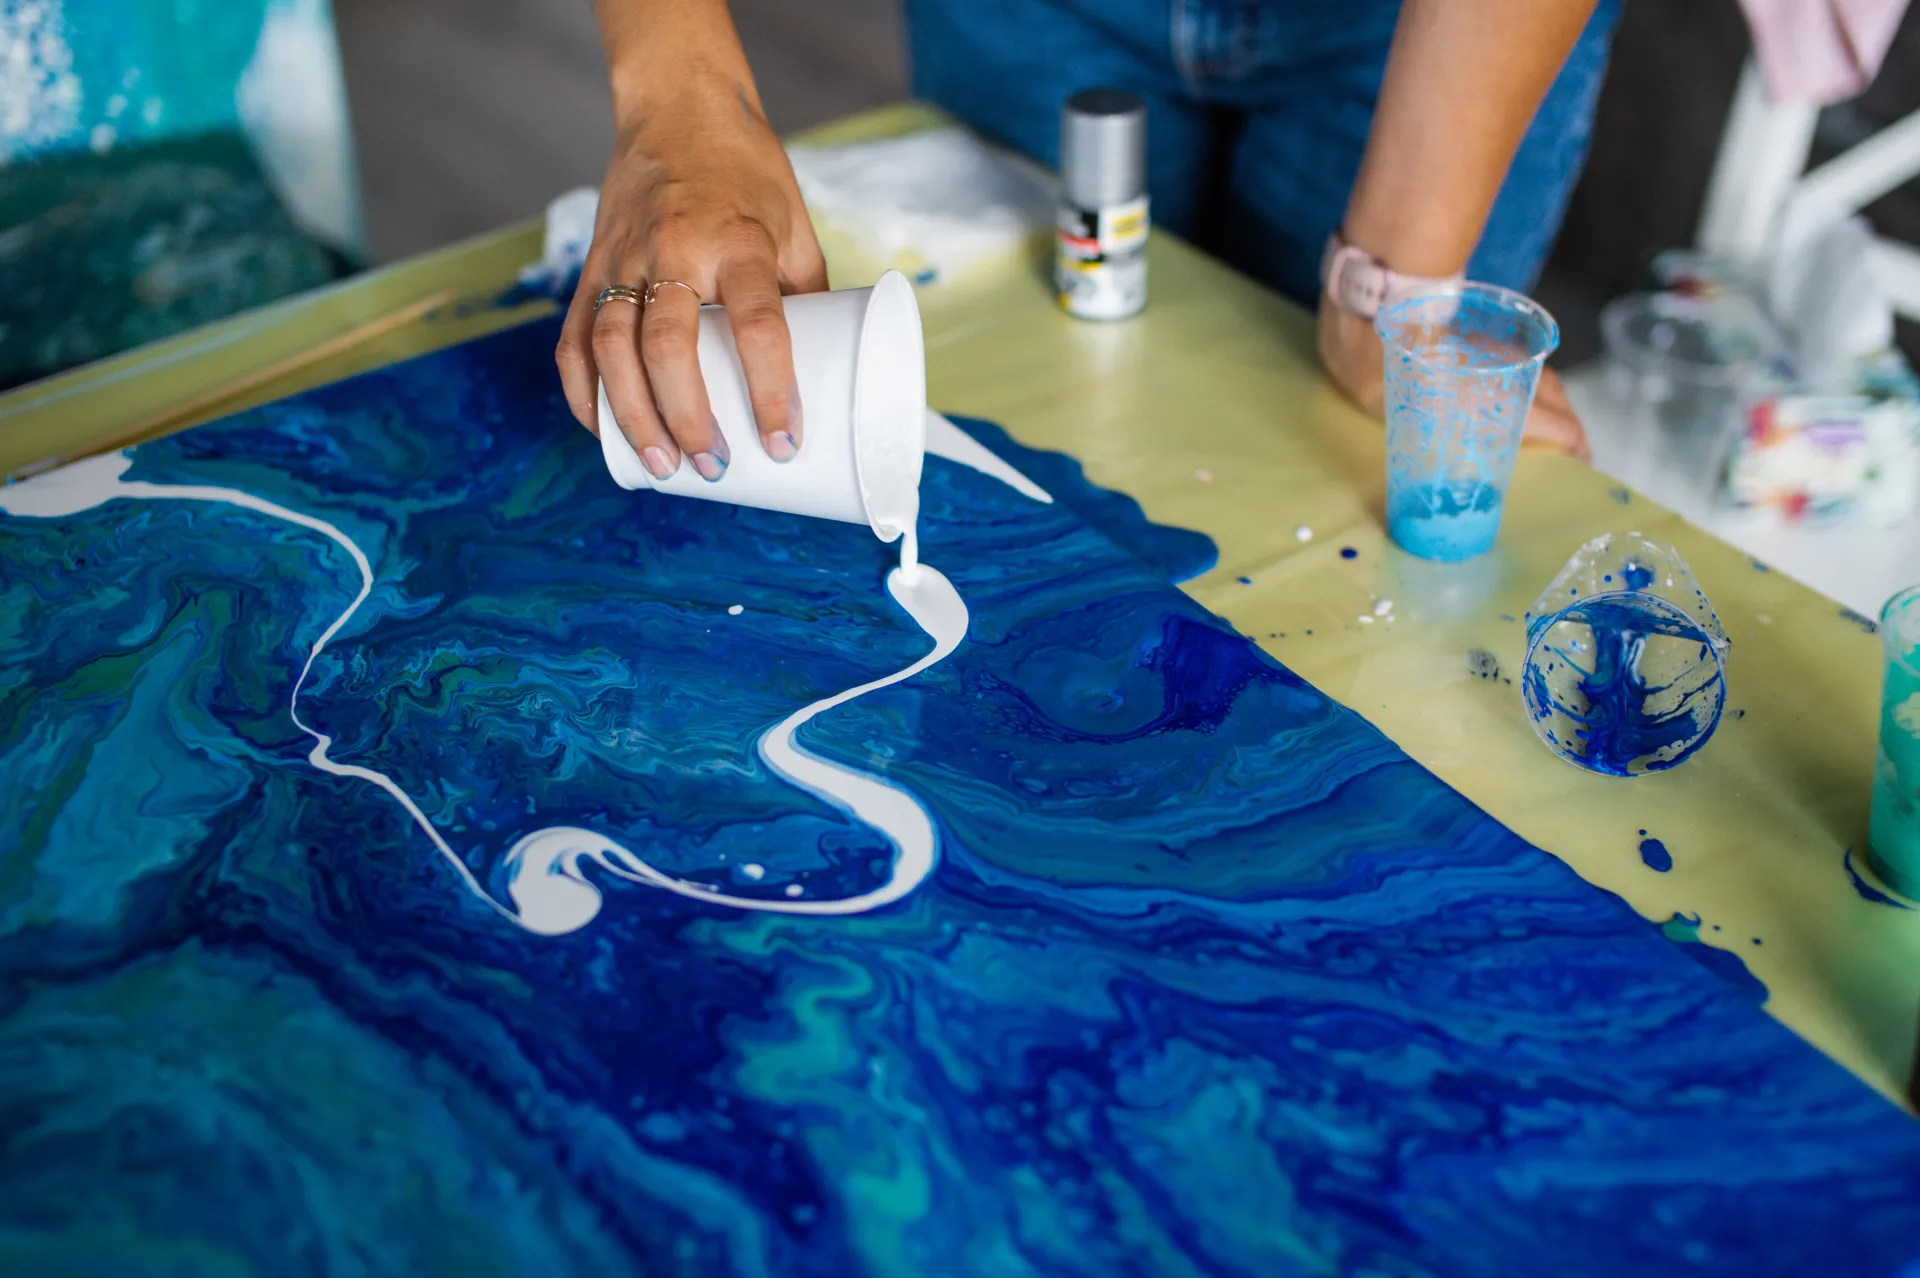
Creating stunning epoxy resin art is a rewarding and creative process. This article will guide you through the essential steps to make your own eye-catching pieces, as depicted in the image above.
Selecting Your Materials
Before starting, gather all the necessary materials. You will need:
- Epoxy resin and hardener
- Mixing cups and stirring sticks
- Color pigments and additives
- A surface or mold for your artwork
- Protective gear (gloves and mask)
Choosing high-quality materials will enhance the final result of your project.
Mixing the Epoxy Resin
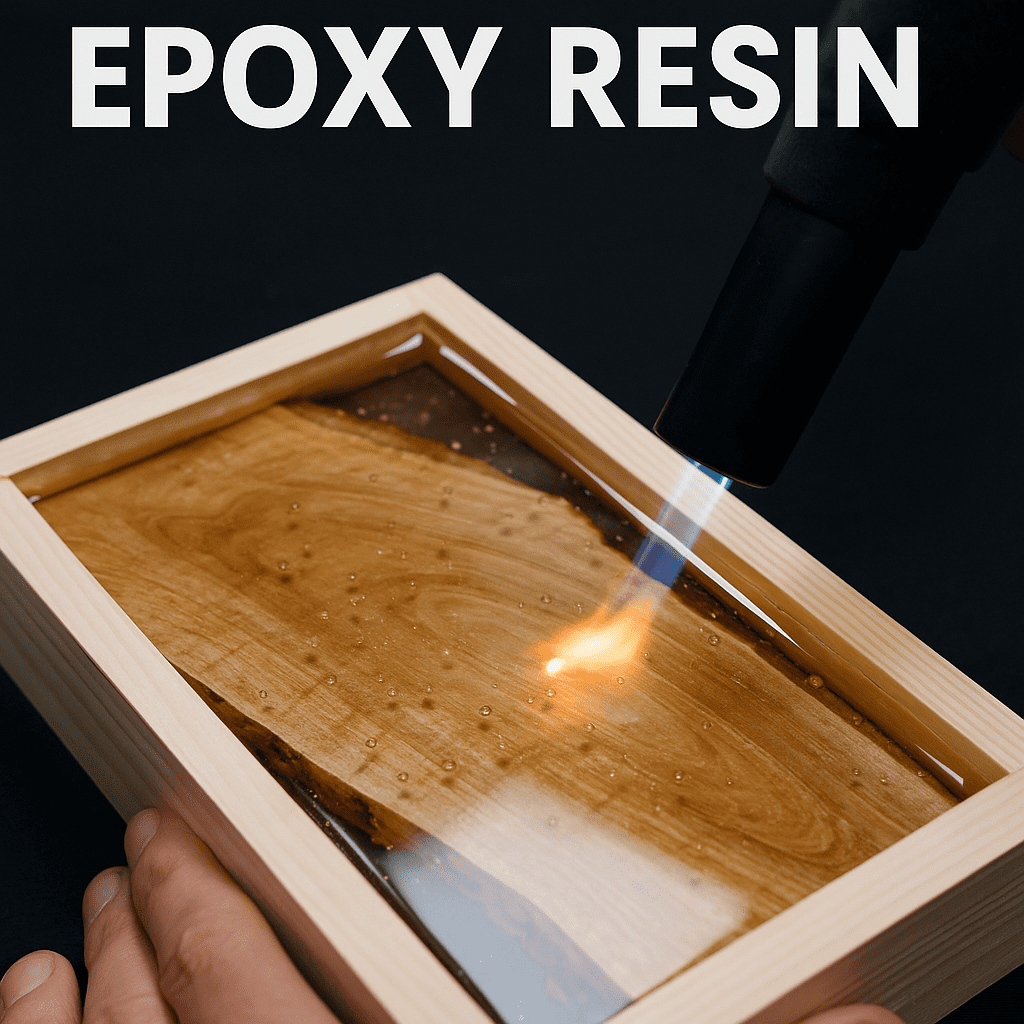
Follow the manufacturer’s instructions for mixing the resin and hardener. Typically, a 1:1 ratio is required. Stir thoroughly to ensure a uniform mixture, avoiding bubbles as much as possible. This step is crucial for achieving a smooth finish in your artwork.
Adding Color and Effects
Once the resin is mixed, it’s time to add color. Pour different pigments into the resin to create a marbled effect, as shown in the image. You can experiment with layering colors and using techniques like swirling or pouring to achieve unique patterns.
Pouring and Finishing Your Artwork
Carefully pour the colored resin onto your prepared surface. Use a spatula or a stick to spread the resin evenly if needed. Allow it to cure according to the manufacturer’s instructions. After curing, you can sand any rough edges and apply a topcoat for extra shine.
Tags
Tags: epoxy resin, resin art, DIY crafts, art supplies, creative projects, resin mixing, color techniques, handmade art, resin pouring, crafting materials.


