Fishing Rod Repair DIY: How Epoxy Resin Restores Outdoor Gear
Fishing Rod Repair DIY: How Epoxy Resin Restores Outdoor Gear
There’s something deeply satisfying about fixing your own gear — especially something like a fishing rod, which often carries not just function but memories. A snapped guide or a cracked joint doesn’t mean the rod is done for. With the right type of epoxy resin, a little care, and some patience, you can bring it back to life — maybe even stronger than before.
Why Use Epoxy Resin for Fishing Gear Repairs?
Fishing rods face a brutal life — water, salt, sun, and tension. Epoxy resin is the perfect repair material because it cures into a tough, waterproof, and UV-resistant bond. Unlike superglue, epoxy doesn’t go brittle. And when applied right, it blends into carbon fiber or fiberglass seamlessly.
Whether you’re fixing a broken tip, re-securing a guide, or sealing a splintering blank, epoxy resin is your best friend on the repair bench.
Common Fishing Rod Problems You Can Fix
- Cracked rod blank: From minor fractures to stress splits.
- Loose or broken guide ring: They can spin or detach completely.
- Reel seat wiggle: Movement at the base weakens casting control.
- Delaminated wrap thread: Especially after saltwater exposure.
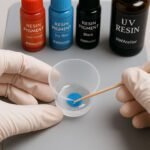
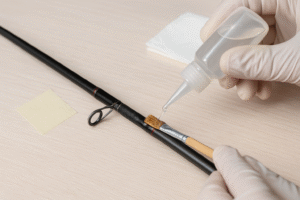
Tools & Materials You’ll Need
- 5-minute or slow-cure epoxy resin (depending on the fix)
- Sandpaper (400–600 grit)
- Cotton swabs or alcohol wipes
- Masking tape
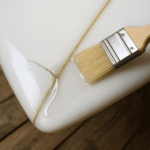
- Small brush or toothpick for application
- Rod wrapping thread (optional)
- UV flashlight or sunlight (if using UV epoxy)
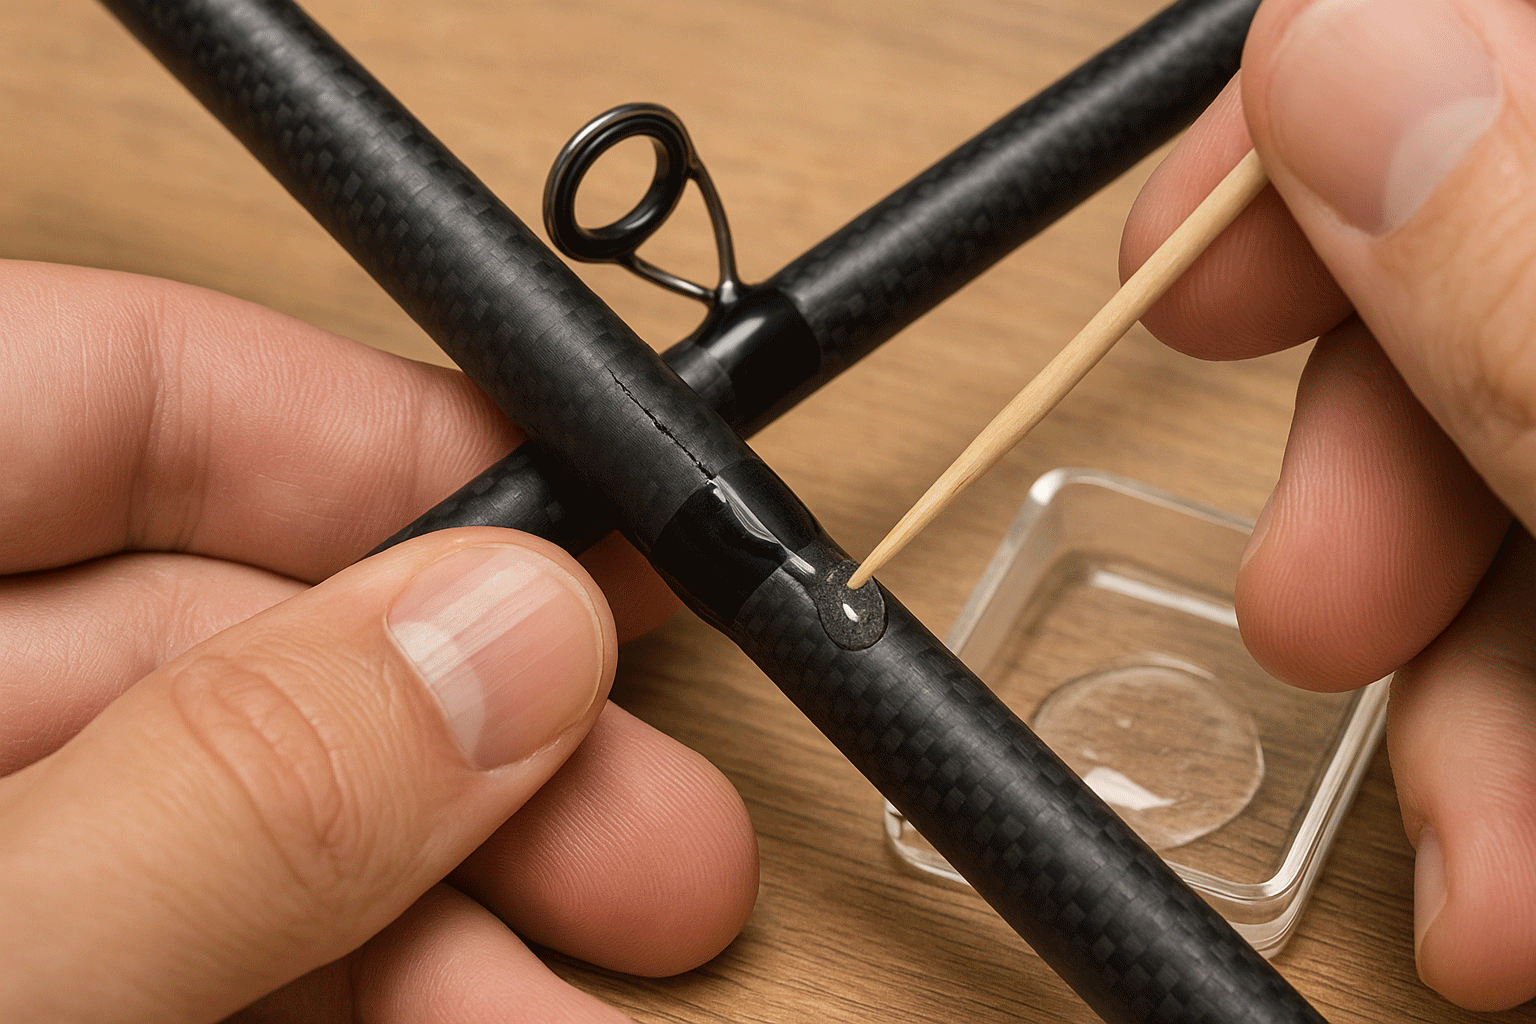
Step-by-Step: Repairing a Cracked Rod Blank
1. Clean the Area
Wipe the damaged section with isopropyl alcohol to remove grime, oil, and debris. Let it dry completely.
2. Sand Lightly
Gently sand around the crack with fine grit sandpaper. This gives the epoxy more surface area to grip.
3. Mix and Apply Epoxy
Prepare a small batch of epoxy. Use a toothpick or fine brush to apply a thin layer into and over the crack. Avoid bubbles.
4. Reinforce (Optional but Stronger)
Wrap the area with rod thread or fiberglass strand while the epoxy is still tacky. Add another thin coat over the wrap.
5. Cure
Let the rod sit still and undisturbed for the recommended curing time. Avoid direct sun if not using UV resin.
6. Finish It Off
After curing, lightly sand the area smooth if needed. You can add a final thin layer of resin for a glossy, sealed finish.
Extra Tips from the Field
- For invisible fixes, tint epoxy with black pigment to match carbon rods.
- Use shrink tubing over the repaired area for a professional look.
- Don’t rush curing — this is where strength comes from.
When to Replace Instead of Repair
Some damage just isn’t worth patching — like a snapped blank in the middle of a multi-piece rod or corrosion inside the reel seat. If your fix compromises the rod’s action or flex point, it may be safer to retire it.
But for everything else? Epoxy gives new life. And few things are as satisfying as landing a fish with a rod you fixed yourself.
Final Cast
Fixing your fishing rod with epoxy isn’t just practical — it’s empowering. You take back control of your gear, save money, and deepen your connection to the tools you rely on outdoors.
So next time your rod takes a hit, don’t hang it up just yet. Mix the resin. Take your time. And give that rod another run down the river.