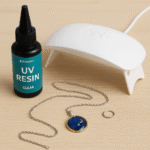
How to Make UV Resin Earrings: A Simple Guide for Beginners
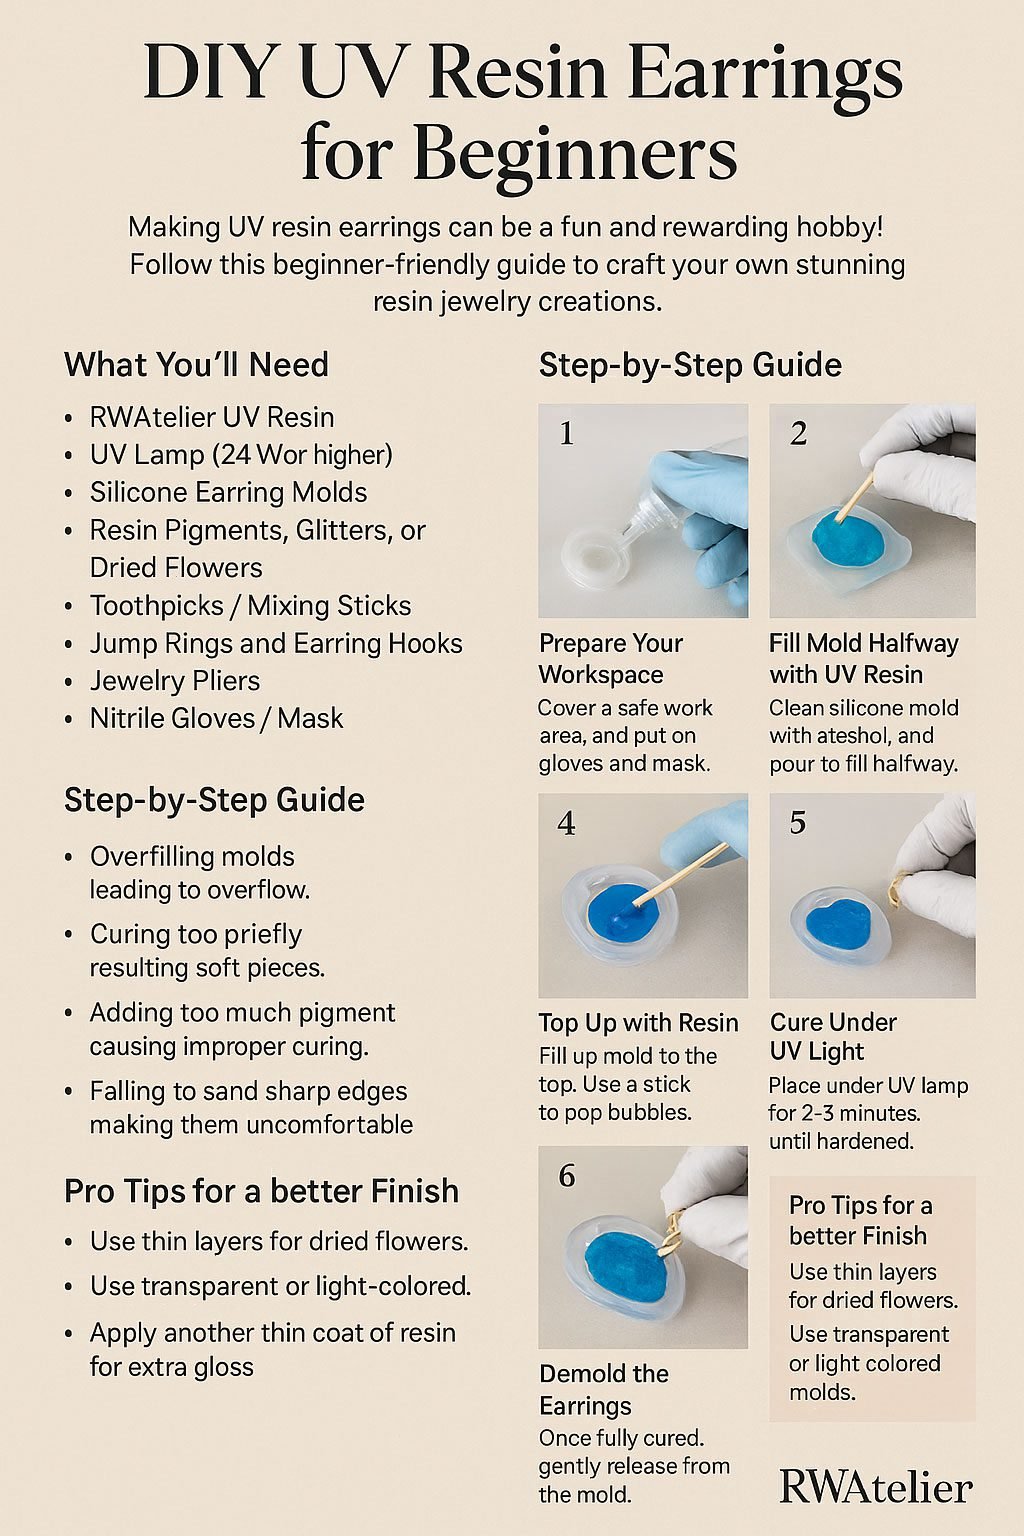
How to Make UV Resin Earrings: A Simple Guide for Beginners
Making UV resin earrings is a fun and fulfilling craft that anyone can try. Whether you’re a DIY enthusiast or just looking for a creative weekend project, this guide is designed for complete beginners. With just a few tools and some RWAtelier UV resin, you’ll be crafting glossy, personalized earrings in no time!
What You’ll Need
Gather these basic supplies before you start:
- – RWAtelier UV resin
- – UV lamp (24W or higher)
- – Silicone earring molds (flat or teardrop shapes work great)
- – Toothpicks or mixing sticks
- – Resin pigments, glitter, or dried flowers
- – Jump rings and earring hooks
- – Jewelry pliers
- – Nitrile gloves and face mask
- – Fine grit sandpaper or nail file
- – Alcohol wipes or isopropyl alcohol
Step-by-Step: How to Make UV Resin Earrings
- Set Up Your Workspace: Cover your table, wear gloves and a mask, and lay out all tools.
- Clean the Mold: Use alcohol wipes to remove any dust or residue.
- Pour the First Layer: Fill the mold halfway with UV resin using a stick or toothpick.
- Add Decorations: Place glitter, pigment, or dried flowers into the resin. Go slowly to avoid air bubbles.
- Fill the Mold: Top off the mold with more resin, just to the rim.
- Remove Bubbles: Use a toothpick or lightly heat the surface to pop any bubbles.
- Cure the Resin: Place under a UV lamp for 2–5 minutes until completely hardened.
- Demold: Carefully remove the cured earrings from the mold.
- Sand the Edges: Smooth any sharp or uneven edges using fine grit sandpaper.
- Attach Hardware: Use jewelry pliers to add jump rings and earring hooks to complete your pieces.
Pro Tips for a Glossy Finish
– Use transparent molds for better UV penetration.
– Embed decorations in thin layers to prevent uncured spots.
– For extra shine, brush on a final coat of resin and cure again.
Avoid These Beginner Mistakes
– Overfilling the mold, causing overflow and extra sanding.
– Using too much pigment, which blocks UV light.
– Under-curing, which results in sticky or soft pieces.
– Forgetting to sand sharp edges, making earrings uncomfortable to wear.
Final Thoughts
Crafting your own UV resin earrings is a satisfying way to express creativity and make beautiful wearable art. With RWAtelier’s beginner-friendly UV resin, you can experiment confidently. Try layering colors, mixing glitters, or embedding dried flowers to make each pair unique. Happy crafting!