Surfboard Crack Repair Tips: How to Waterproof & Reinforce with Epoxy Resin
Surfboard Crack Repair Tips: How to Waterproof & Reinforce with Epoxy Resin
There’s nothing worse than finding a crack in your surfboard just before a perfect swell rolls in. But don’t panic — not every ding means your board’s toast. With a bit of clear epoxy resin, some sandpaper, and a few simple tools, you can fix small to mid-sized cracks yourself, save a trip to the repair shop, and get back in the water faster.
This guide walks you through how to seal, waterproof, and reinforce surfboard cracks using epoxy resin — a two-part adhesive known for its clarity, strength, and water resistance.
Why Use Epoxy Resin for Surfboard Repairs?
- Waterproof Bonding: Forms a sealed, hard surface to stop water from soaking the core.
- Durable: Handles flex and wave pressure better than brittle glues.
- Sands Smooth: Easy to finish flush with your board.
- Clear Finish: Ideal for visible spots — doesn’t yellow.
Tools & Materials You’ll Need
- Clear AB epoxy resin (marine-safe)
- 220–600 grit sandpaper
- Masking tape
- Mixing cup & stick
- Nitrile gloves
- Razor blade or utility knife
- Isopropyl alcohol or acetone
- Fiberglass cloth (optional)
Step-by-Step: Fixing a Surfboard Crack
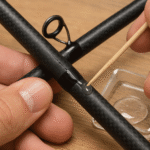
1. Clean the Area: Rinse and wipe with alcohol or acetone. Let dry.
2. Open the Crack (if needed): Use a blade for better resin penetration.
3. Sand: Lightly scuff 1–2cm around the crack.
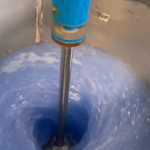
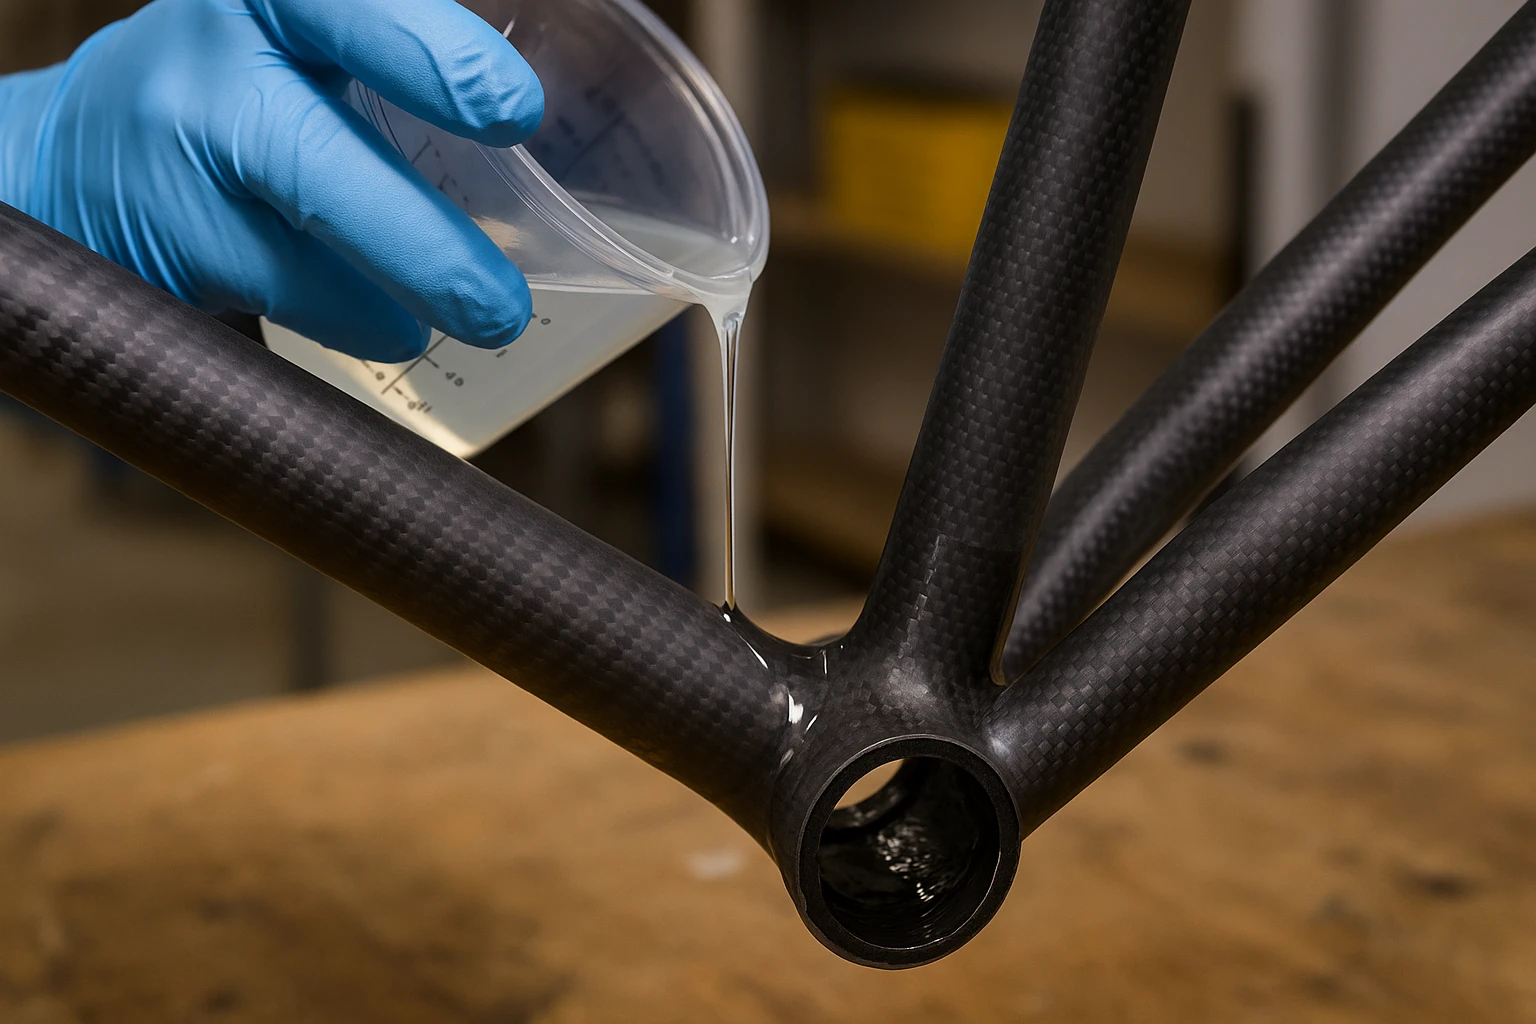
4. Mix the Epoxy: Stir equal parts A & B slowly.
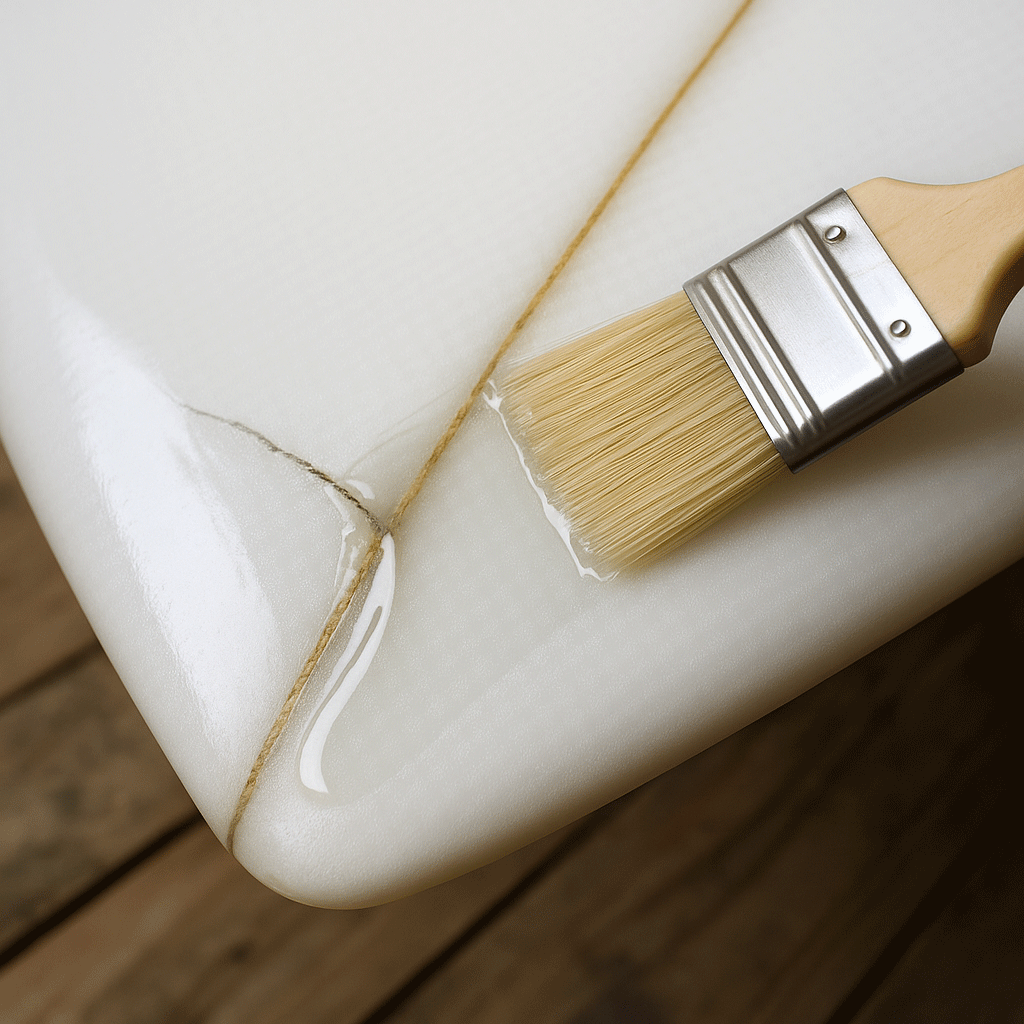
5. Apply: Push into the crack. Smooth it out.
6. (Optional) Add Fiberglass: For deeper cracks, add cloth and resin layer.
7. Cure: Let sit for 12–24h. Don’t rush it.
8. Sand Smooth: Polish or repaint as needed.
Pro Tips
- Cure in shade to avoid bubbles.
- Use pigments to color-match.
- Never surf a fresh ding.
Final Word
Epoxy resin can rescue your board. Do it clean. Do it dry. Do it right. Then paddle back out like nothing happened.