Why Epoxy Resin Bubbles Form and How to Prevent Them
1. Sources of Epoxy Resin Bubbles
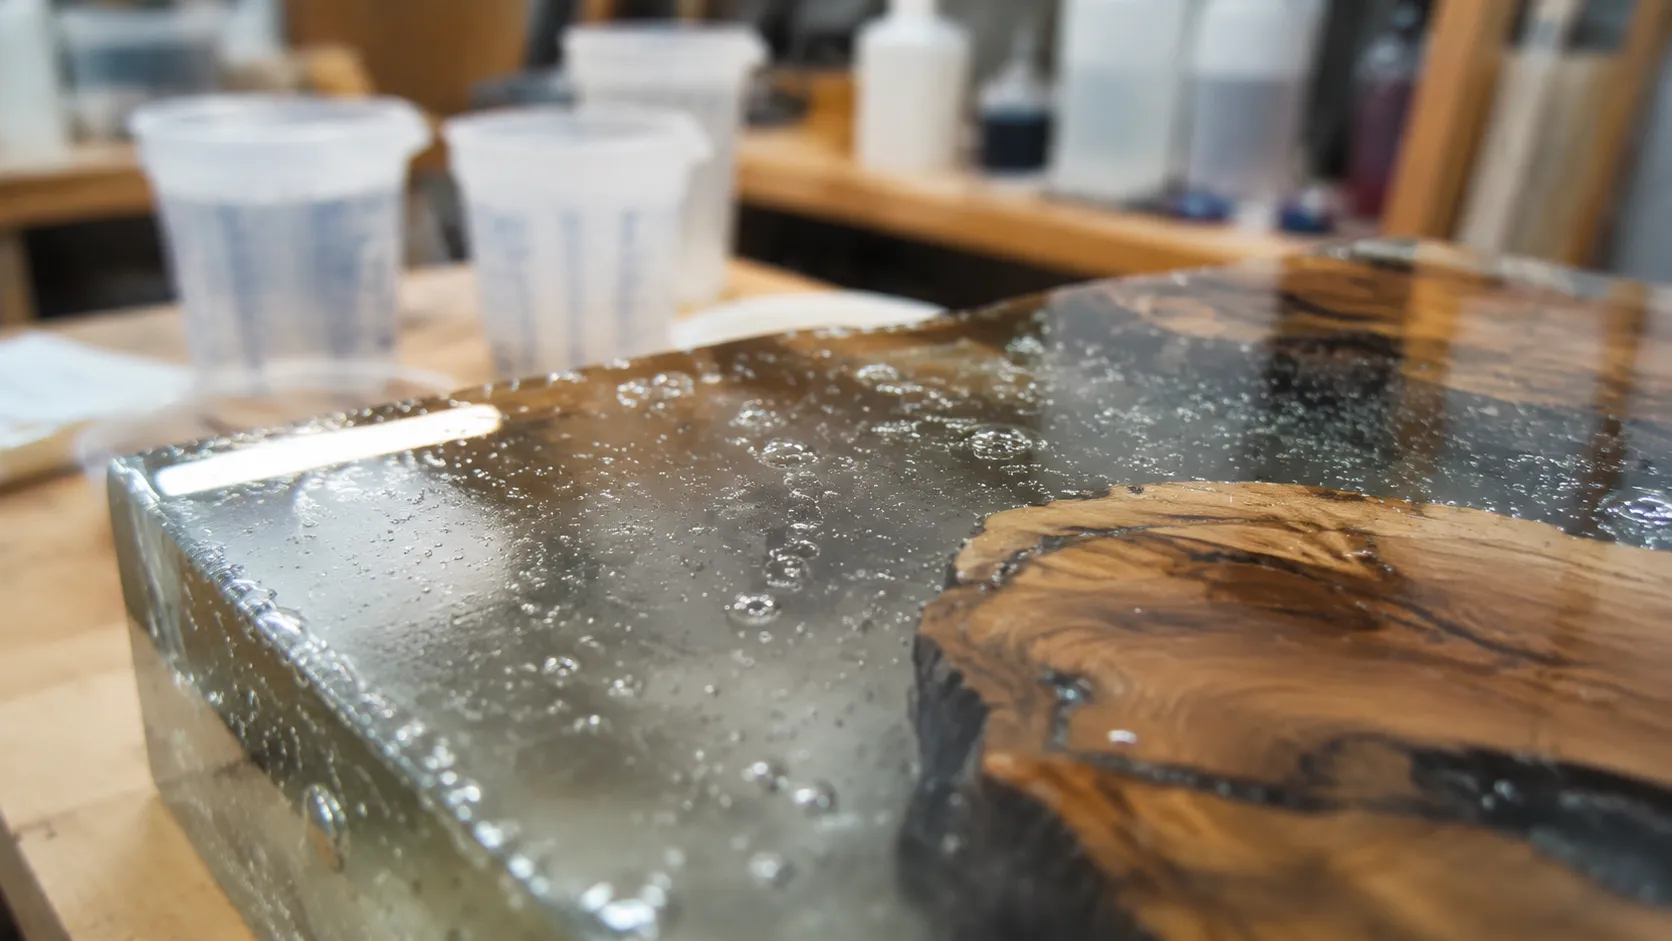
Understanding why epoxy resin bubbles occur is the first step to achieving a flawless, crystal-clear finish. Bubbles are primarily caused by trapped air during the mixing and curing process.
Here are the primary root causes of bubble formation in epoxy applications:
-
- Mechanical Mixing: High-speed stirring introduces massive amounts of air into the liquid matrix. Without proper degassing, these micro-bubbles become permanently locked in place as the resin cures.
- Substrate Outgassing: Porous materials like wood, concrete, and canvas contain trapped air. When the epoxy undergoes an exothermic reaction, the heat expands this air, forcing it upward into the coating.
- Incorrect Mixing Ratio: Inaccurate measurements or incomplete blending can alter the viscosity and chemical reaction, preventing air from escaping naturally.
- Environmental Factors: High humidity and low ambient temperatures significantly increase resin viscosity, making it incredibly difficult for bubbles to rise to the surface and pop.
- Pouring Depth Violations: Pouring epoxy thicker than its maximum recommended depth traps heat and air, accelerating the gel time before the air can escape.
2. Solutions to Eliminate Epoxy Resin Bubbles
Getting a crystal-clear finish requires a mix of proper technique and the right environment. If you want to stop epoxy resin bubbles from ruining your project, implement these proven solutions during your next pour.
Professional Degassing and Prep
-
- Warm the Resin: Cold epoxy traps air easily. Warm your resin and hardener bottles in a warm water bath (20 °C to 25 °C) before mixing to lower the viscosity and let trapped air escape easily.
- Slow Mixing: Avoid whipping the mixture. Use a flat-edge stir stick and mix slowly and deliberately to minimize air introduction.
- Vacuum Degassing: For critical molds and deep pours, placing the mixed epoxy into a vacuum chamber forces all trapped air to the surface before you pour.
Surface and Pouring Fixes
| Method | How It Works | Best Used For |
|---|---|---|
| Seal Coat | Brush a thin layer of epoxy over porous surfaces (wood, concrete) to seal pores before the main pour. | Wood slabs, tabletops, canvas |
| Torch / Heat Gun | Pass a propane torch or heat gun swiftly 6 inches above the surface to pop rising bubbles. | Countertops, art pieces, shallow pours |
| Thin Layers | Pour in multiple thin stages rather than one deep dump so degassing happens naturally. | Deep molds, casting resins |
3. 施工控制 (Application Control to Stop Epoxy Resin Bubbles)
Controlling the application environment and technique is your best defense against epoxy resin bubbles. If you want a flawless, crystal-clear finish, you have to manage the pouring process with precision. Proper application control ensures that trapped air is minimized from the start, making degassing much easier.
Essential Application Checklist
-
- Seal Porous Surfaces: Always apply a thin seal coat on wood, concrete, or canvas before the main pour. This blocks trapped air in the material from escaping into your thick layer.
- Pour in Thin Layers: Avoid pouring too thick all at once. Layering your epoxy allows air to escape naturally before the resin cures.
- Pour Slowly and Low: Keep the mixing container close to the surface and pour in a slow, steady stream. High pours introduce unnecessary air.
- Maintain the Right Temperature: Keep your workspace between 75°F and 80°F (24°C to 27°C). Cold environments increase viscosity, making it harder for bubbles to rise.
| Application Factor | Ideal Condition | Impact on Bubbles |
|---|---|---|
| Pouring Speed | Slow, consistent stream | Prevents churning and creating new air pockets |
| Layer Thickness | Follow product limits (e.g., 1/4 inch for coating resins) | Allows degassing to happen naturally |
| Substrate Condition | Fully sealed and dry | Stops moisture and air from triggering epoxy resin bubbles |
| Room Humidity | Below 60% | Prevents moisture reactions that cause cloudiness and foaming |
Heat Application Technique
Once the epoxy is poured, pass a propane torch or a heavy-duty heat gun quickly over the surface. The heat thins the resin temporarily, allowing trapped air to pop instantly. Keep the heat source moving constantly to avoid scorching the resin or causing premature curing.
