How to Seal Photos or Images in UV Resin Jewelry: A Heartfelt Beginner Guide
How to Seal Photos or Images in UV Resin Jewelry: A Heartfelt Beginner Guide
Resin jewelry with embedded photos makes for some of the most cherished keepsakes—whether it’s a moment captured with someone special, a beloved pet, or a design that tells your story. With UV resin, especially from RWAtelier, creating these personalized pieces becomes fast, clean, and beginner-friendly. In this guide, you’ll learn how to safely and beautifully seal your photos in UV resin to create pendants, keychains, or charms that last.
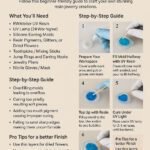
What You’ll Need
- – RWAtelier UV resin
- – UV lamp (24W or higher)
- – Laser-printed photos (seal inkjet prints with Mod Podge)
- – Open-back bezels or clear silicone molds
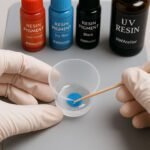
- – Toothpicks or mixing sticks
- – Nitrile gloves and a mask
- – Mod Podge or clear drying glue (for photo sealing)
- – Clear tape (to seal back of bezels)
- – Fine grit sandpaper (optional)
- – Scissors or craft knife
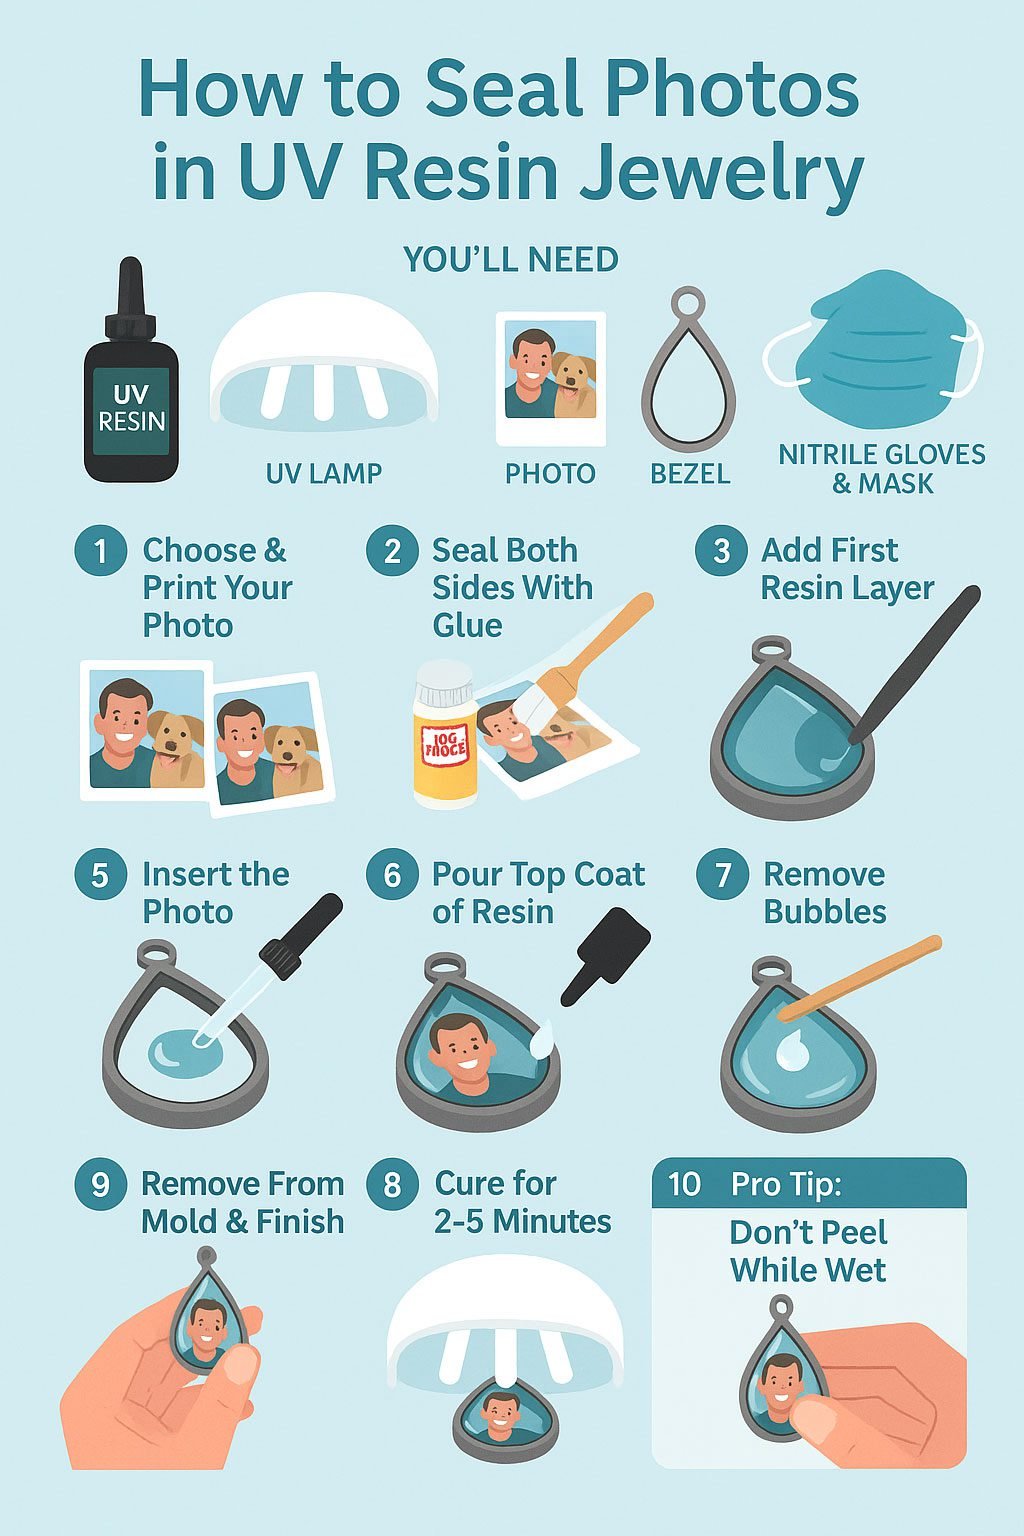
Step-by-Step: How to Embed a Photo in UV Resin
- Select and Print the Photo: Use a high-resolution laser printer. For inkjet, seal both sides with Mod Podge and let it dry completely.
- Cut to Fit: Trim the photo so it fits perfectly in the mold or bezel.
- Prepare the Mold/Bezel: Tape the back of the bezel to avoid leaks. Clean molds thoroughly.
- Pour a Thin Base Layer: Add a small layer of UV resin, then cure it under the lamp for 1–2 minutes. This creates a level surface.
- Add the Photo: Place the photo face-up onto the cured base. Press gently to remove trapped air.
- Top It Off: Pour resin slowly over the photo until the mold or bezel is filled. Don’t overfill.
- Pop Any Bubbles: Use a toothpick or gently pass a lighter over the top to release bubbles.
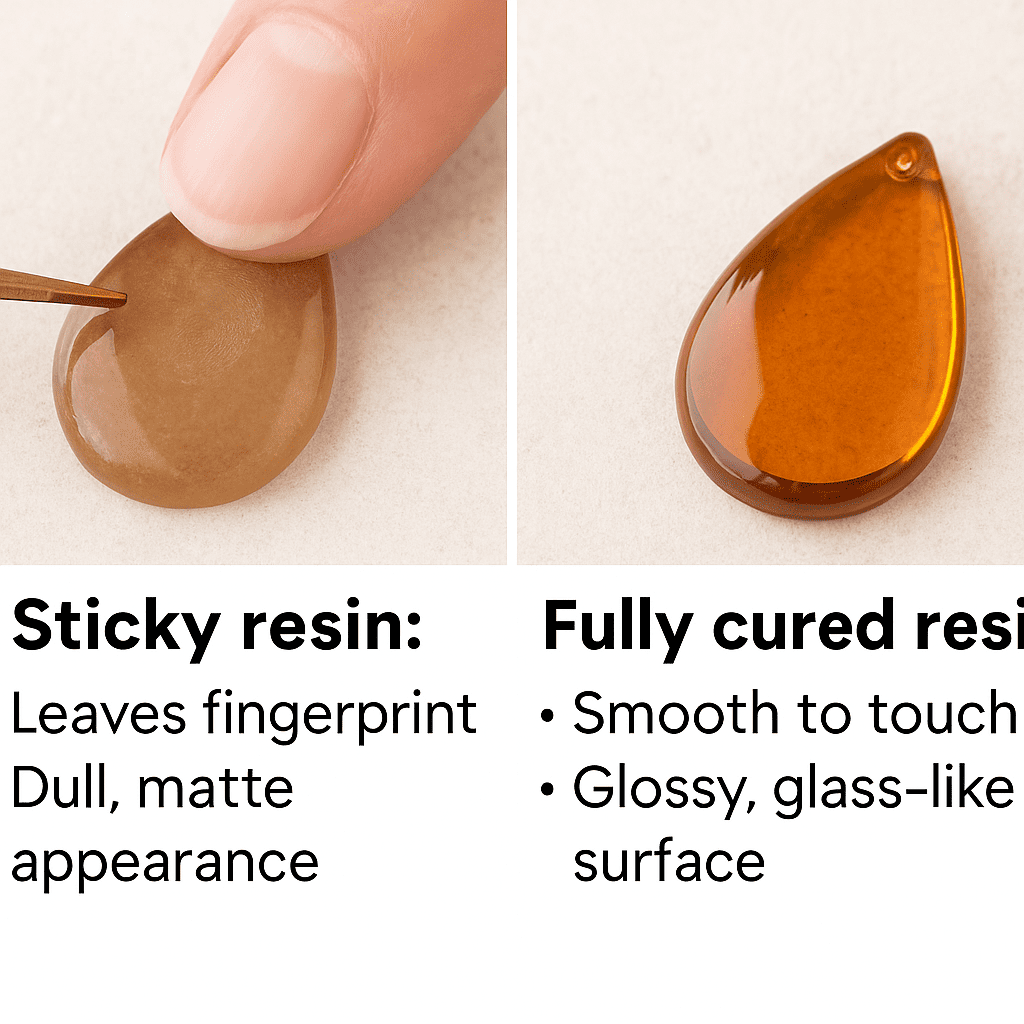
- Final Cure: Place under the UV lamp for 2–5 minutes, rotating if needed for even exposure.
- Demold and Finish: Carefully remove the piece. Sand edges with fine grit paper if necessary.
- Optional Gloss Layer: Apply a final coat of resin to create a domed, glass-like finish and cure again.
Pro Tips for Picture-Perfect Results
– Always seal inkjet prints—unsealed ones will bleed or discolor.
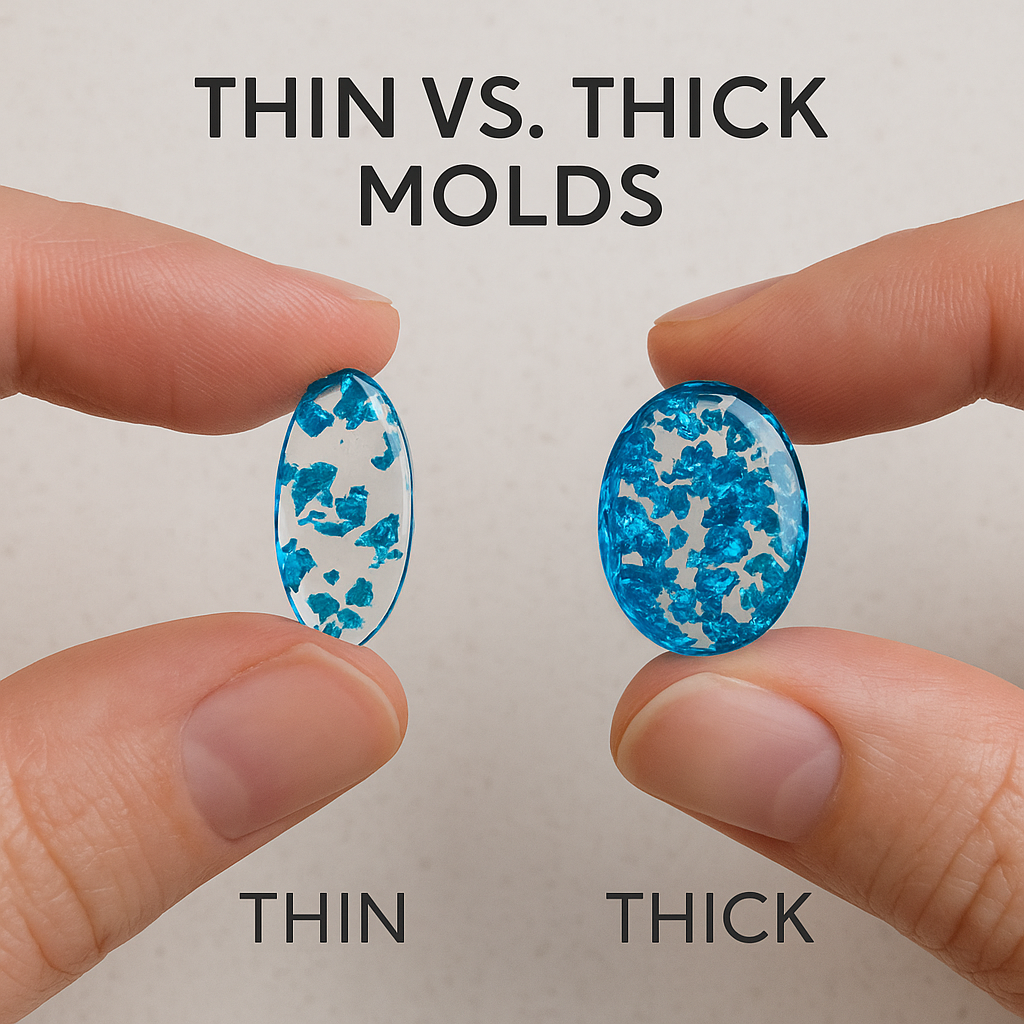
– Pour resin in layers rather than one thick coat to avoid warping and air pockets.
– Transparent molds or open-back bezels work best for even curing.
Common Mistakes to Avoid
– Rushing the sealing of inkjet prints.
– Using too much resin at once, which can overheat and warp the image.
– Not pressing down the photo properly—this leaves air pockets underneath.
Final Thoughts
Creating resin jewelry that captures memories is one of the most rewarding resin projects. With RWAtelier’s premium UV resin, you get clarity, quick curing, and long-term durability. Start with a photo that means something to you, take your time sealing it properly, and finish with a glossy layer that lets it shine. The result? A wearable story that lasts.