RW Epoxy Resin: Beginner’s Guide to UV Resin Jewelry Crafting
RW Epoxy Resin: Beginner’s Guide to UV Resin Jewelry Crafting
Epoxy resin art has captured the imagination of DIYers, hobbyists, and jewelry lovers everywhere. With its glossy finish and endless creative possibilities, it’s no wonder UV resin has become a go-to material for beginners. Whether you’re dreaming of making your own shiny pendants, keychains, or charms, this guide will walk you through everything you need to get started—with a special focus on UV resin.
In this beginner-friendly tutorial, we’ll go step-by-step to make a UV resin pendant, covering tools, safety, techniques, and tips to help you succeed on your first try.
What is UV Resin?
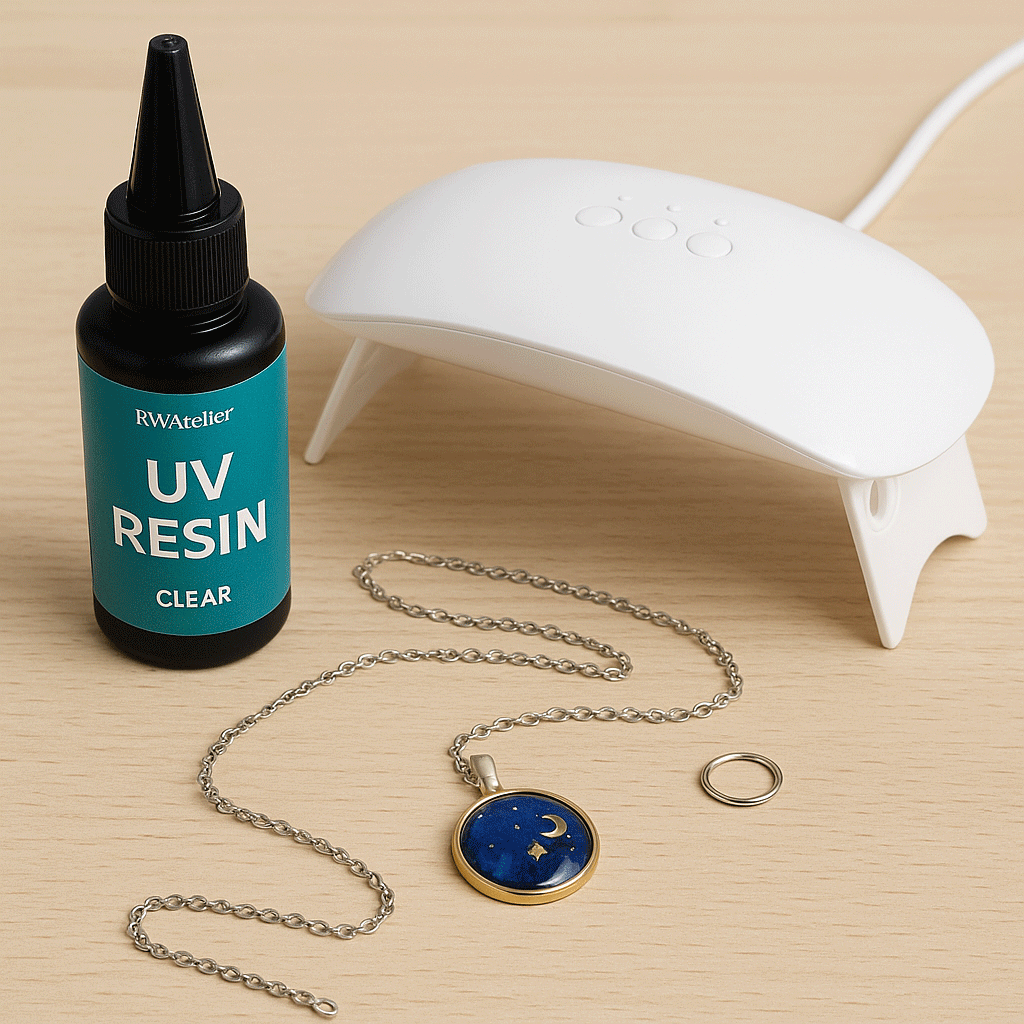
UV resin is a one-part epoxy that cures (hardens) quickly when exposed to ultraviolet light. Unlike traditional AB epoxy resins, which require precise mixing of two parts, UV resin comes ready to use—no ratios, no wait. This makes it perfect for beginners or small projects like jewelry. Brands like RWAtelier offer high-quality UV resin that cures crystal-clear and smooth in just a few minutes.
What You’ll Need
- UV resin (we recommend RWAtelier UV resin)
- UV lamp (24W or stronger)
- Silicone mold or open bezel
- Mixing stick or toothpick
- Disposable cup or palette
- Glitter, mica powder, or dried flowers
- Nitrile gloves and mask
- Alcohol wipes or isopropyl alcohol
Step-by-Step: Make a UV Resin Pendant
- Prepare Your Workspace: Cover your table, put on gloves and mask, and gather all materials.
- Pour Resin: Add a small amount of UV resin into the mold or bezel.
- Add Color & Decorations: Mix in a tiny amount of glitter or pigment, and place your decorations.
- Pop Bubbles: Use a toothpick to pop surface bubbles. Work slowly to avoid air traps.
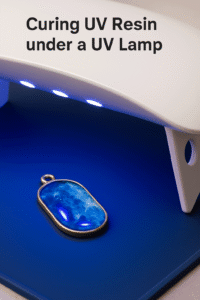
- Cure Under UV Light: Place the piece under the lamp for 2–5 minutes until fully hardened.
- Add Layers (Optional): For depth, cure in thin layers, adding details between each cure.
- Demold & Finish: Remove from mold once fully cured. Sand rough edges if needed.
Safety Tips
- Always wear gloves and a mask.
- Work in a ventilated area.
- Never touch uncured resin with bare hands.
- Keep resin away from children and pets.
Beginner Mistakes to Avoid
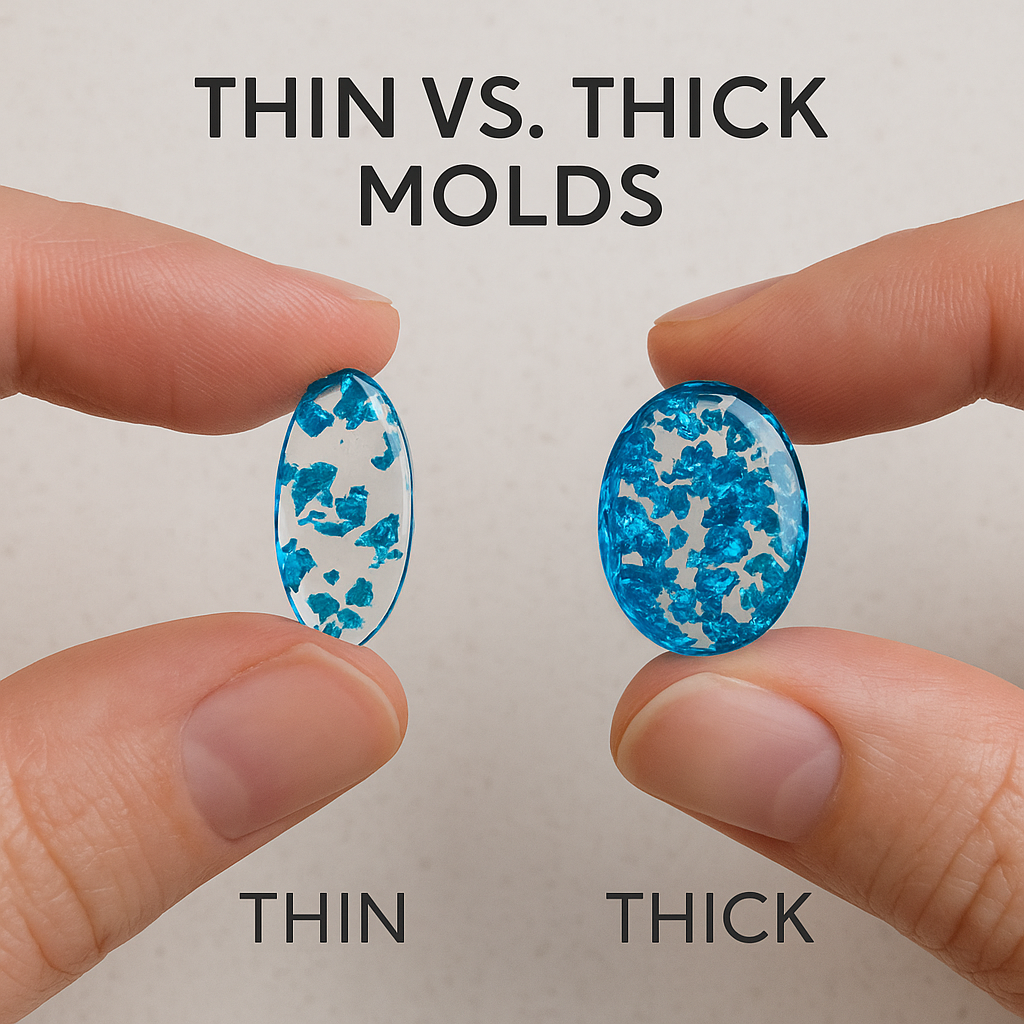
- Pouring resin too thick (causes uncured spots).
- Adding too much pigment (blocks UV light).
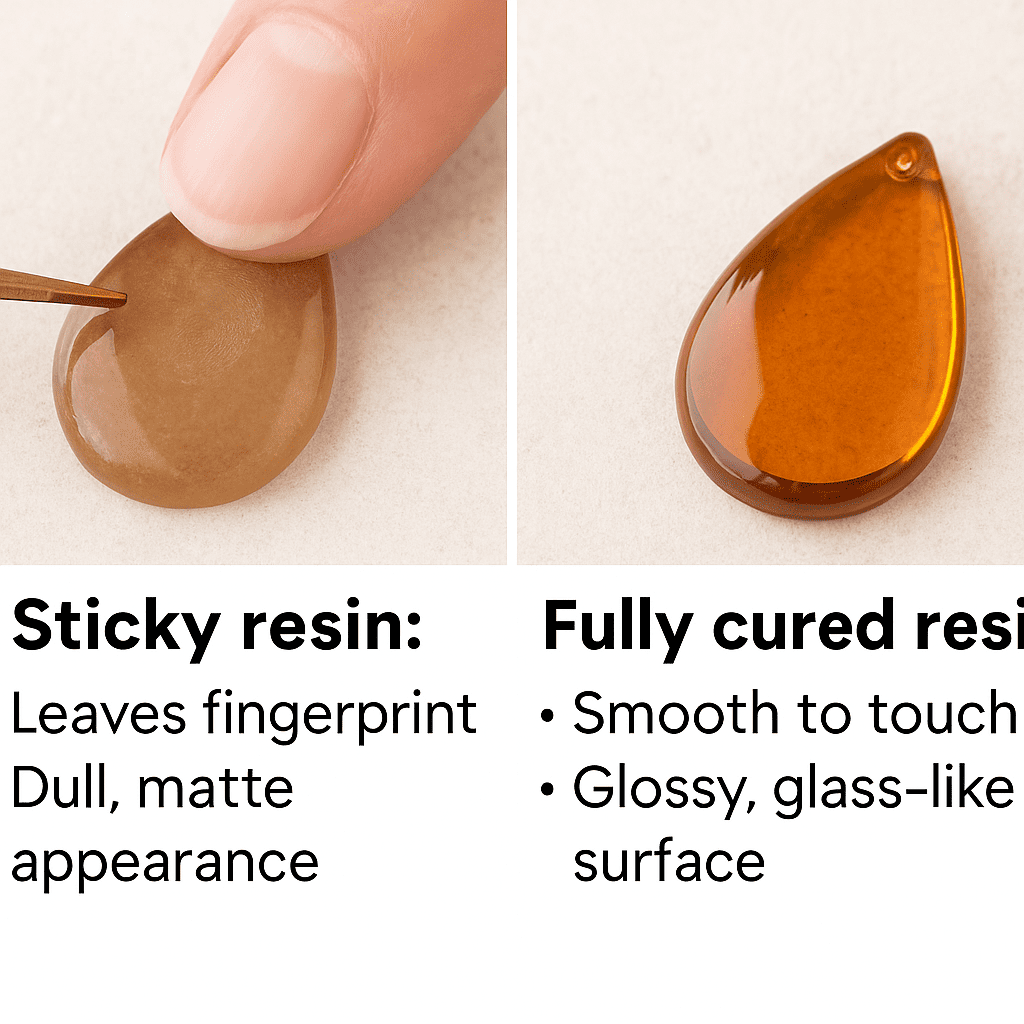
- Under-curing (always check hardness before demolding).
- Using weak lamps (choose 24W+ for best results).
Final Thoughts
UV resin is a fantastic way to dive into the world of resin art. With just a few tools and a little practice, you’ll be able to create dazzling jewelry pieces that look professionally made. Brands like RWAtelier make it even easier for first-timers with beginner-friendly, fast-curing formulas.
We hope this guide has helped you gain confidence and excitement to try your first UV resin project. Now roll up your sleeves, turn on your lamp, and start creating!