
Epoxy Sticky Soft Spots Causes and Repair Guide
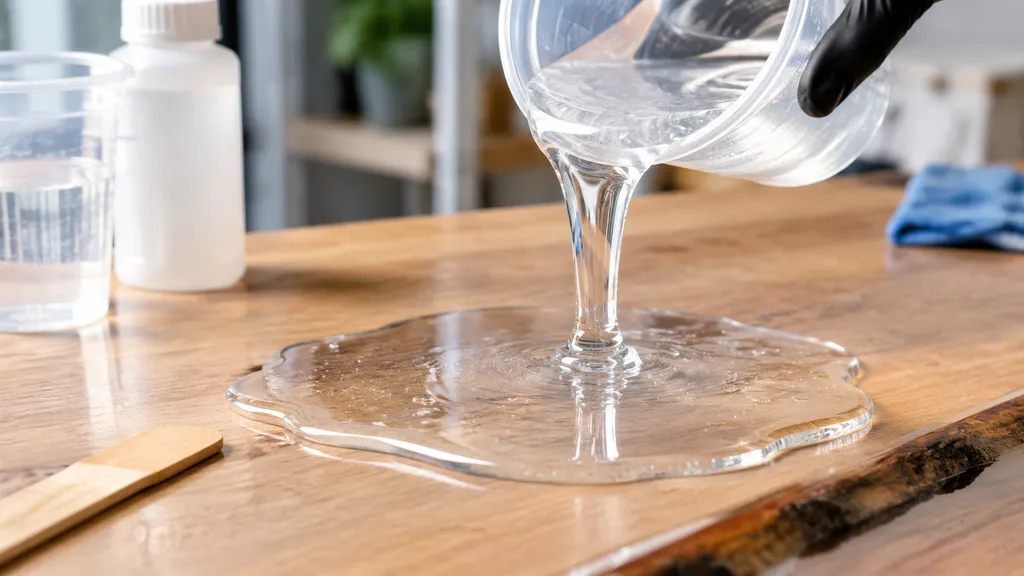
Nothing ruins a project faster than waiting 24 hours for a cure, only to touch the surface and find uncured, tacky patches.
Dealing with epoxy sticky soft spots is one of the most frustrating setbacks you can face—and whether the culprit is an improper mixing ratio, cold shop temperatures, or poorly scraped containers, it can stop your work dead in its tracks.
The good news? Your project isn’t ruined.
In this guide, you’ll learn the exact reasons your resin stayed soft, how to cleanly remove or repair the damaged areas, and how to guarantee a rock-hard, flawless finish every time.
Let’s dive right in.
Quick Answer
Epoxy sticky soft spots occur when the chemical cross-linking reaction fails to complete, leaving localized pockets of uncured, tacky, or gummy resin. These uncured areas will not harden over time on their own.
Why It Happens
- Inaccurate Mixing Ratios: Adding too much or too little hardener disrupts the required stoichiometric balance.
- Incomplete Mixing: Failing to thoroughly scrape the bottom and sides of the mixing container leaves pockets of pure resin or hardener.
- Temperature Drops: Working below recommended ambient temperatures slows or completely stalls the chemical cure.
- Moisture or Contamination: Water, excessive humidity, or unsealed substrates interfere with the polymerization process.
How to Resolve It
- Scrape: Remove all gummy, uncured material down to the hard base using a flat scraper.
- Clean: Wipe the affected area clean with isopropyl alcohol or acetone to remove chemical residue.
- Sand: Lightly sand the surrounding cured perimeter to create a mechanical key for bonding.
- Recoat: Apply a fresh, precisely measured, and thoroughly mixed coat to seal and level the surface.
What Buyers Need to Know First
When running commercial casting operations or sourcing materials for large-scale production, dealing with epoxy sticky soft spots leads directly to lost revenue, delayed project schedules, and material waste. Before assuming a batch of chemical raw material is defective, commercial users must evaluate the foundational causes of localized cure failure.
Epoxy curing is a precise chemical reaction between resin molecules and hardeners. If the stoichiometry or application environment is off by even a small margin, the chemical matrix fails to lock together, resulting in tacky or rubbery zones. When sourcing large volumes, reviewing a comprehensive bulk epoxy resin supplier buying guide ensures you secure formulations suited to your workshop’s specific working environment and pouring methods.
Key checkpoints every buyer must establish on the workshop floor include:
- Measurement Accuracy: Distinguish strictly between ratios calculated by weight versus ratios calculated by volume.
- Environmental Control: Verify ambient room temperature and substrate temperature throughout the entire curing schedule, not just during the initial pour.
- Substrate Preparation: Check that porous materials, such as raw lumber, are properly dried and sealed to avoid chemical disruption.
- Mixing Discipline: Enforce strict mechanical agitation and double-container transfer steps across your production team.
Why Epoxy Can Stay Sticky or Soft
Epoxy relies on a precise stoichiometric reaction between the resin (Part A) and the hardener (Part B). When this chemical cross-linking fails to complete uniformly, unreacted components remain stranded across the surface, resulting in tacky resin, gummy textures, and persistent epoxy sticky soft spots.
Understanding the underlying balance is critical. Unlike traditional paints or finishes that dry via evaporation, epoxy transforms purely through chemical bonding. Any disruption to that chemistry keeps the system from reaching its full structural hardness.
Incorrect Mixing Ratio
The most common culprit behind a cure failure is an inaccurate balance of resin and hardener. Even a minor deviation from the manufacturer’s specified proportions prevents complete polymerization.
- The Extra Hardener Trap: Adding extra hardener does not accelerate cure times. Instead, the excess Part B cannot bond with the available Part A, leaving unreacted chemical agents that create greasy or soft epoxy spots.
- Volume vs. Weight Confusion: Formulations intended for measurement by volume rarely match their measurement by weight due to the different densities of resin and hardener. Always confirm which unit of measurement your system requires.
- Measuring Inaccuracies: Using uncalibrated mixing cups or estimating levels by eye guarantees ratio drift, leading directly to a wrong mixing ratio epoxy failure.
Recognizing these vulnerabilities and reviewing epoxy mixing ratio mistake causes and solutions ensures your formulation achieves maximum shore hardness without leaving liquid or rubbery pockets behind.
Incomplete Mixing and Container Scraping
When resin and hardener do not fully cross-link at a molecular level, you end up with epoxy sticky soft spots. Incomplete mixing epoxy is easily one of the most common mistakes I see in production shops and DIY workstations alike.
Even if you measure your components accurately, unblended chemicals cannot cure on their own:
- The Sidewall Trap: Raw Part A or Part B clings to the sides and bottom of your mixing container. If you scrape the bucket clean while pouring over your project, that unmixed residue transfers directly to the surface, creating localized tacky or gummy patches that will never harden.
- Insufficient Stirring Time: Swirling the mix gently for thirty seconds is not enough. You must actively shear the liquids together until all striations, cloudiness, and ribbons disappear.
- The Two-Container Solution: I always recommend the “double-cup” transfer method. Mix thoroughly in your first container, scrape down the sides, pour the entire batch into a clean second container, and mix for an additional minute with a fresh stir stick. Never scrape the container walls onto your working piece during the final pour.
Low Temperature and Slow Cure
Chemical cross-linking relies heavily on ambient heat to drive the exothermic reaction. Cold working environments slow down or entirely halt this process, leading to soft epoxy spots and sticky epoxy that feels rubbery days after application.
If your workspace drops below the resin system’s minimum technical threshold, the curing cycle stalls out. Moisture in cold environments can also interfere with the surface, resulting in amine blush or cloudy finishes. To troubleshoot these environmental stalls, reviewing common cold cure epoxy resin problems and solutions will help you stabilize your shop setup.
- Maintain Consistent Heat: Keep both your workspace and your resin bottles at a stable room temperature before, during, and for at least 72 hours after pouring.
- Watch Thermal Sinks: Pouring room-temperature resin onto cold substrates (like stone, metal, or chilled wood slabs) will instantly cool the bottom layer, resulting in an uneven cure beneath the surface. Pre-warm your molds and project materials before casting.
Contamination and Additive Problems
Foreign contaminants and improper tinting frequently cause epoxy sticky soft spots. Moisture is the most common culprit. Unsealed timber outgassing, high ambient humidity, or damp substrate surfaces interfere directly with the amine reaction, preventing the material from cross-linking.
Colorants and additives can also ruin your cure if handled incorrectly:
Water-based colorants: Never use acrylics or water-based inks; water breaks down the molecular bonds and causes soft epoxy spots.
Excessive pigment ratios: Adding more than 5% to 10% pigment by volume oversaturates the chemical balance, leaving you with epoxy not curing properly.
Surface oils and dust: Grease, wax, or residue on your substrate will disrupt adhesion and generate isolated sticky patches, much like the bonding failures discussed in our guide on epoxy resin for flooring problems.
Always ensure your workpieces are fully dry, sealed, and cleaned before pouring, and stick exclusively to compatible, oil-free epoxy pigments.
How to Repair or Remove Affected Areas
Leaving uncured resin alone will not solve the issue—chemical reactions that stall will not harden over time. Pouring fresh resin over gooey spots also traps the unreacted liquid underneath, ruining structural strength. An effective epoxy repair requires complete physical removal of all tacky material.
Follow this direct step-by-step remediation process:
| Step | Action | Focus Area |
|---|---|---|
| 1. Scrape | Remove all uncured material | Use a putty knife or scraper to dig out every pocket of sticky epoxy. |
| 2. Dissolve | Clean residual chemicals | Wipe the cavity thoroughly with isopropyl alcohol (99%) or acetone to strip film residues. |
| 3. Sand | Create mechanical bonding | Sand the hardened edges surrounding the crater with 80-to-120-grit sandpaper to feather the borders. |
| 4. Recoat | Patch or flood-coat | Mix a fresh batch strictly by ratio, fill the void slightly proud, or apply a full leveling coat once prepped. |
Once the surface is mechanically prepped and stripped of contamination, the replacement pour will bond seamlessly and cure to maximum hardness.
What Information Should You Send to RW ATELIER?
When you encounter persistent epoxy sticky soft spots in your production run, our technical team is ready to diagnose the failure and correct your workflow. As an industrial epoxy resin supplier and custom epoxy formulation partner, we analyze the exact chemical and environmental variables that cause soft epoxy spots or incomplete curing.
To help us resolve your issue quickly, gather and send the following project data:
- Product and Batch Details: Include the specific system name, Part A and Part B batch numbers, and production dates stamped on your containers.
- Measurement and Mixing Protocols: Specify whether you measured by volume or by weight, the exact container type, mixing duration, and whether you transferred the batch to a secondary cup to prevent incomplete mixing epoxy defects.
- Environmental Log: Note the ambient shop temperature, surface temperature of the mold or substrate, and relative humidity during both mixing and the initial 24-hour curing window.
- Application Parameters: Provide the exact pour depth, total volume mixed at once, and the substrate material (including any sealers or colorants used).
- Photographs and Physical Symptoms: Clear photos showing the tacky regions, surface texture, and an assessment of whether the material is rubbery, tacky, or completely liquid.
Documenting these parameters helps eliminate the operational oversights outlined in our guide to buying resin for business and ensures our lab can isolate whether the problem stems from application mechanics or requires an adjusted cure schedule.
How Can RW ATELIER Support This Project?
When recurring epoxy sticky soft spots disrupt your workflow, we provide direct formulation adjustments, technical guidance, and dependable chemical supply. Operating as an OEM epoxy resin manufacturer and industrial epoxy resin supplier, RW ATELIER helps fabricators and production shops eliminate cure failures at the chemical source.
Here is how we back your operation:
- Custom Chemical Formulations: When shifting shop temperatures or demanding casting sizes trigger soft epoxy spots, we engineer a custom epoxy formulation with forgiving mix ratios and customized cure curves to ensure complete cross-linking.
- Defect Analysis & Protocol Audits: We inspect your mixing, measuring, and pouring workflows to isolate the root causes of sticky epoxy, drawing on practical strategies for troubleshooting epoxy resin AB glue problems to lock in repeatable results.
- Factory-Direct Consistency: As a bulk epoxy resin supplier, we ship epoxy resin factory direct with rigorous batch testing, guaranteeing that Part A and Part B reactive equivalents remain uniform from one drum to the next.
- Pour Depth and Environment Sizing: We supply tailored technical data sheets and pour thresholds—matching the right system to your job scale, such as verifying optimal pour thickness through our guide on deep pour epoxy thickness limits.
Related Sources
- https://www.artresin.com/blogs/artresin/why-is-my-epoxy-resin-not-hardening
- https://www.westsystem.com/instruction-manuals/troubleshooting-guide/
- https://entropyresins.com/understanding-epoxy-curing/
- https://www.systemthree.com/blogs/epoxy-files/epoxy-troubleshooting-guide
- https://www.totalboat.com/blogs/totalboat-blog/why-is-my-epoxy-soft-or-sticky
