
Epoxy Adhesive Surface Preparation Guide for Strong Bonds
Quick Answer
Proper epoxy adhesive surface preparation determines up to 90% of your total bond performance. Even the strongest industrial epoxy will fail prematurely if applied to a contaminated, smooth, or chemically inert substrate.
To achieve maximum bond strength epoxy adhesion across any material, follow this standard three-step protocol:
- Degrease and Clean: Remove oils, cutting fluids, grease, and dirt using fast-evaporating solvent cleaners like isopropyl alcohol (IPA) or acetone.
- Mechanical Abrasion: Sand, grit-blast, or etch the surface to eliminate oxidation and increase mechanical interlocking profile (target a surface roughness of 40–80 µm).
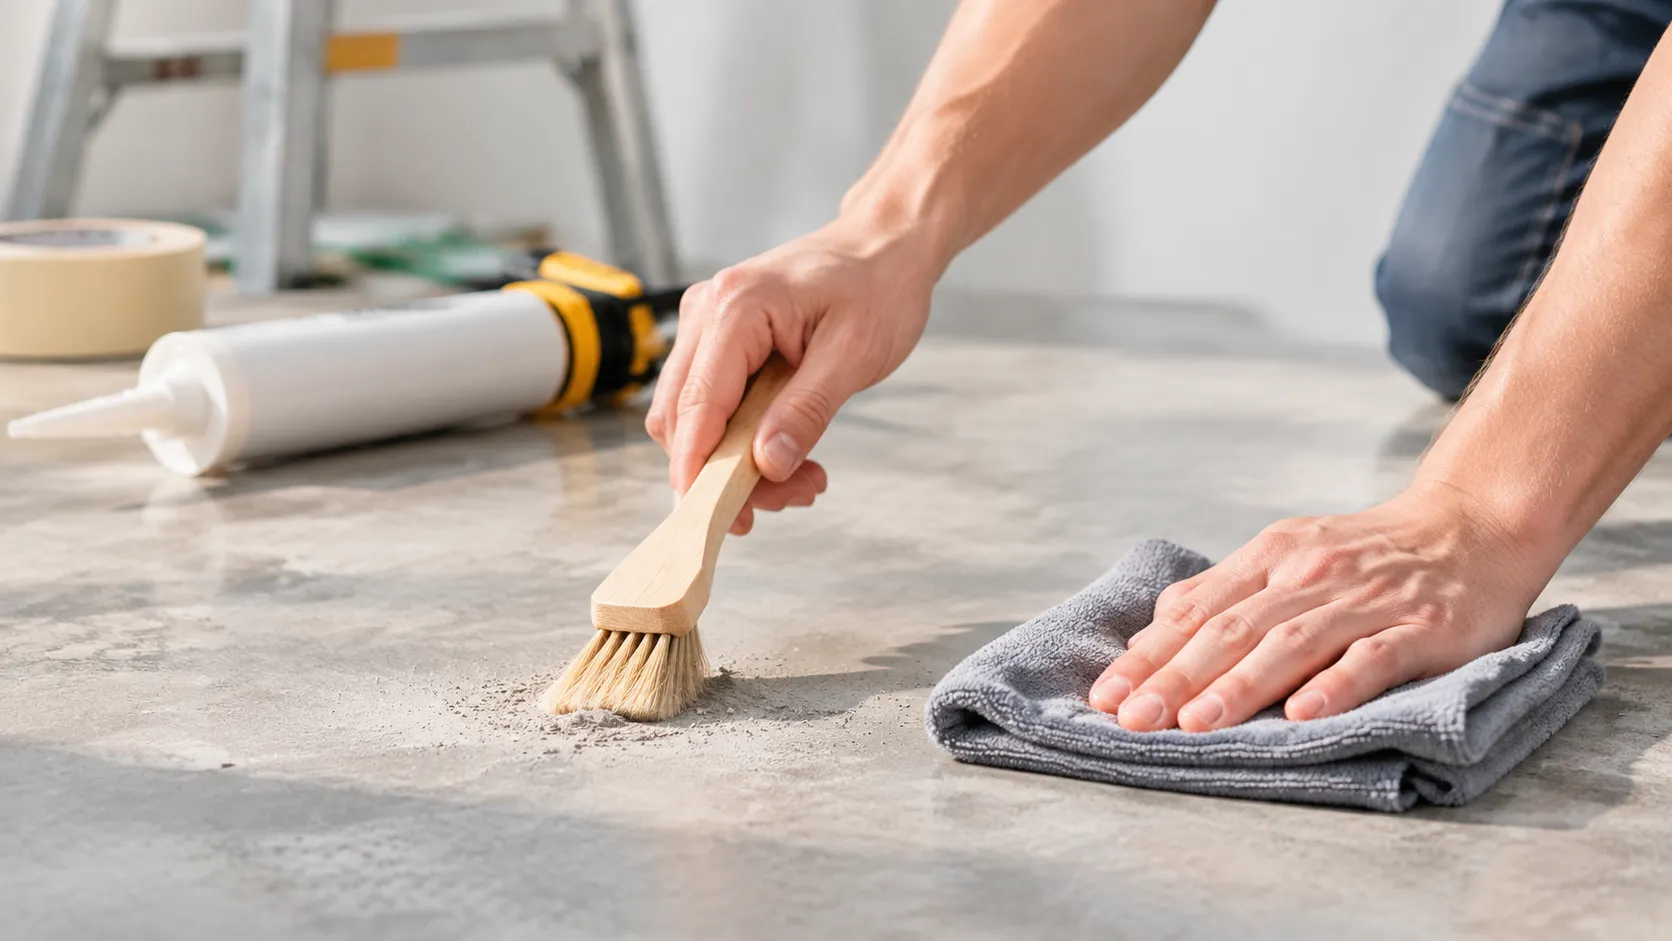
- Final Decontamination: Blow off particulate dust with clean, dry compressed air or wipe with a lint-free solvent wipe before the epoxy application.
| Step | Action | Primary Goal |
|---|---|---|
| 1. Degreasing | Solvent wipe / Aqueous wash | Eliminates barrier films (oils, silicones, mold releases) |
| 2. Abrasion | Sandblasting / 80–120 grit paper | Increases surface energy and active bonding area |
| 3. Final Prep | Dry wipe / Primer application | Prevents re-oxidation and creates an anchor pattern |
Skipping these fundamentals leads to adhesive failure (interfacial peeling) rather than cohesive failure (bulk resin tearing). Thorough epoxy bonding surface prep guarantees structural integrity under mechanical load, thermal cycling, and chemical exposure.
What Buyers Need to Know First
Before sourcing resin systems or scaling assembly lines, I always tell procurement teams one hard truth: even the highest-grade formulation will fail if your substrate isn’t ready. Over 80% of adhesive joint failures happen at the interface, not within the cured epoxy itself. When purchasing materials, understanding your baseline manufacturing requirements saves both time and scrap costs.
Review these critical operational realities before ordering:
- Substrate Chemistry: Different materials—like low-surface-energy plastics, oily cold-rolled steel, or porous ceramics—demand entirely different protocols for epoxy adhesive surface preparation.
- Production-Line Feasibility: A chemical etching wash that works in a lab might stall a fast-paced production line. Plan your surface cleaning methods around cycle times and facility safety standards.
- Total Cost of Bonding: The adhesive is only part of the budget. Solvents, grit-blasting media, plasma treaters, and labor all factor into the true cost per bonded unit.
- Formulation Match: As an industrial epoxy resin supplier, we design formulas to hit specific mechanical targets, but bond reliability ultimately depends on matching the resin’s viscosity and wetting ability to the surface profile you create on the factory floor.
Why Surface Preparation Controls Bond Strength
In our manufacturing lab, we see bond failures every week, and over 90% trace back to a single mistake: poor substrate prep rather than the adhesive itself. Epoxy creates an ultra-strong chemical and mechanical bond, but it can only adhere to the actual substrate material. If a microscopic barrier exists on the surface, the epoxy grips that barrier instead of the part.
When you apply stress, thermal shock, or load, the weak boundary layer shears off immediately. Mastering proper epoxy adhesive surface preparation directly dictates your final load limits, peel resistance, and long-term durability.
To maximize bond strength epoxy performance, your substrate must meet three baseline conditions:
High surface energy: The liquid epoxy must “wet out” and spread evenly across the surface rather than beading up.
True chemical contact: Molecules of the resin must touch the base material without intervening oil, moisture, or dust.
Cohesive stability: The top surface layer must be structurally sound and free of loose particulate or degradation.
Cleaning and Degreasing
A common mistake is abrading a dirty part. If you sand or blast before degreasing, you simply grind oils, coolants, and mold release agents deep into the microscopic pores of your substrate. Always degrease first.
Effective surface cleaning adhesive routines eliminate lubricants, fingerprints, and mill oils through a simple solvent wipe process:
| Cleaning Method | Best Used For | Key Consideration |
|---|---|---|
| Solvent Wipe (IPA / Acetone) | General metals, solvent-safe plastics, ceramics | Use fast-evaporating solvents; wipe off before it flashes |
| Aqueous Alkaline Wash | Heavy industrial oils, high-volume production | Requires thorough deionized water rinsing to prevent salt residue |
| Ultrasonic Degreasing | Complex geometries, micro-parts, tight crevices | Exceptional cleanliness; parts must be completely dried before bonding |
I always recommend the two-cloth method for manual cleaning:
1. Wet the first clean, lint-free wipe with solvent to dissolve the surface contaminants.
2. Immediately follow with a second dry, clean wipe to lift and remove the dissolved oils before the solvent evaporates.
3. Perform a rapid water-break test. Spray clean water on the dried surface; if the water sheets out flat with zero beading, your surface is completely degreased and ready for profiling.
Abrasion and Surface Roughness
Mechanical abrasion is a vital step in epoxy adhesive surface preparation. Creating microscopic valleys and peaks increases the available surface area, giving the epoxy physical anchor points to interlock with the substrate. Without proper roughness, even the highest-grade resin relies solely on weak chemical attraction.
- Grit Blasting: The preferred industrial standard. Using aluminum oxide media creates an even, sharp profile that significantly boosts abrasion epoxy bonding.
- Manual Sanding: Effective for localized work or thinner parts. Medium grit sandpaper (80 to 120 grit) works best across most substrates without warping the part.
- Surface Profile Range: We aim for an average surface profile between 35 and 75 microns. Too smooth, and the resin cannot grip; too coarse, and air pockets become trapped under the bond line.
Evaluating physical wear characteristics on finished assemblies follows standard industry protocols, which we detail in our guide on epoxy abrasion resistance test methods.
Always remove the resulting dust immediately. Dry vacuuming or blowing the part off with dry, oil-free compressed air prevents loose particles from compromising the bond strength epoxy needs to perform under load.
Oxide Layers on Metals
Every exposed metal develops an oxide layer upon contact with ambient air. While some oxide skins like tight anodizing are engineered to be stable, natural passive oxides on bare aluminum, carbon steel, and copper are weak, brittle, and unstable. Applying resin over loose oxidation leads to adhesive joint failure right at the metal boundary.
| Metal Substrate | Oxidation Risk | Required Treatment |
|---|---|---|
| Aluminum | Rapid re-oxidation within minutes | Abrade, solvent degrease, and chemically etch or prime immediately before bonding. |
| Carbon Steel | Loose iron oxides (rust) | Aggressive grit blasting down to clean white metal; apply epoxy immediately to avoid flash rusting. |
| Stainless Steel | Passive chromium oxide layer | Abrasion or acid-etching to disrupt the passive film and promote chemical bonding sites. |
| Copper & Brass | Patina and greasy oxide films | Mechanical scuffing followed by fast chemical deoxidation. |
For successful metal epoxy preparation, bond your assemblies immediately after abrading. If parts must sit on the shop floor before bonding, apply a specialized silane or epoxy primer to lock in the clean surface and prevent oxidation from reforming.
Differences for Metal, Plastic and Ceramic
Every substrate family interacts differently with thermoset resins. Effective epoxy adhesive surface preparation requires matching your mechanical and chemical prep to the specific surface energy and chemical nature of the base material. Choosing the right approach prevents adhesive failure at the interface.
| Substrate | Surface Energy & Key Challenge | Recommended Prep Steps | Critical Watch-Out |
|---|---|---|---|
| Metals (Steel, Aluminum, Copper) | High energy, but unstable native oxide and oil films block cross-linking. | Solvent degrease, mechanical abrasion (grit blast or 80–120 grit paper), secondary solvent wipe. For structural assemblies, consult our dedicated epoxy adhesive for metal resource. | Bond immediately after abrasion to avoid re-oxidation of the surface. |
| Plastics (PE, PP, PTFE, Nylon) | Low surface energy; resin fails to wet out smoothly on untreated surfaces. | Degrease with isopropyl alcohol (IPA), light scuff, followed by corona, plasma, flame treatment, or chemical adhesion promoters. | Avoid aggressive solvents like acetone on plastics prone to stress cracking (e.g., polycarbonates). |
| Ceramics & Glass | High energy, brittle, highly sensitive to moisture and microscopic surface dust. | Ultrasonic cleaning in solvent or aqueous degreaser, dry completely, apply organosilane primer if exposed to humidity. | Glazed ceramics require diamond grinding or grit blasting to create mechanical micro-anchors. |
How to Run a Bonding Trial
Never roll out a full production run without verifying interfacial adhesion under realistic operating conditions. We use this step-by-step protocol to qualify bond integrity before scaling assembly operations:
- Prepare Standard Test Coupons: Cut at least five pairs of coupons matching your exact production alloy, polymer, or ceramic grade.
- Apply the Target Prep Protocol: Clean, abrade, and treat the surfaces using your intended manufacturing process. Note the open time between cleaning and adhesive application.
- Assemble with Defined Bondline Control: Dispense the mixed adhesive, assemble the joint using 0.1–0.2 mm glass spacer beads or wire shims to maintain a consistent bondline thickness, and clamp with uniform pressure.
- Cure to Full Conversion: Follow the specified cure profile. If working with elevated temperatures or demanding load conditions outlined in our industrial epoxy system guide, ensure parts reach peak cure before testing.
- Execute Destructive Shear Testing: Perform a simple lap-shear pull test (ASTM D1002 or equivalent) or a chisel-wedge split test.
- Inspect the Failure Mode:
- Cohesive Failure: Adhesive tears within itself, leaving resin on both sides. This confirms your surface prep is optimal.
- Adhesive Failure: Resin peels clean off the substrate. This indicates poor surface preparation, surface contamination, or insufficient surface energy. Modify your abrasion profile or introduce a chemical primer before moving forward.
What Information Should You Send to RW ATELIER?
To help us configure the right adhesive and outline the exact epoxy adhesive surface preparation protocol for your assembly line, our engineering team needs specific project parameters. Providing detailed operational data upfront prevents costly adhesion failures and ensures you avoid the common pitfalls outlined in our guide on buying resin for business mistakes that cost you money.
Send our technical team the following specifications:
- Substrate Materials: Identify the exact materials being bonded (e.g., 6061-T6 aluminum, stainless steel 304, PBT, alumina ceramic). Specify any surface coatings, plating, or mold releases present.
- Operating Environment: Provide continuous and peak operating temperatures, exposure to moisture, UV, outdoor weathering, or aggressive chemicals (fuels, hydraulic fluids, acids).
- Mechanical Load Requirements: Define the primary forces acting on the joint—lap shear, peel, impact, tensile, or cyclic vibration.
- Current Surface Treatment Capabilities: State what surface prep equipment you currently run, such as solvent degreasing tanks, grit blasting cabinets, atmospheric plasma heads, or manual sanding stations.
- Production and Cure Parameters: Include your target fixture time, working pot life, maximum allowable heat cure temperature, and annual volume demands.
As an OEM epoxy resin manufacturer and bulk epoxy resin supplier, we use this dataset to formulate custom systems or match an existing grade to your exact surface prep tolerance.
How Can RW ATELIER Support This Project?
Getting reliable bond strength requires matching the right resin chemistry to your exact substrate treatment. As a direct OEM epoxy resin manufacturer and bulk epoxy resin supplier, we eliminate the guesswork from industrial bonding applications.
Direct Manufacturing and Formulation Support
- Custom Epoxy Formulation: We tailor viscosity, cure schedules, and mechanical profiles to match your production line, whether you need extreme shear resistance or a specialized high temperature epoxy resin.
- Surface Treatment Verification: Our lab assists in testing your substrate prep workflows, ensuring your team identifies the exact grit blasting, degreasing, or chemical priming needed to avoid field delamination.
- Factory-Direct Consistency: Sourcing directly through our manufacturing facilities ensures lot-to-lot chemical repeatability, preventing unpredictable adhesion failures during mass assembly.
Bonding Failure Analysis and Process Optimization
When unexpected assembly joint issues appear, understanding how to overcome epoxy resin AB glue bonding failures helps pinpoint whether the root cause stems from improper surface energy, unremoved oils, or mixing ratios. We provide end-to-end technical documentation, pilot batch samples, and process validation to ensure your team achieves structural-grade adhesion every single run.
Related Sources
